

Project Gallery
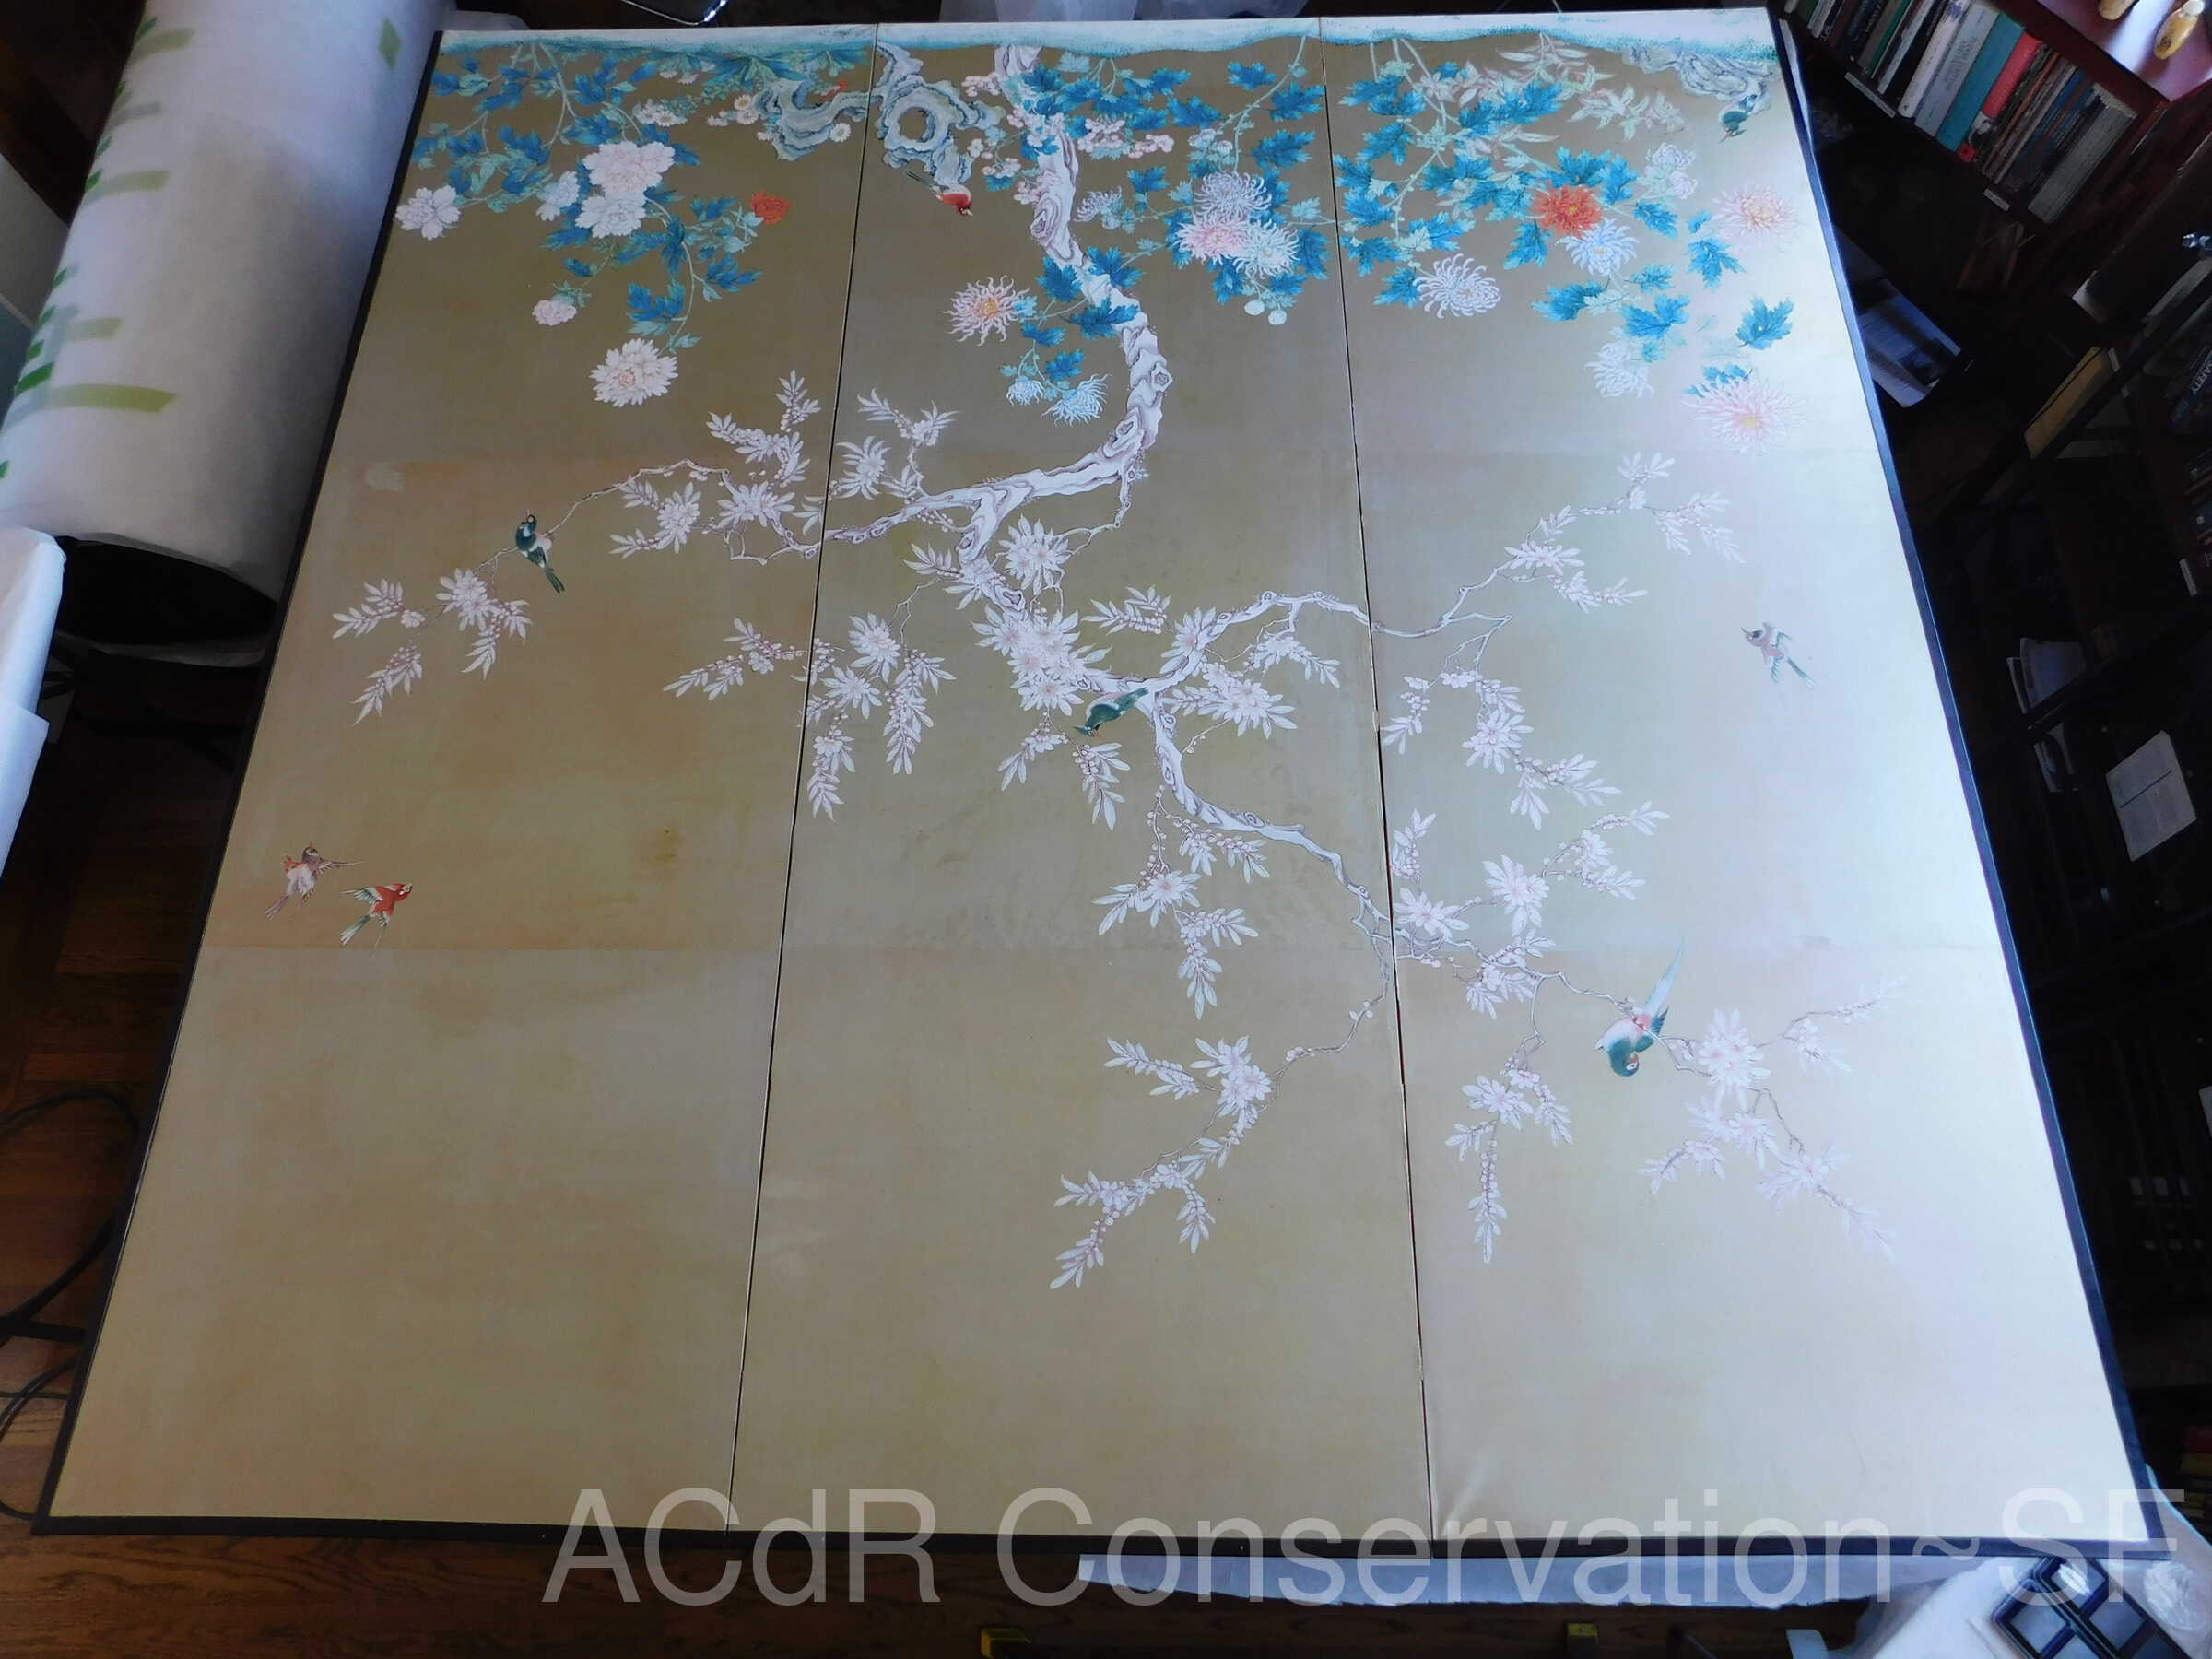
Japanese Screen
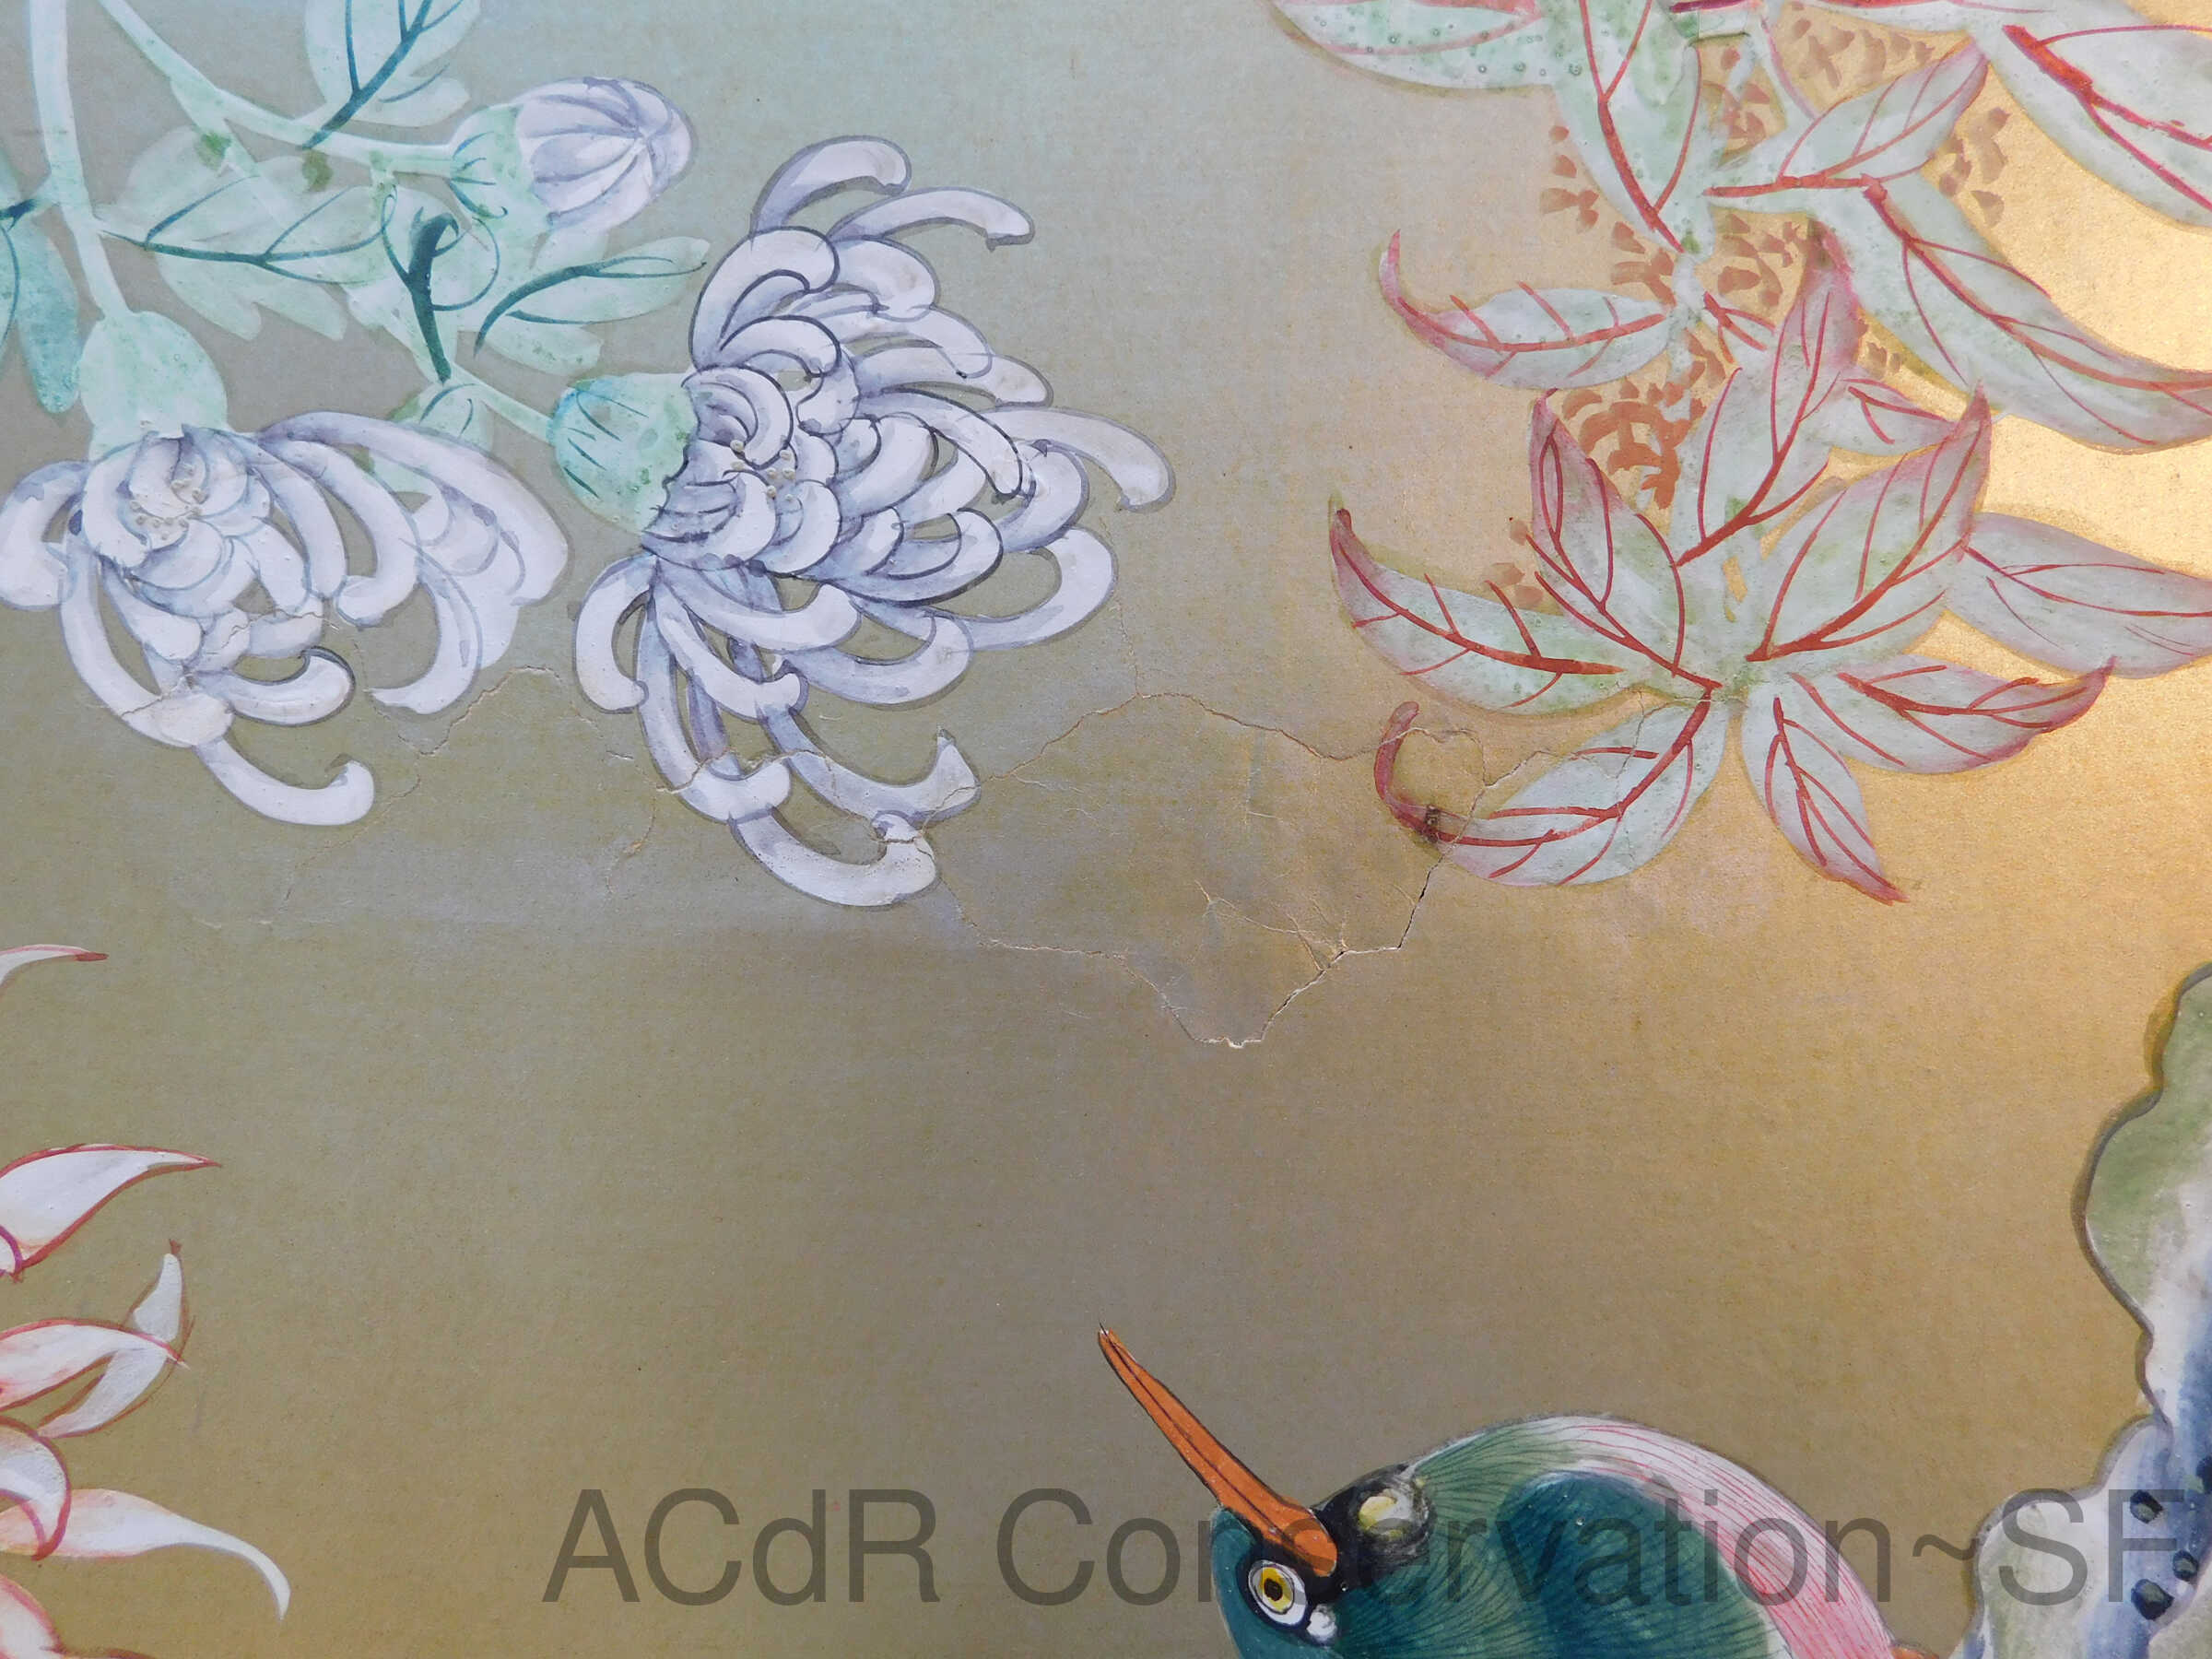
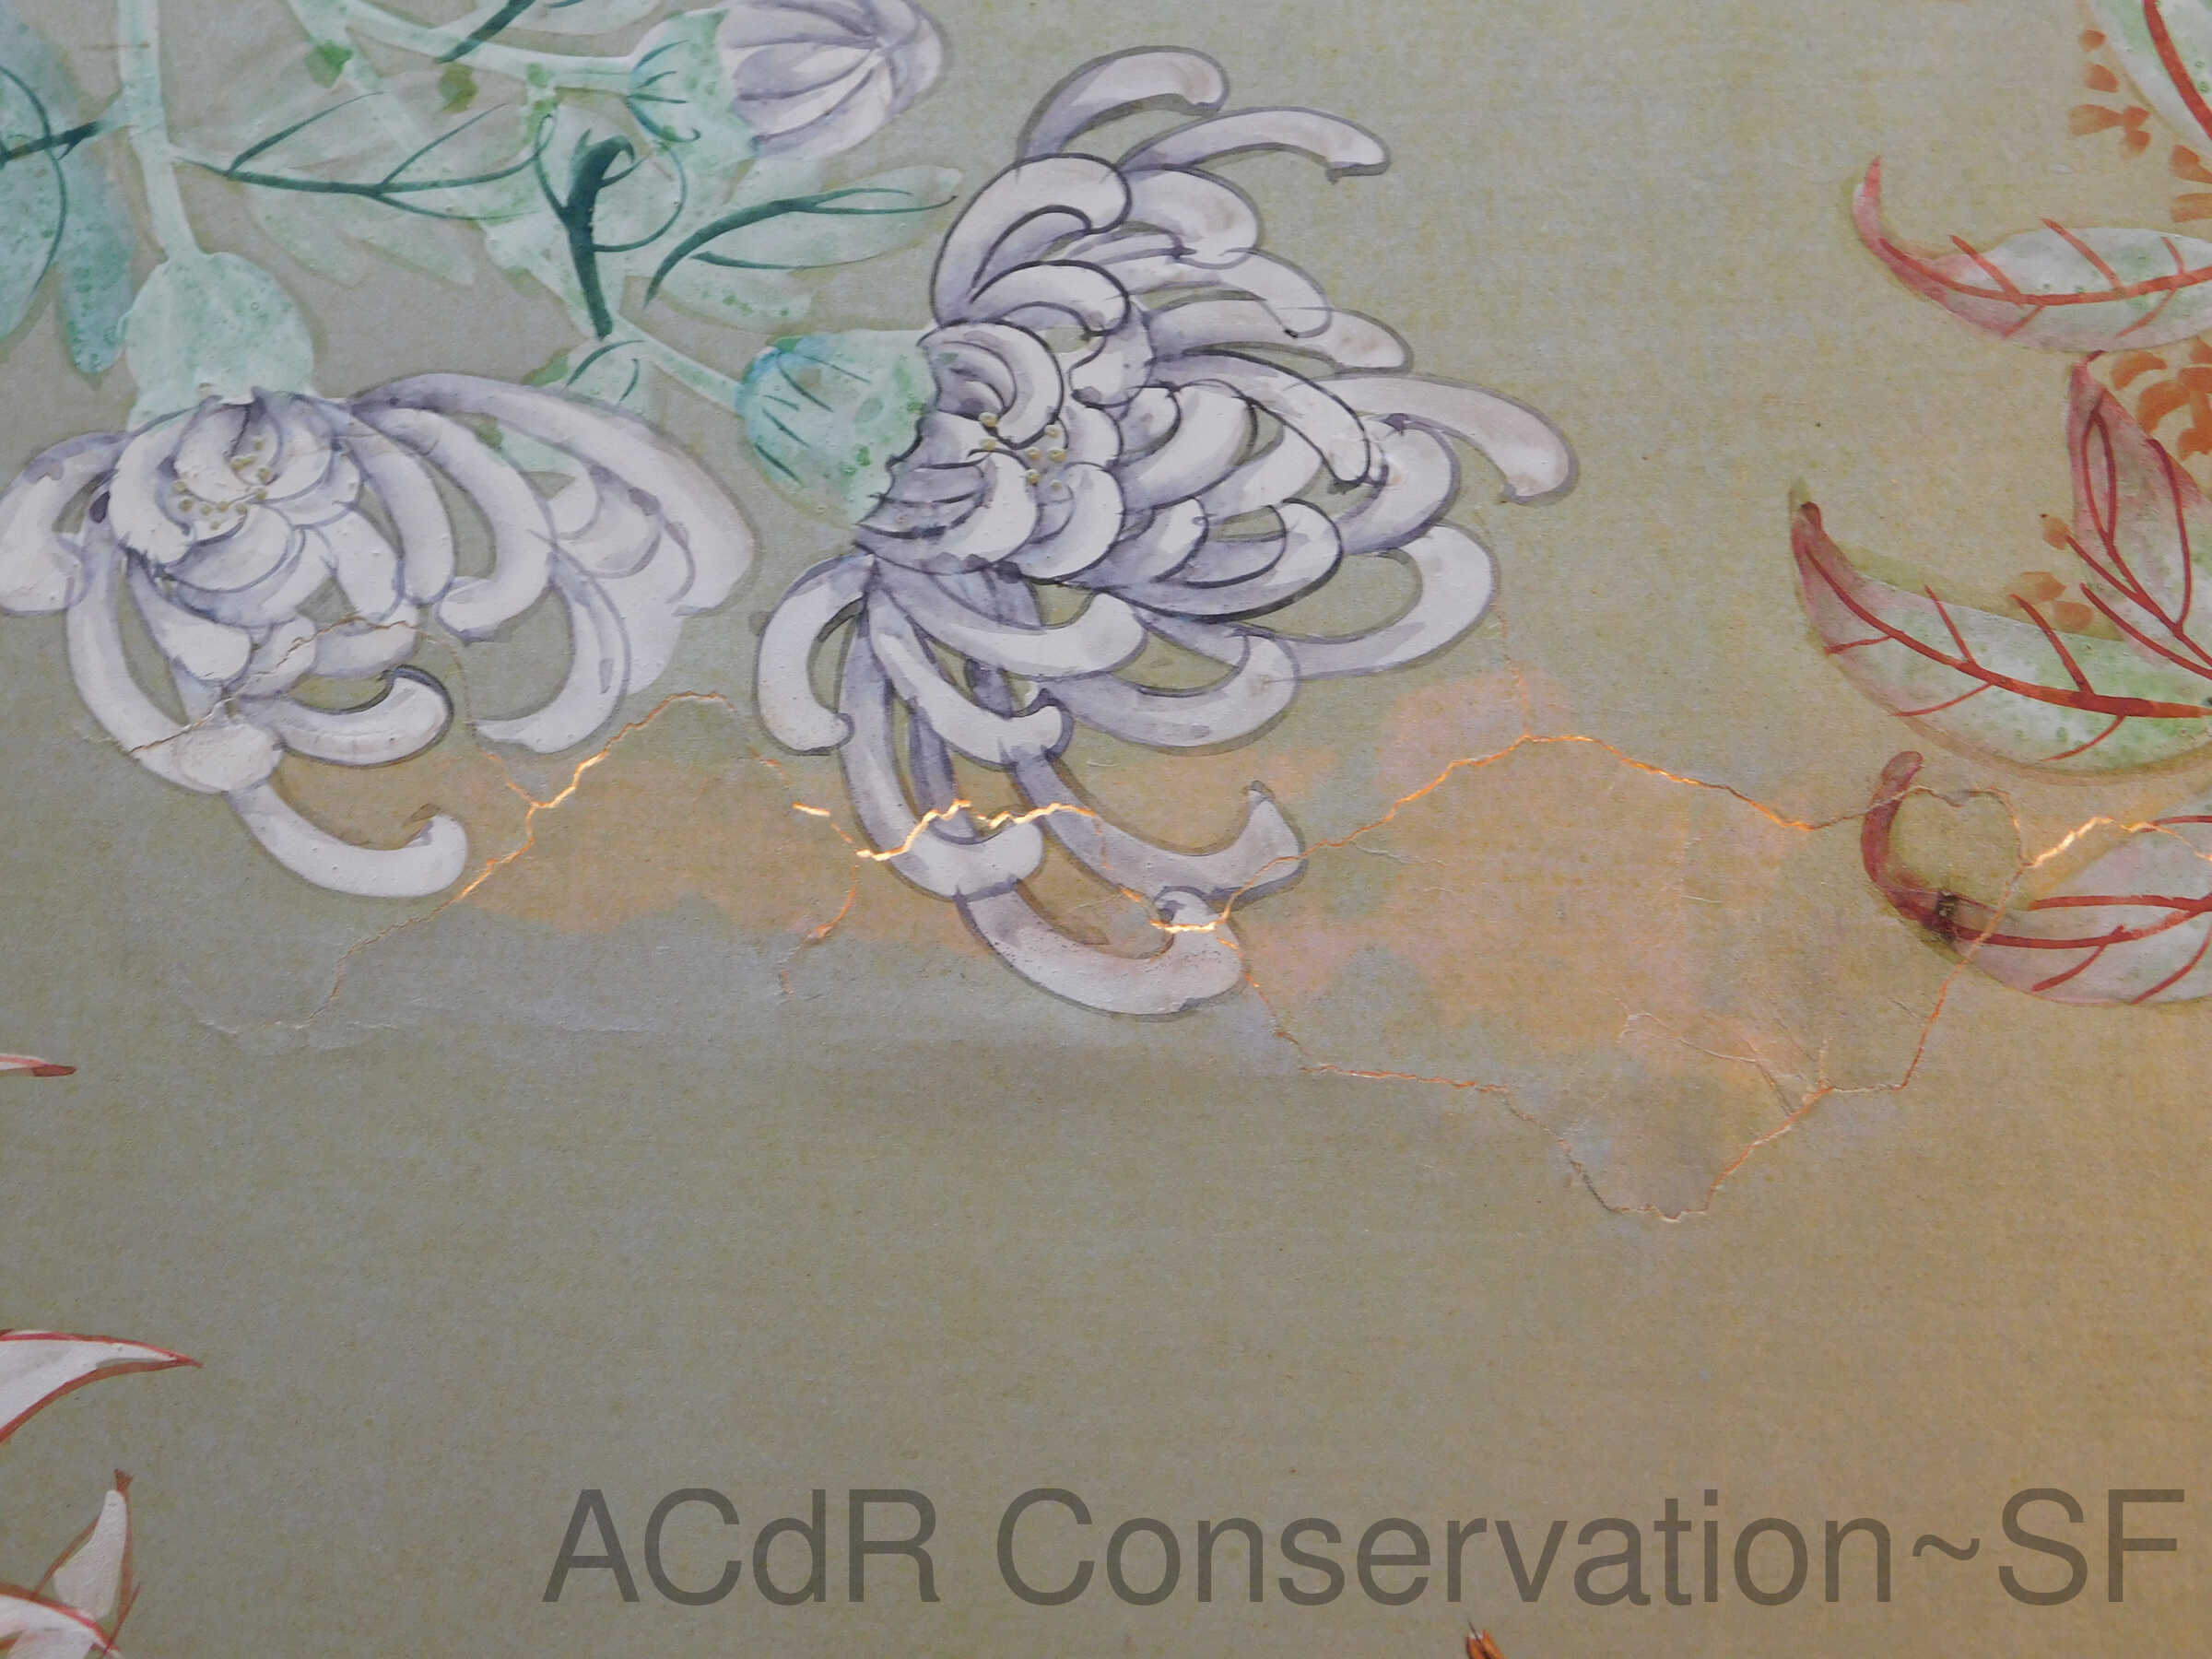
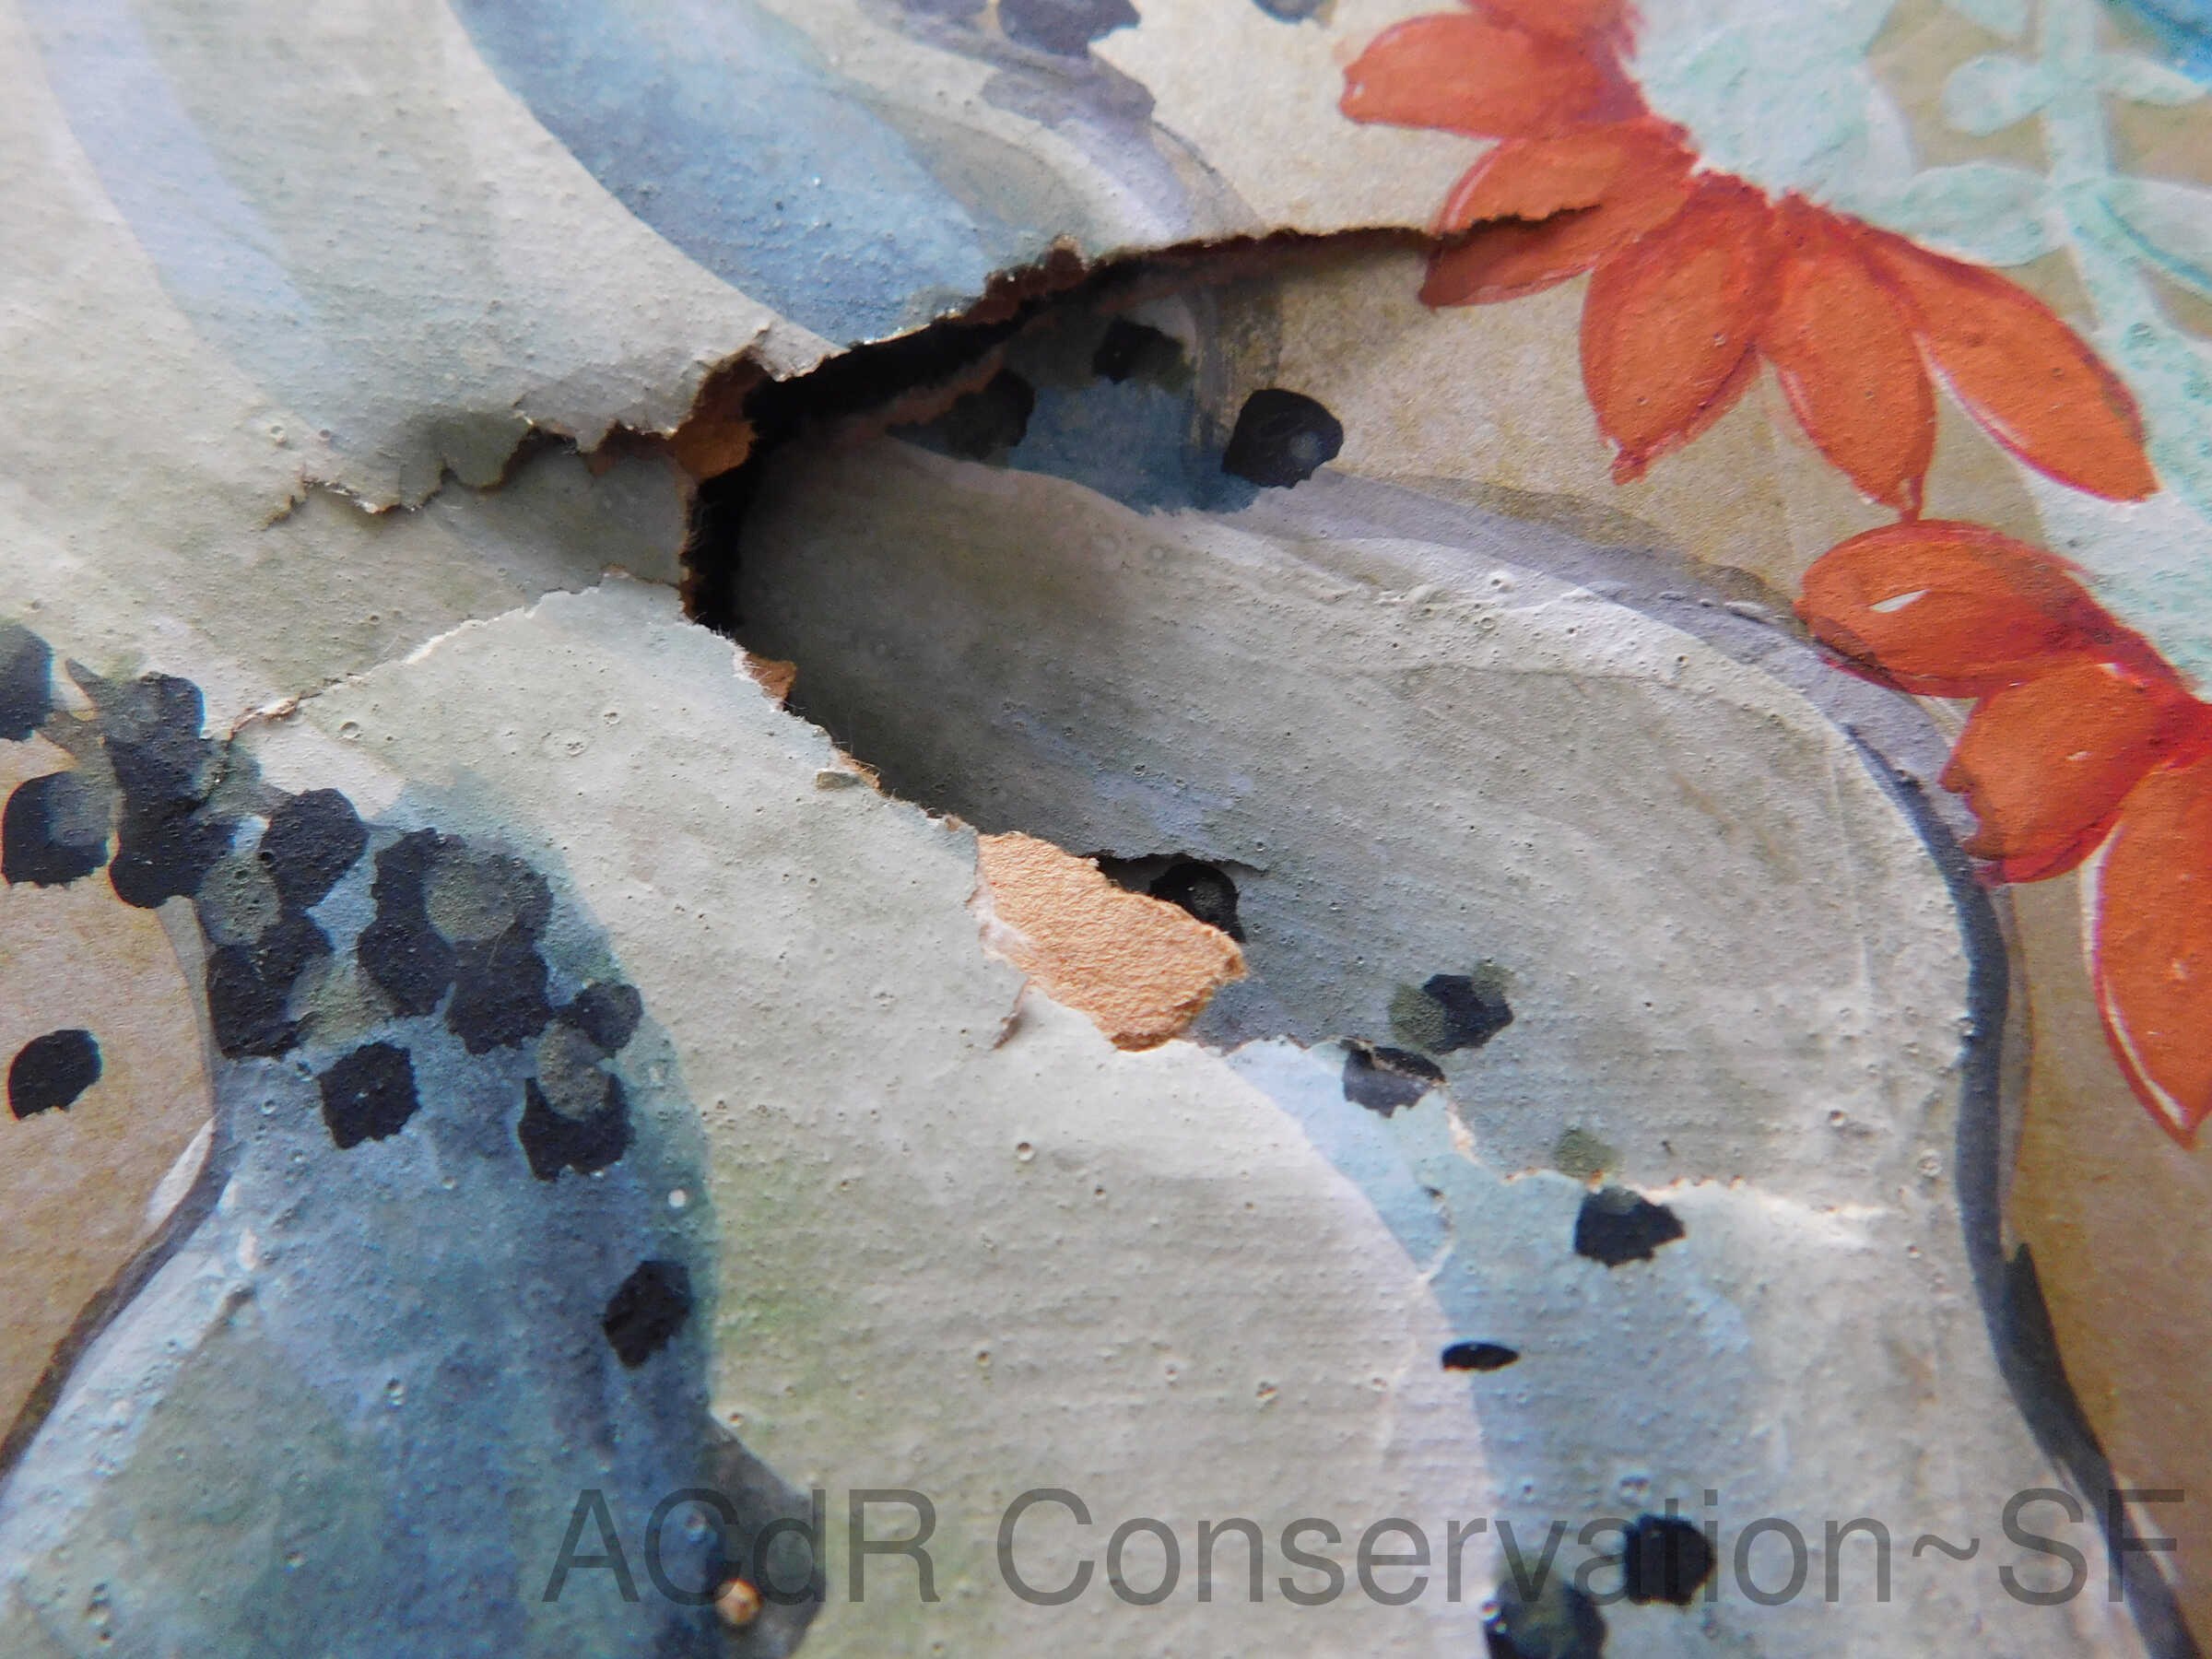
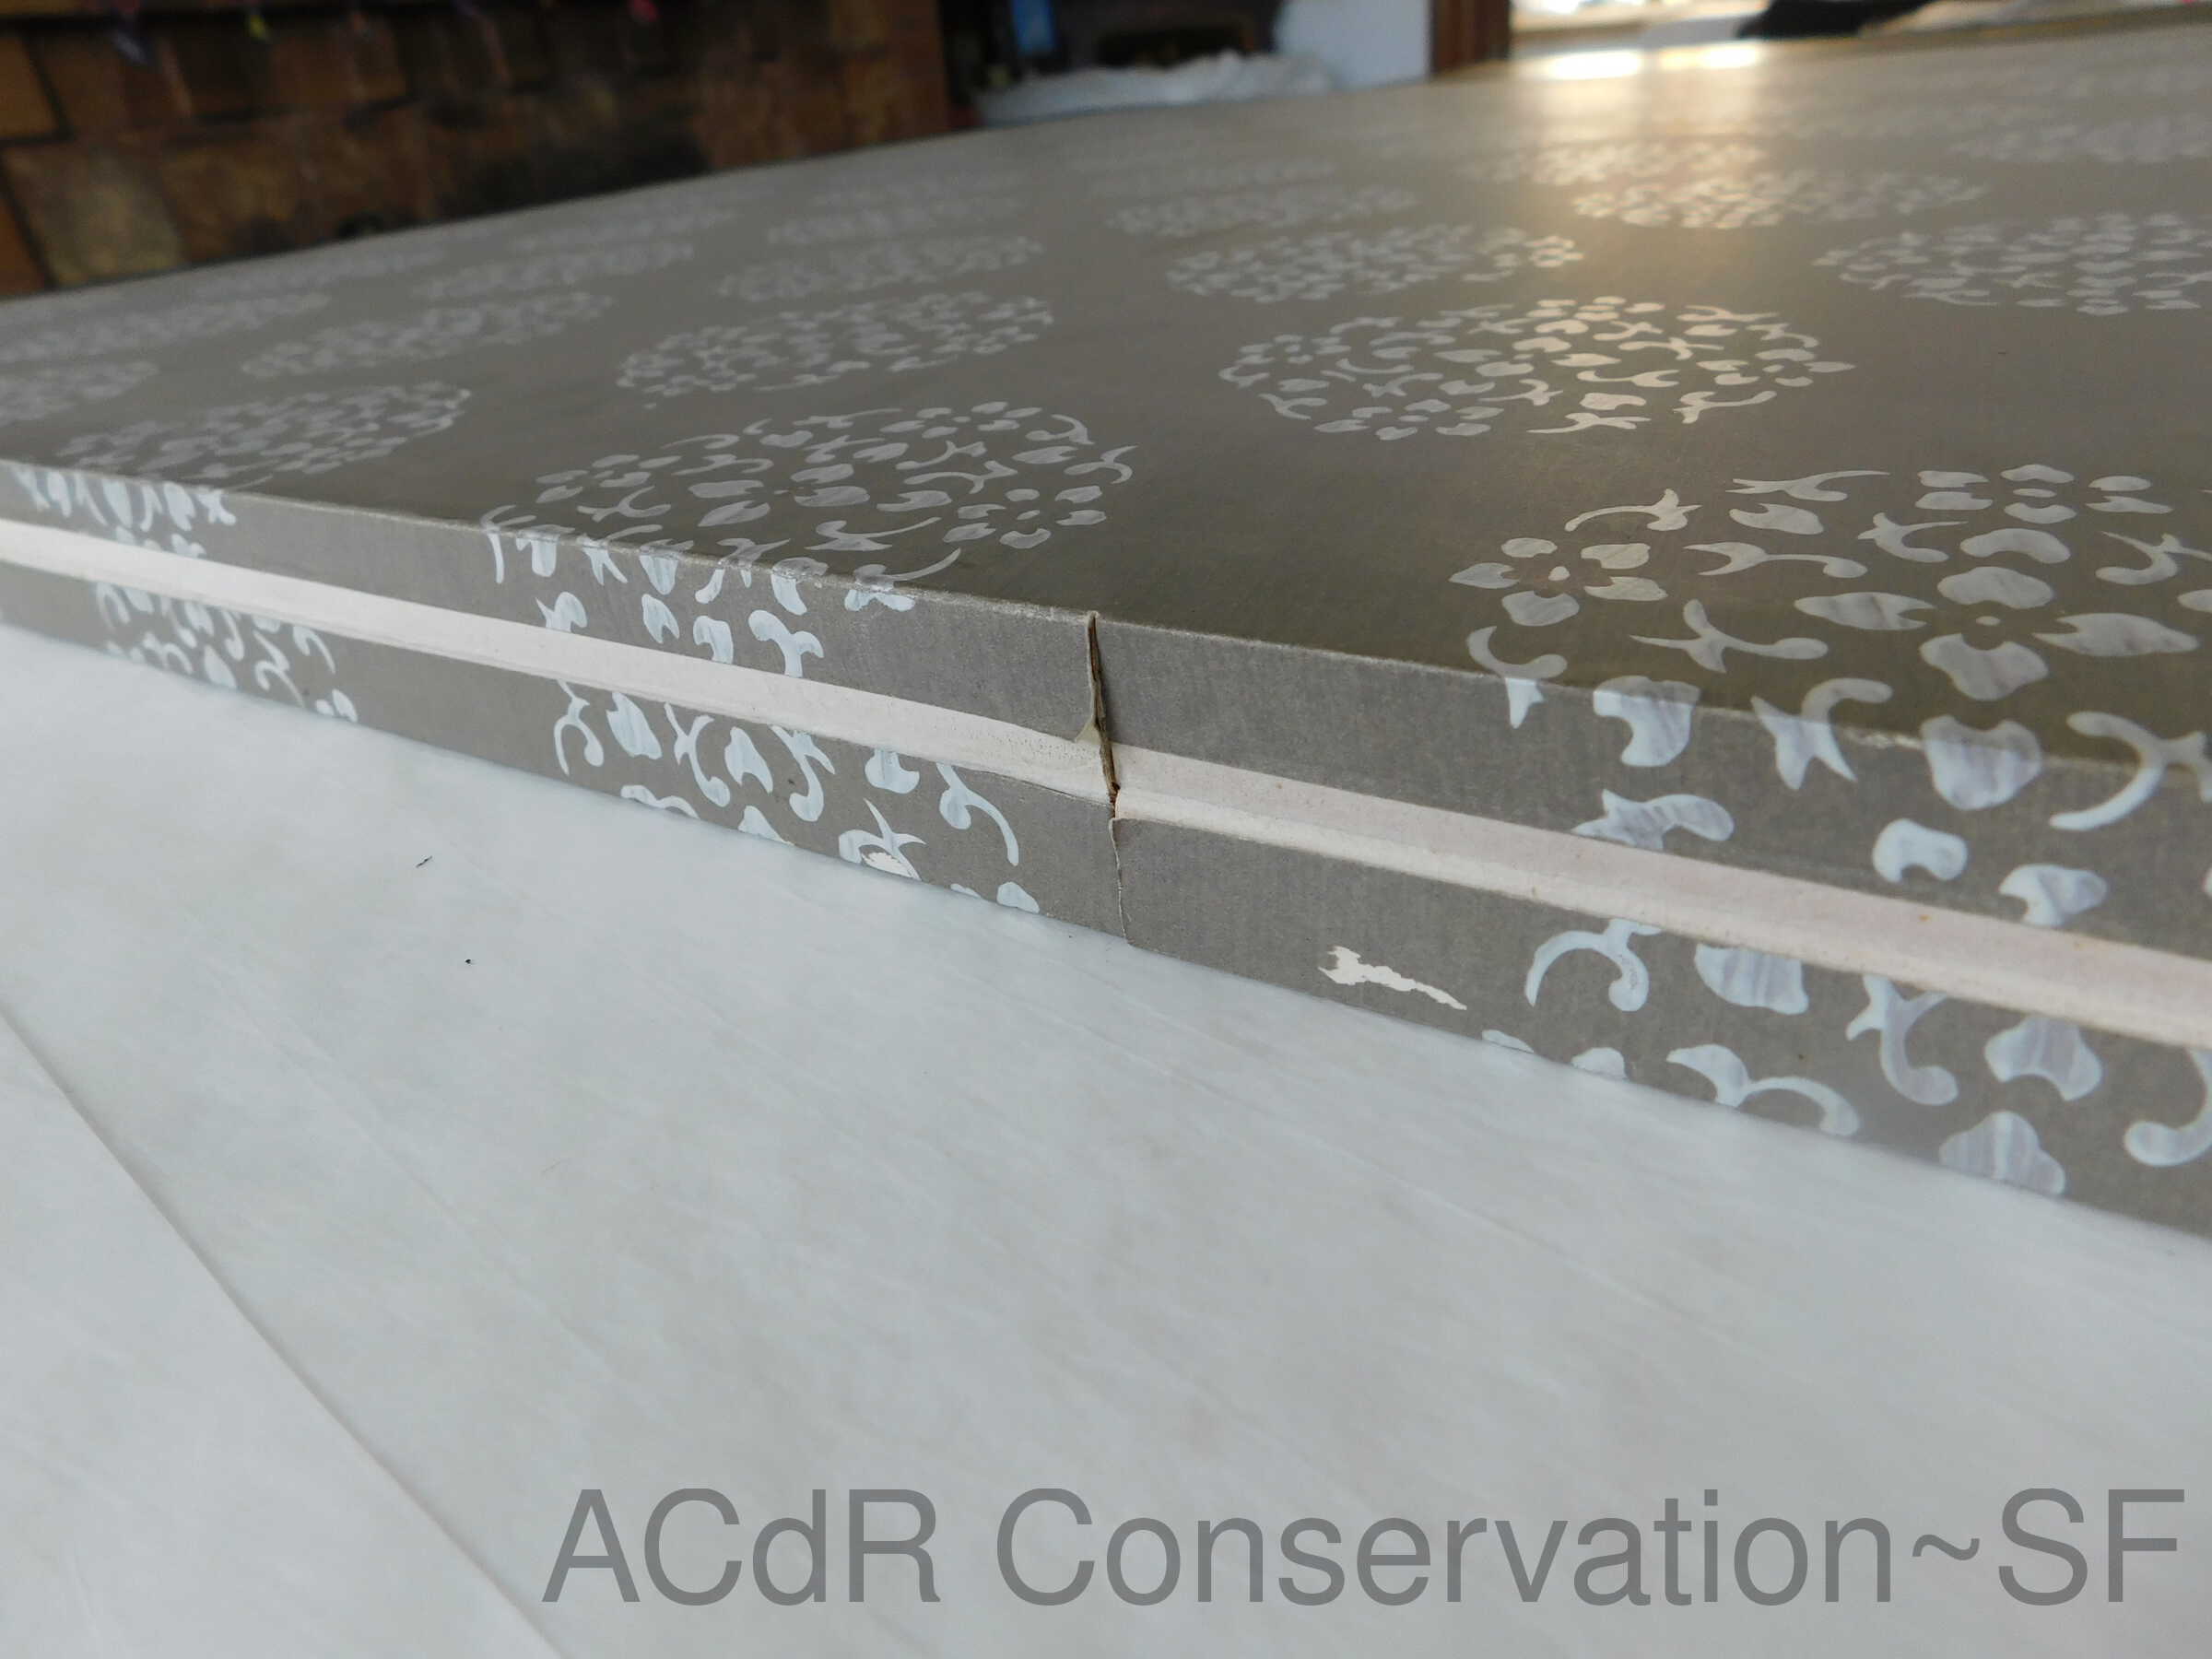
Damage Repair
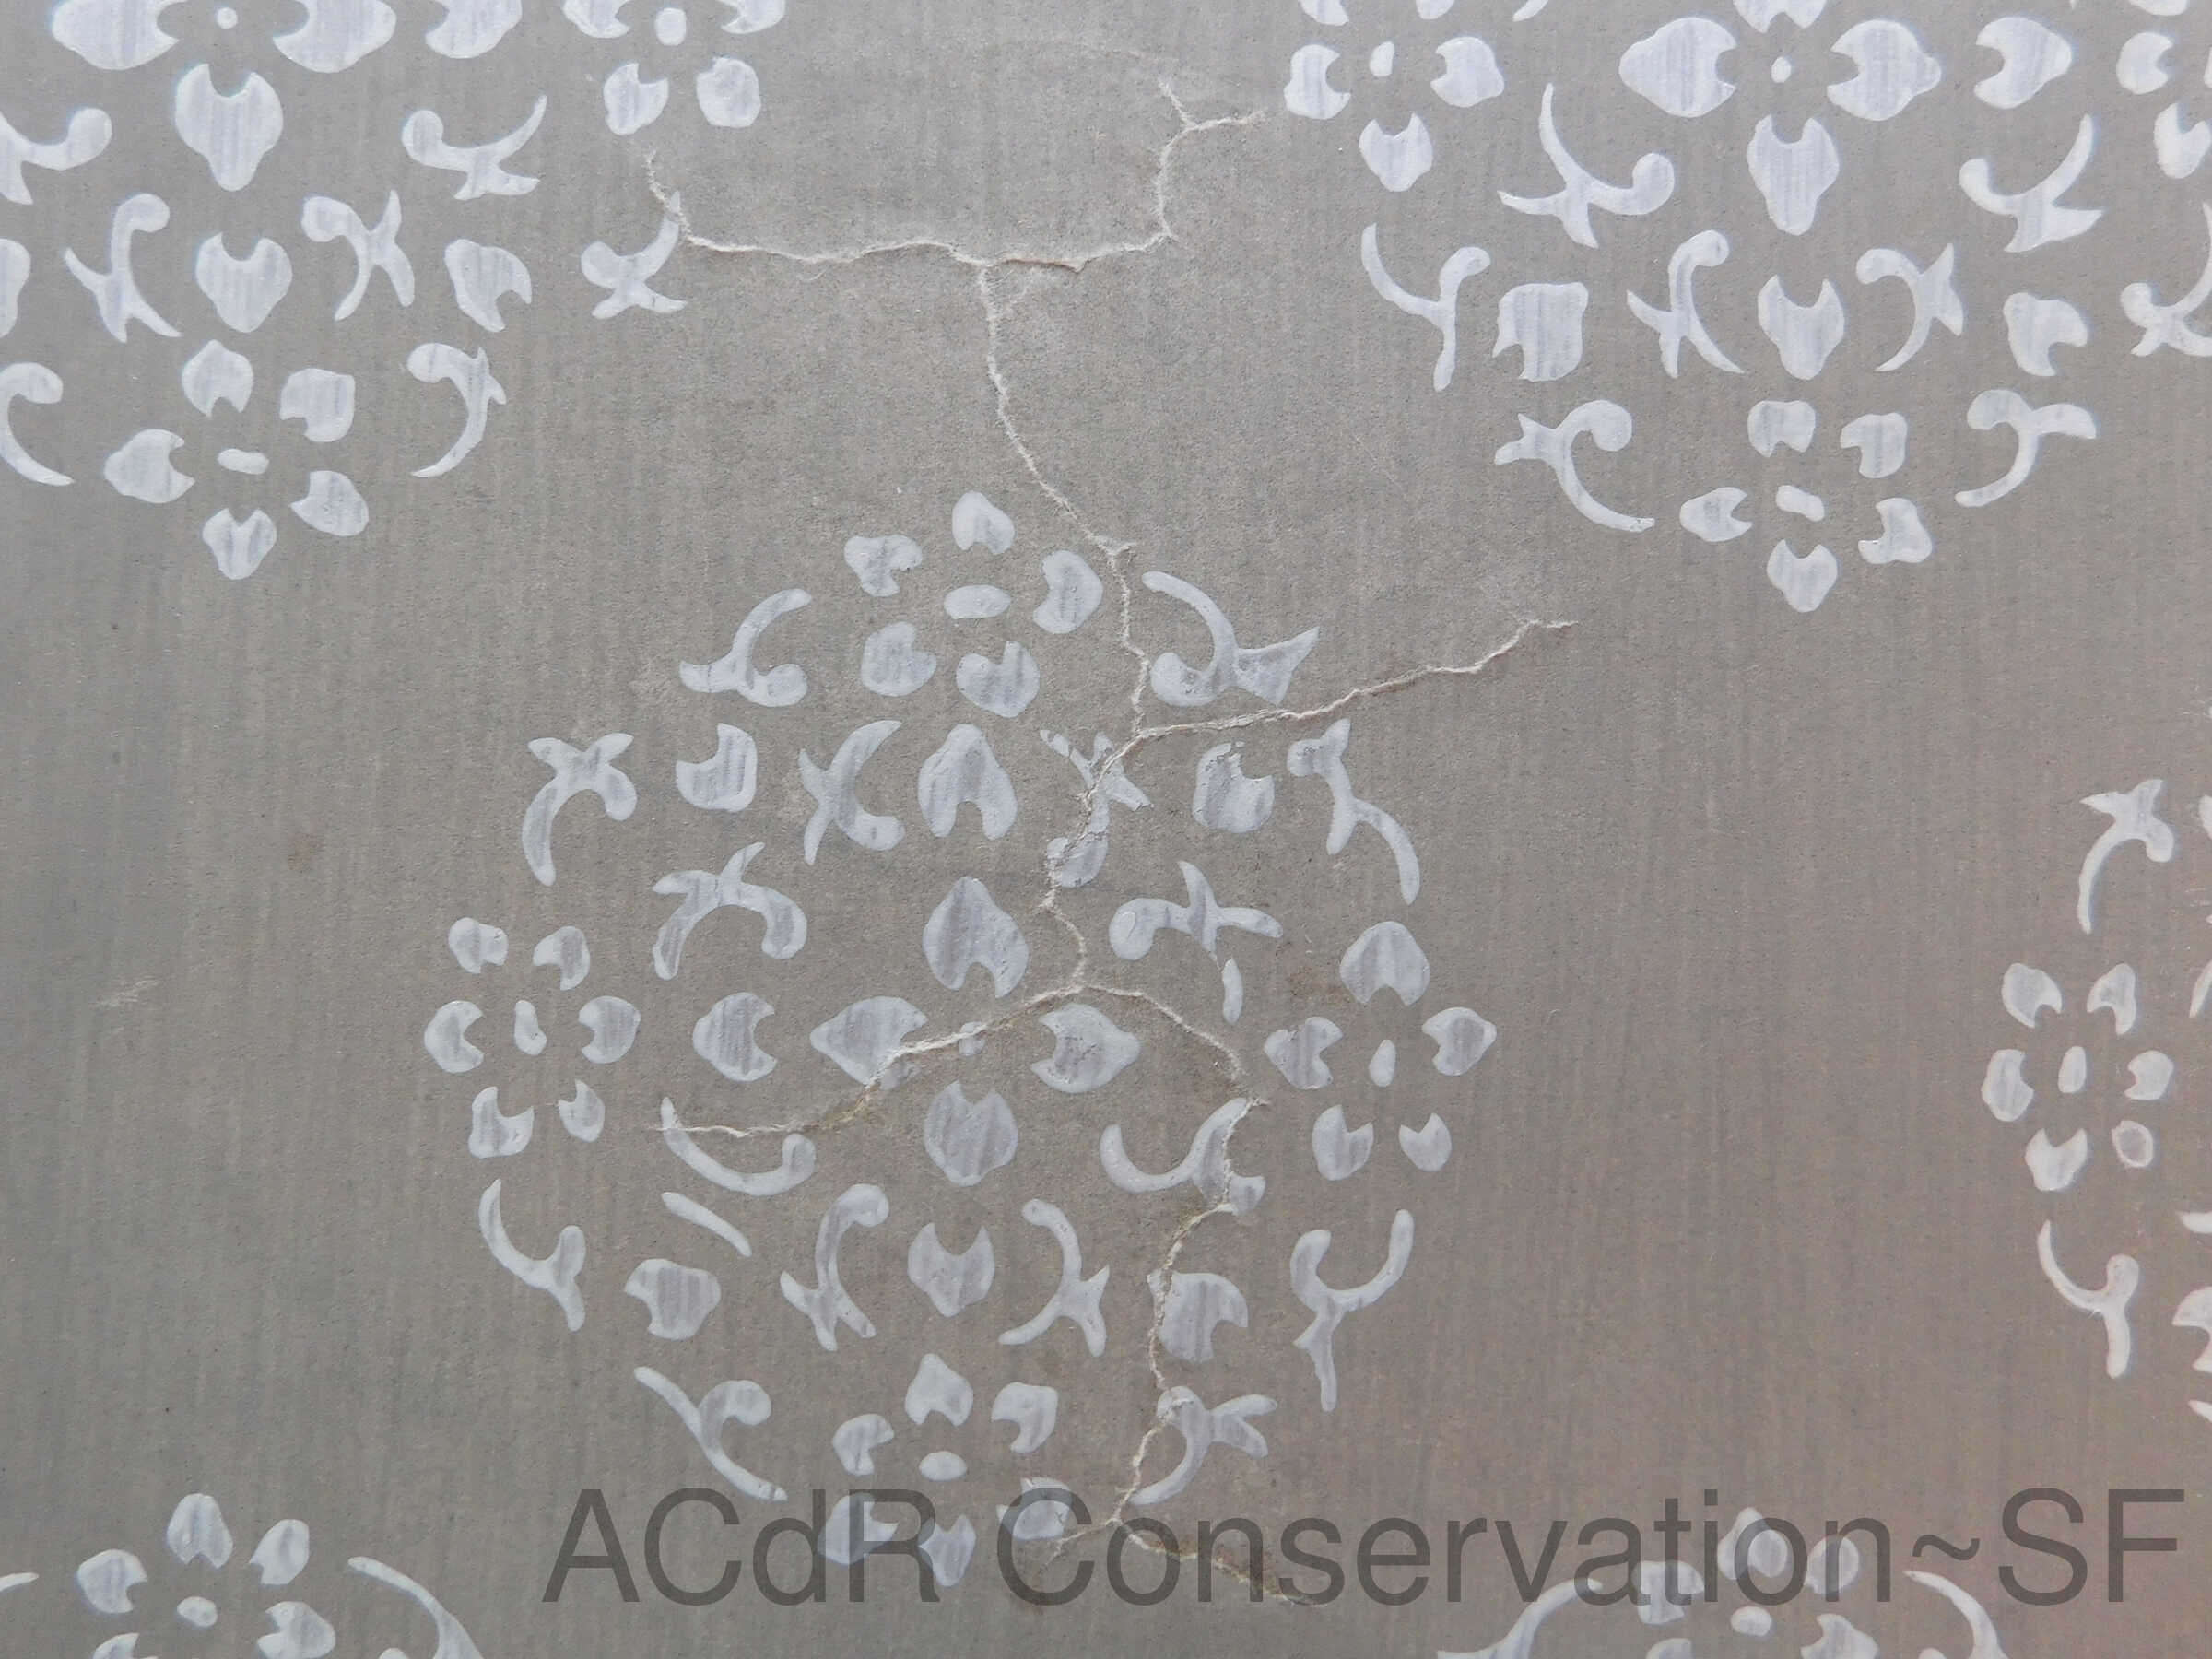
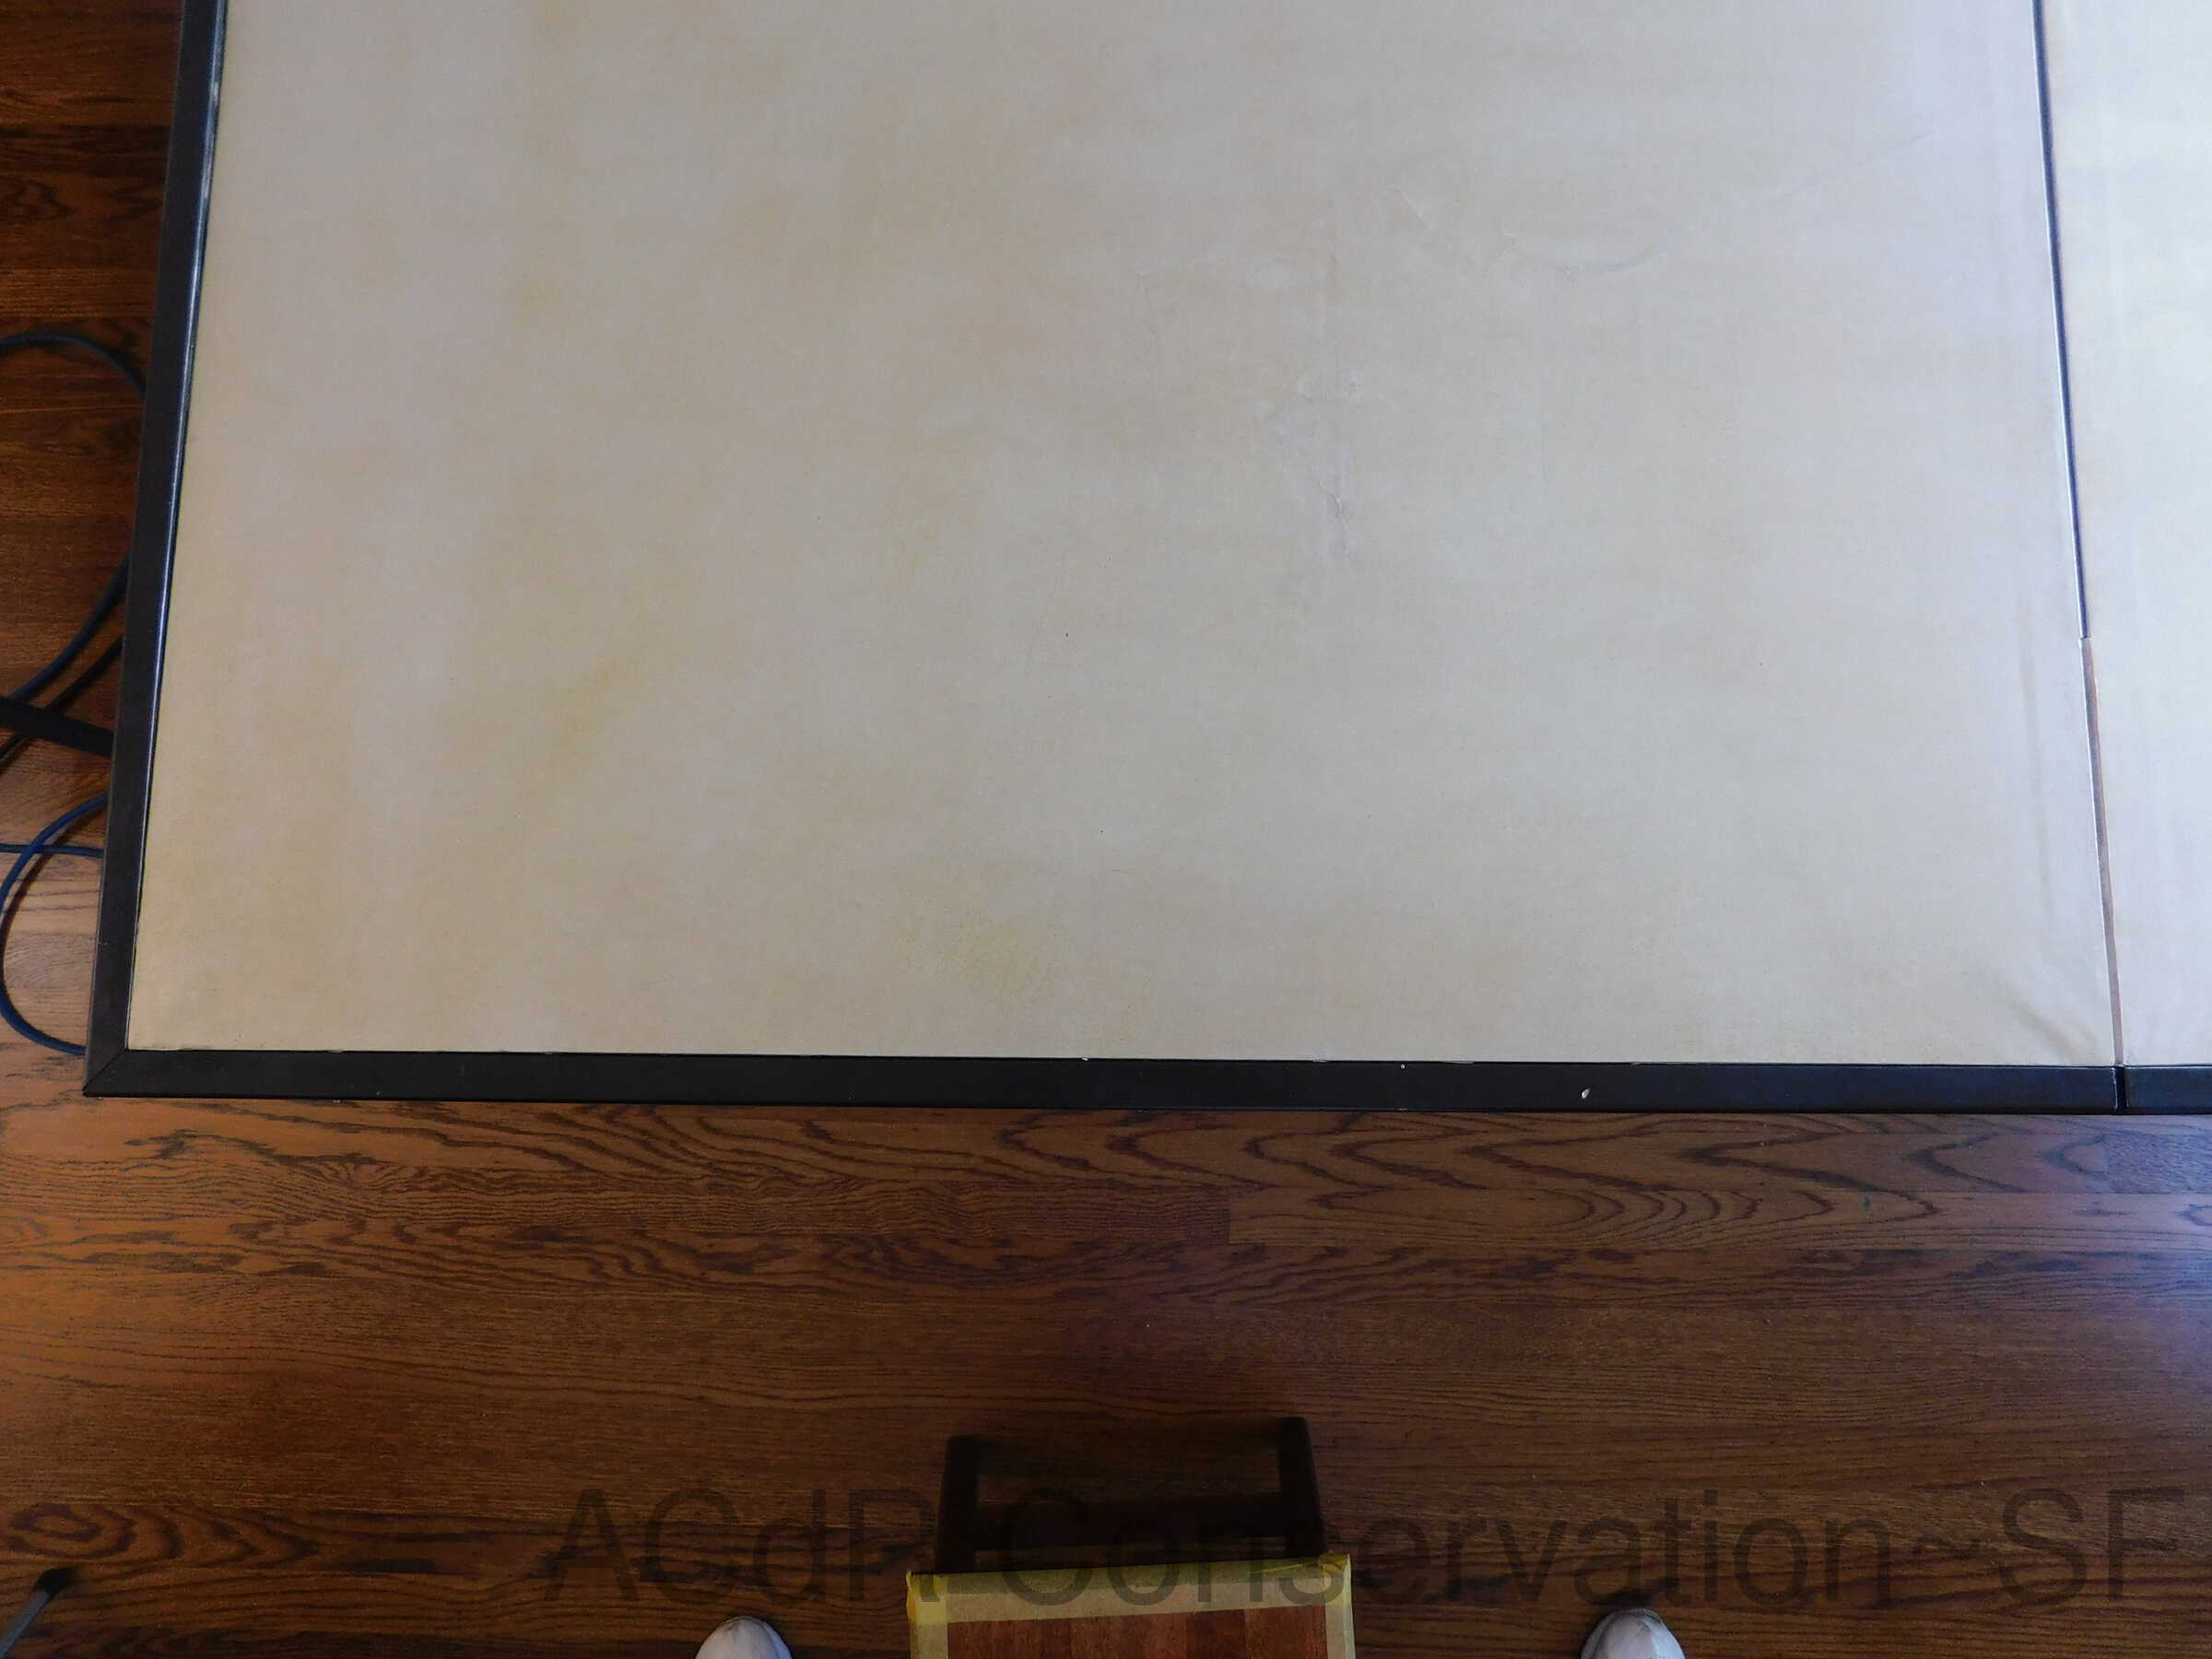
Surface Clean
Feb 20, 2019
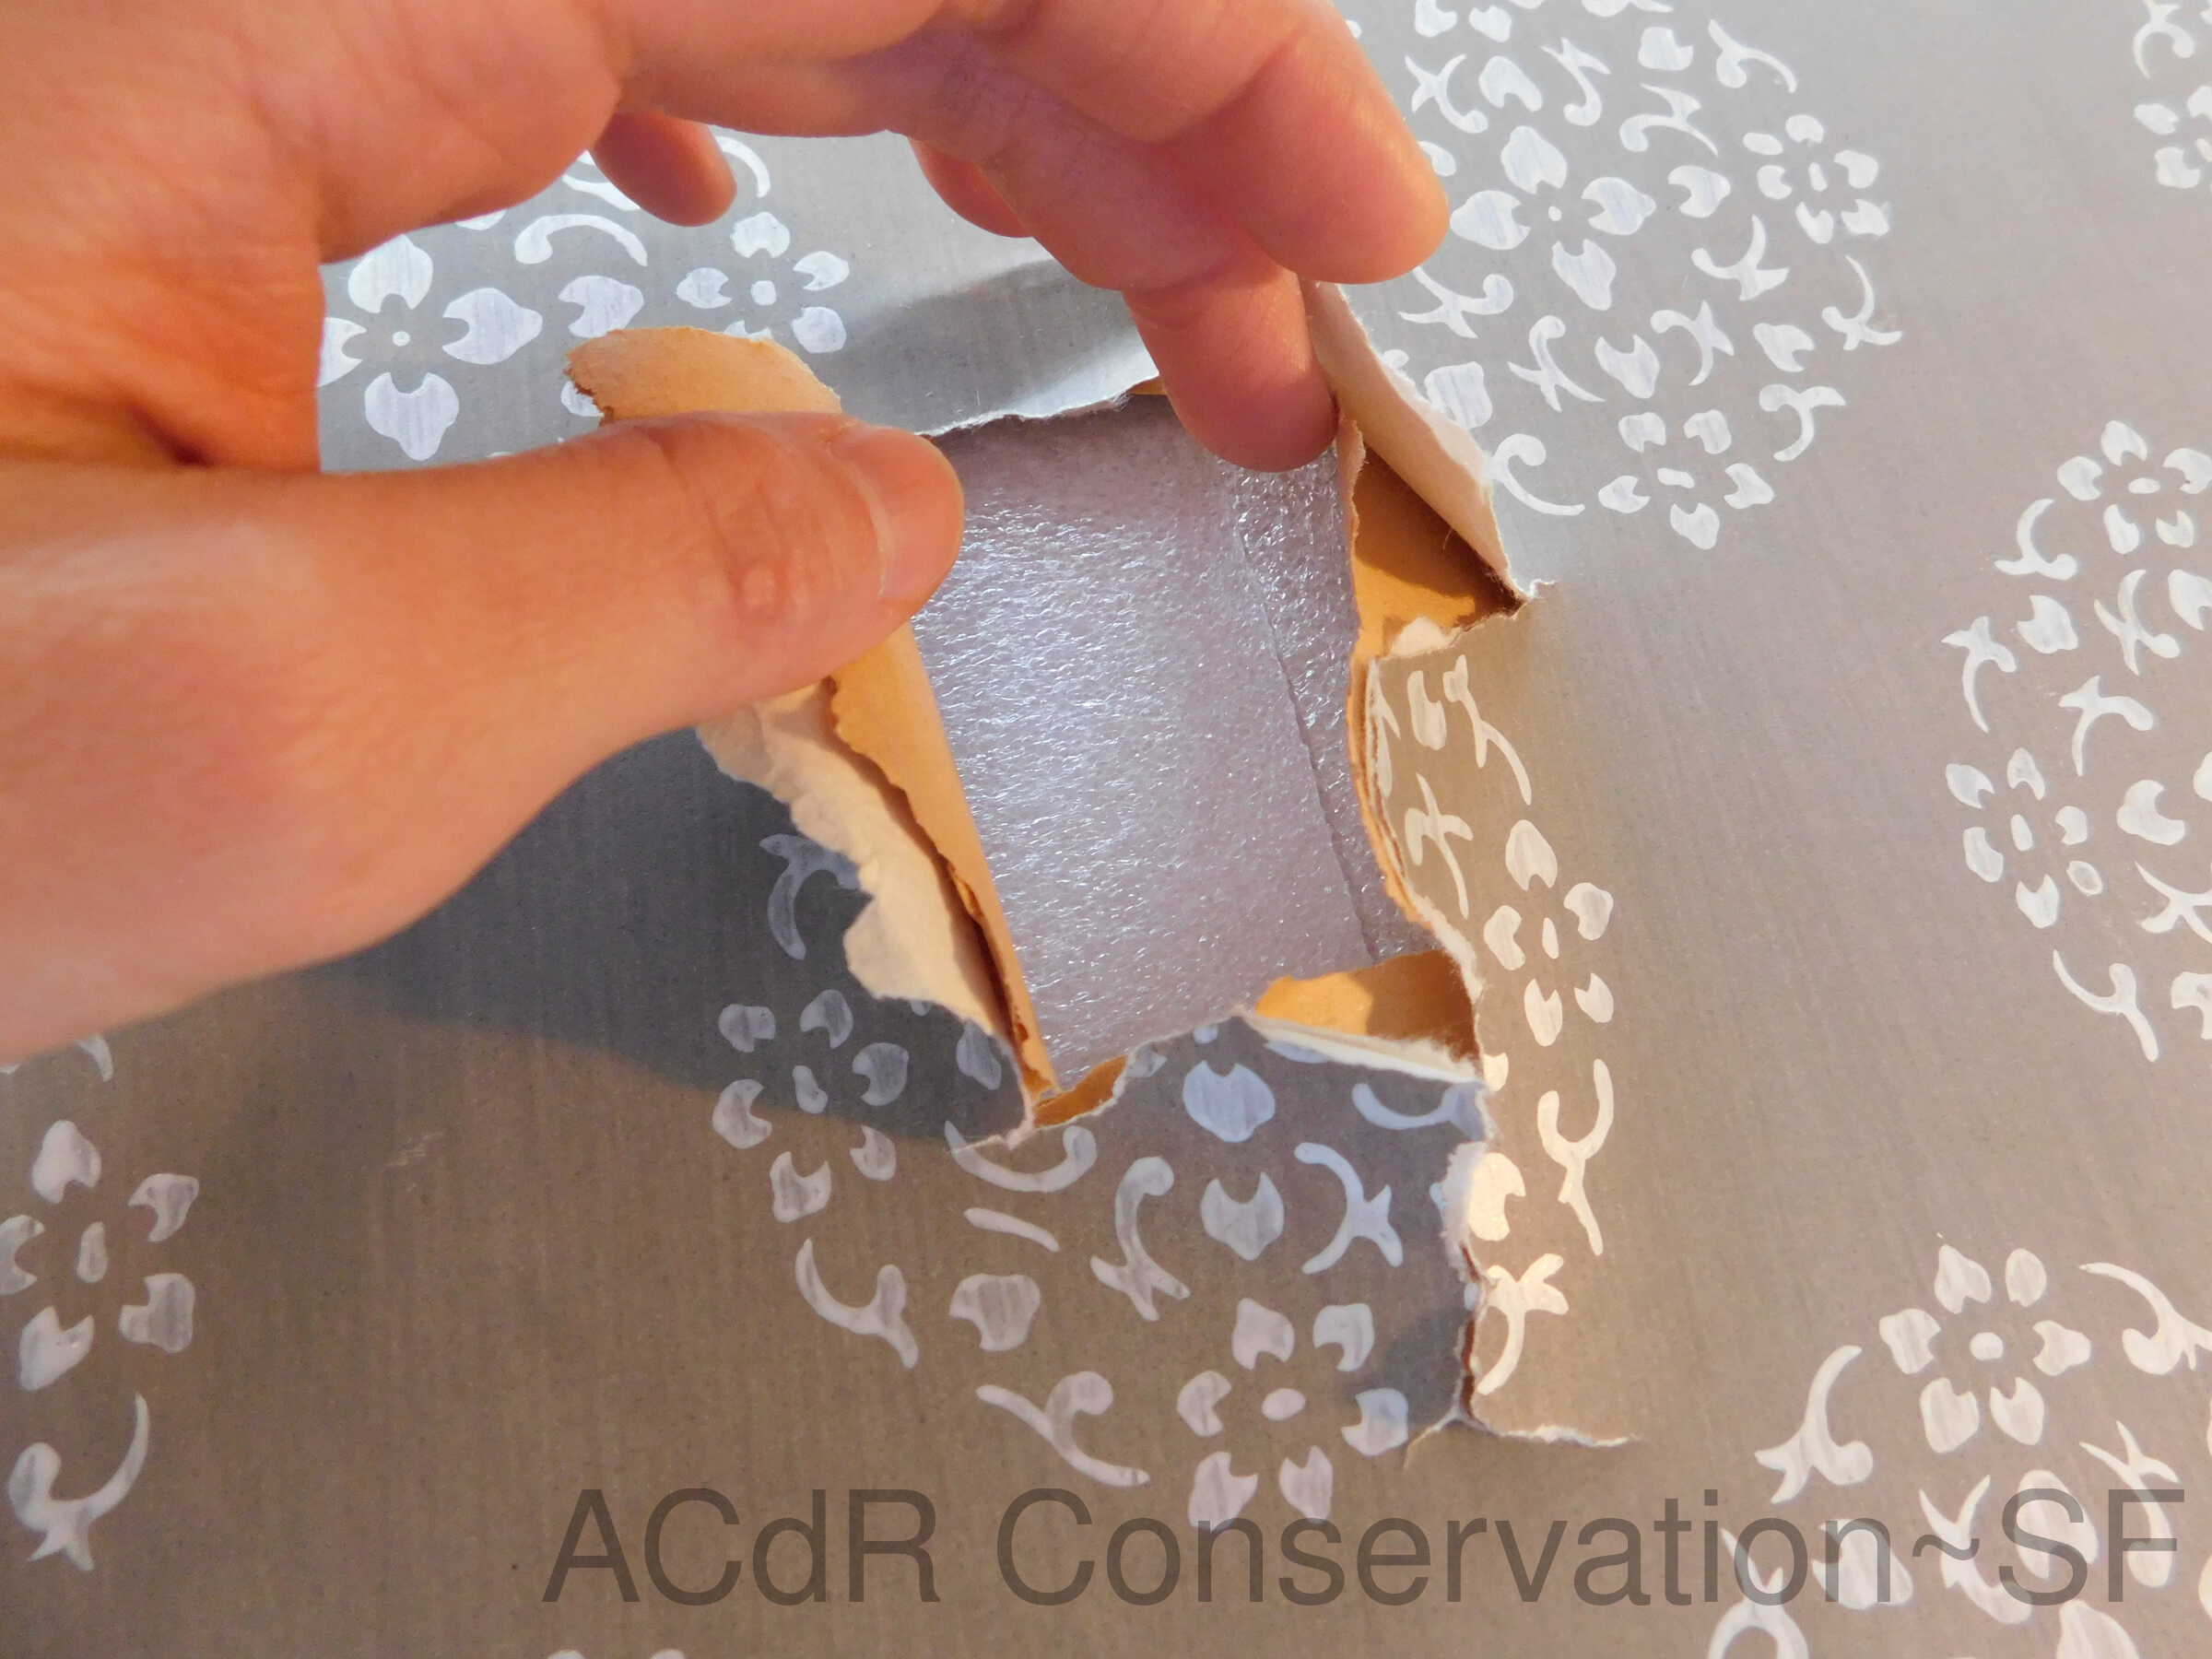
Surface cleaning of two holes on the screen with a soft brush. Set up tables and foam to rest the screen open face.
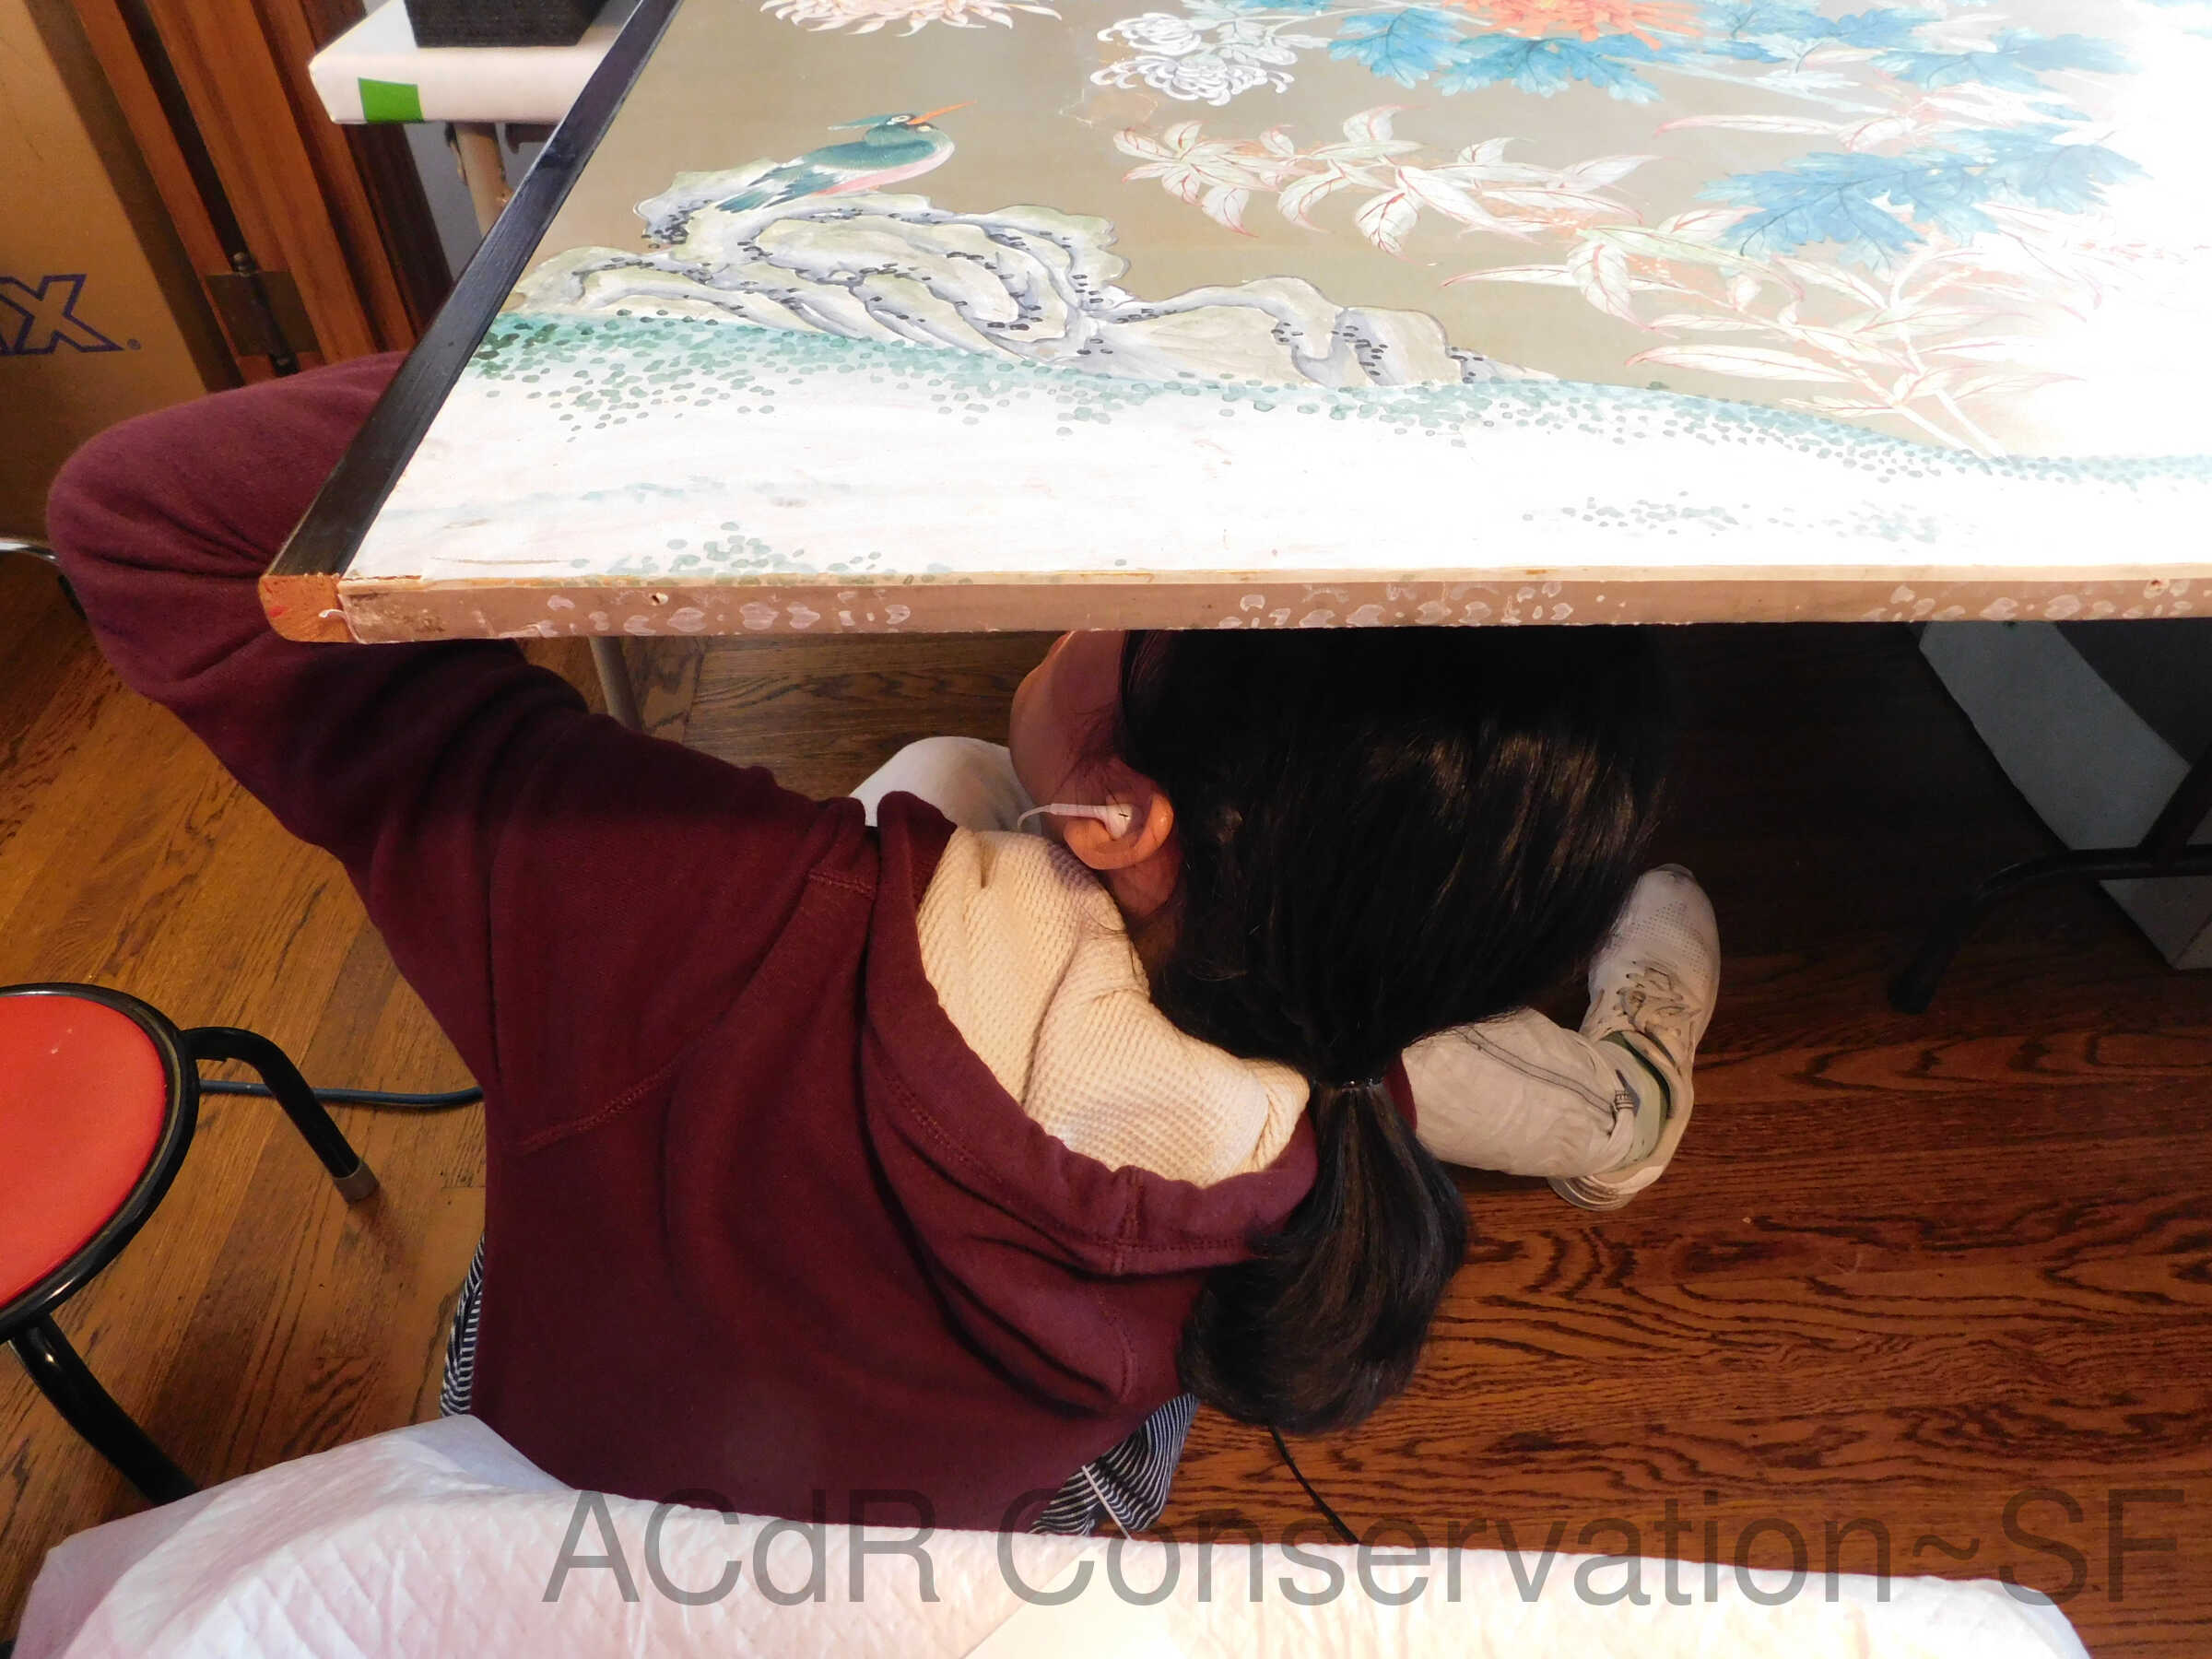
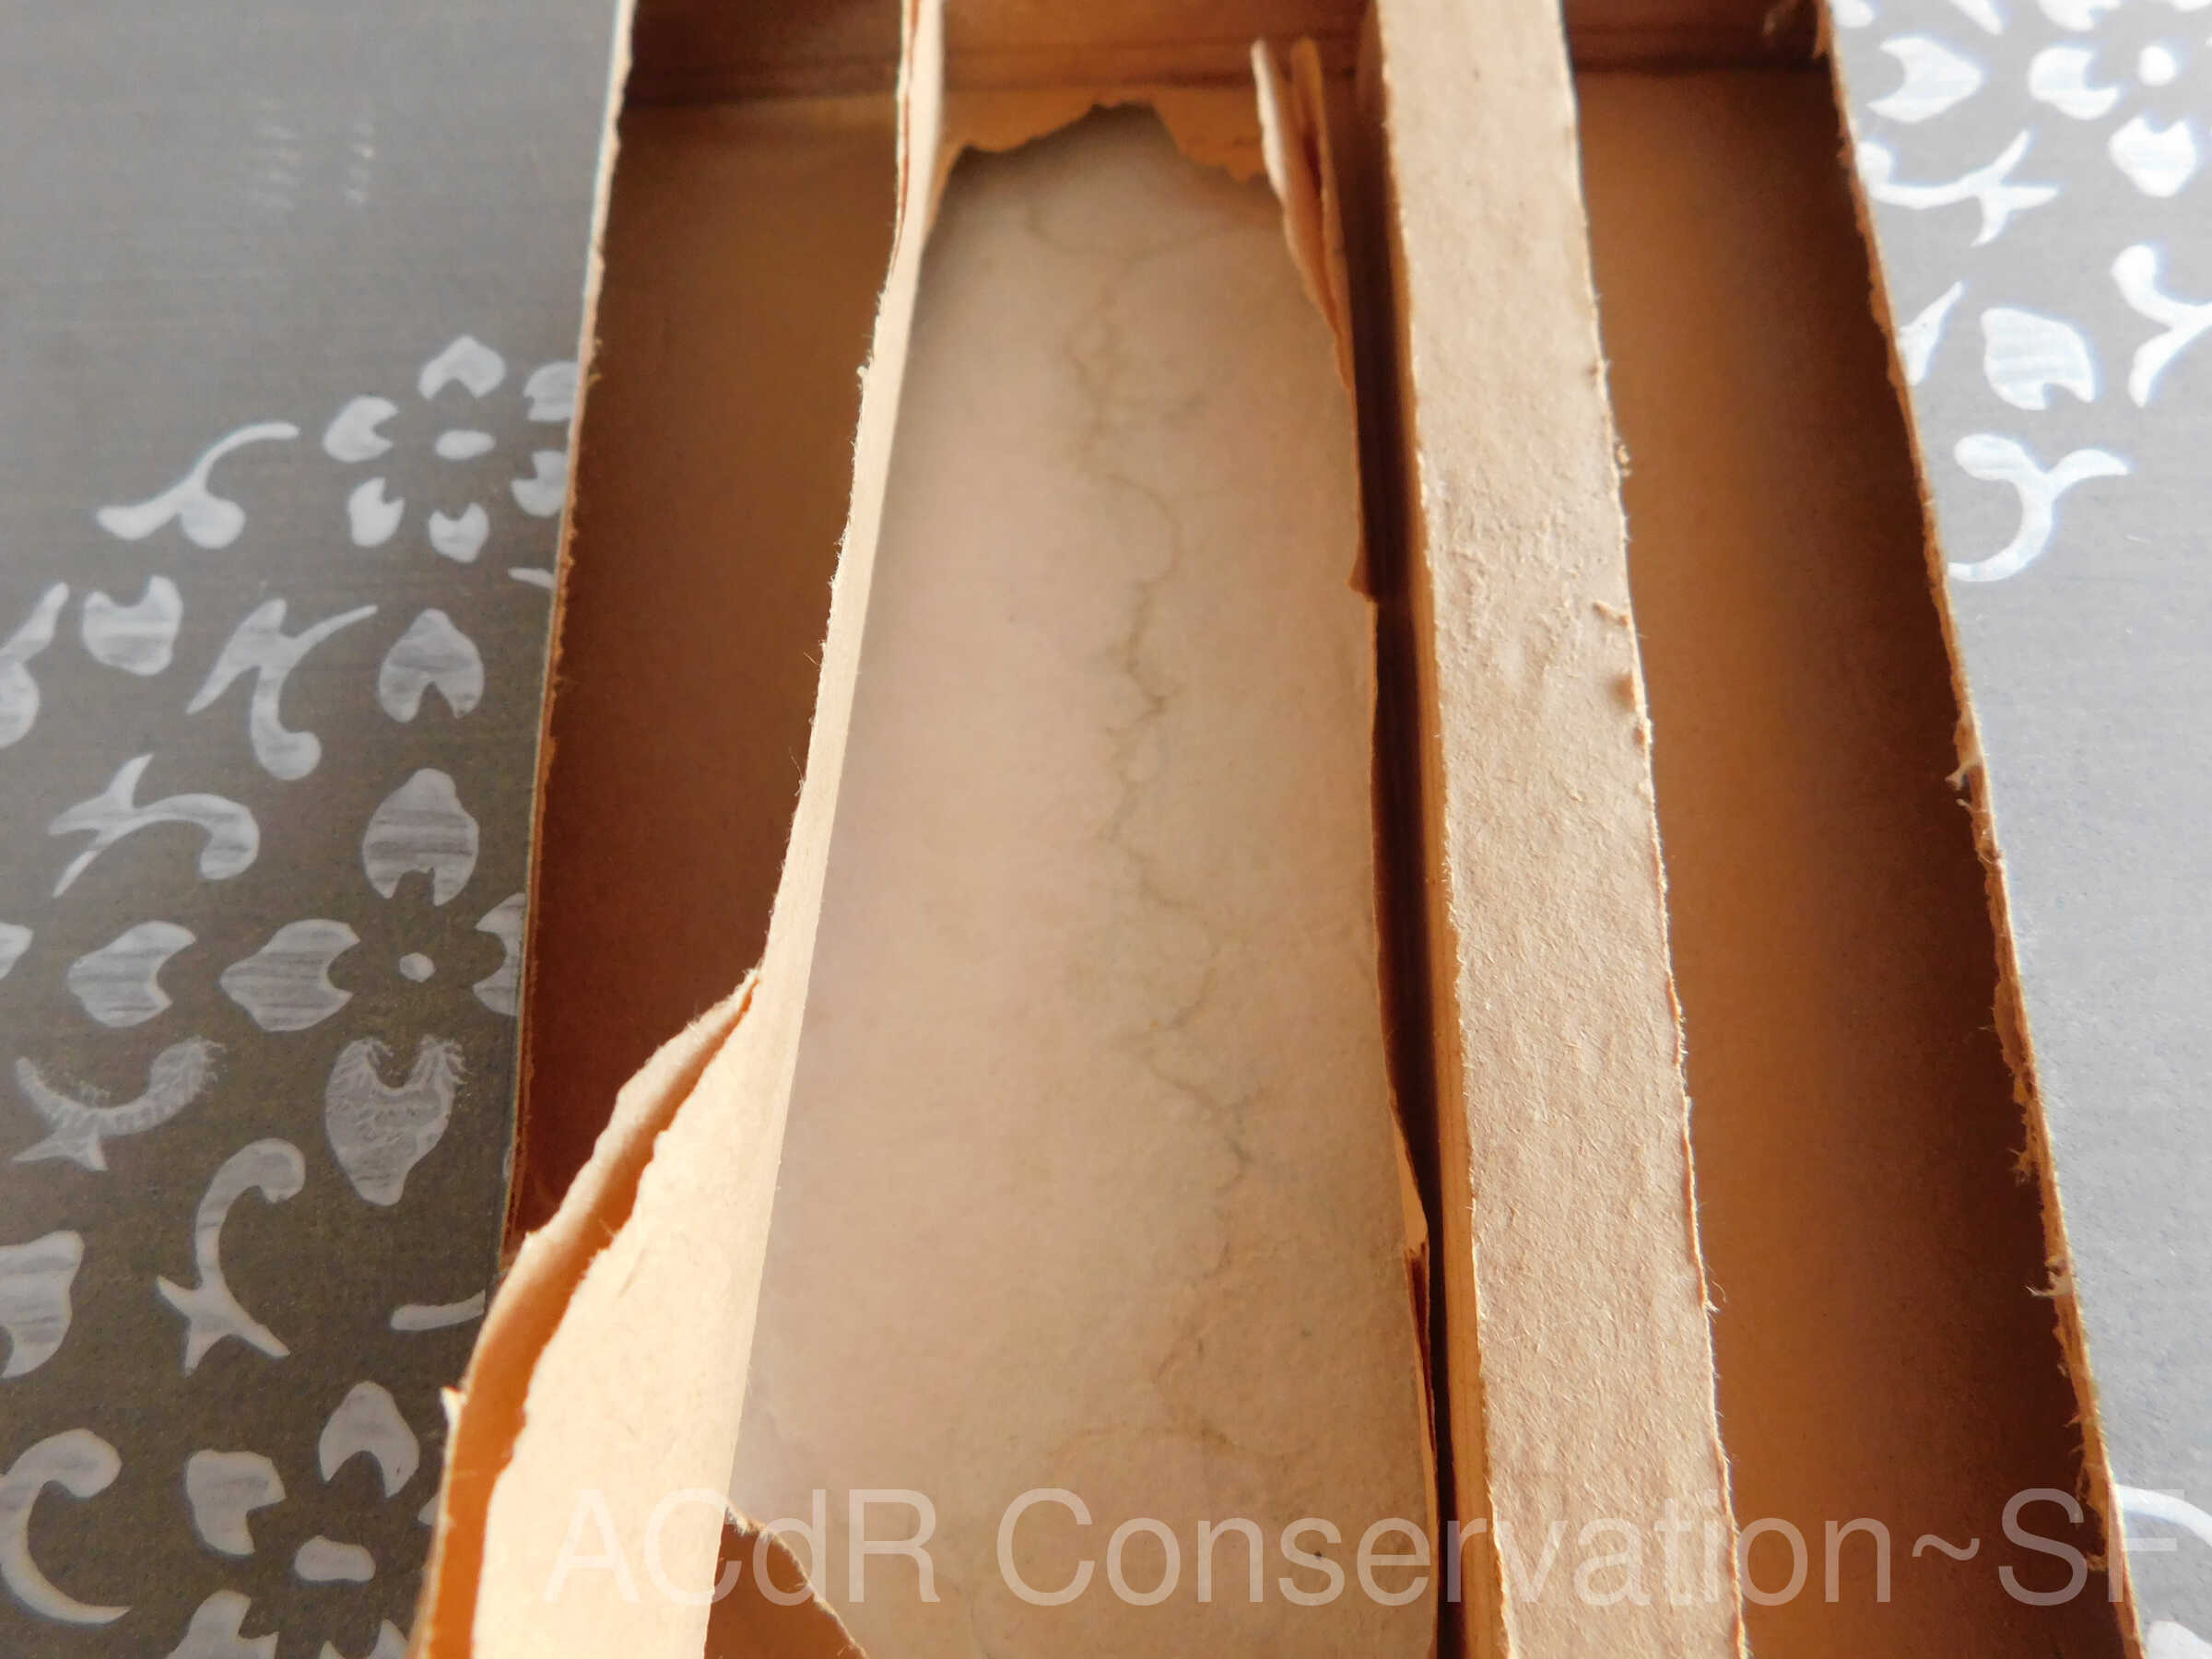
Humidification
Feb 20, 2019
Humidified bigger hole locally using a plastic bag, a piece of Mylar, a piece of wet blotter paper, eight pieces of Hollytex, and a piece of felt. After mending tears, humidified first layer (with drawing) by brush from back side, and pressed into sandwich layers to flatten the first layer.
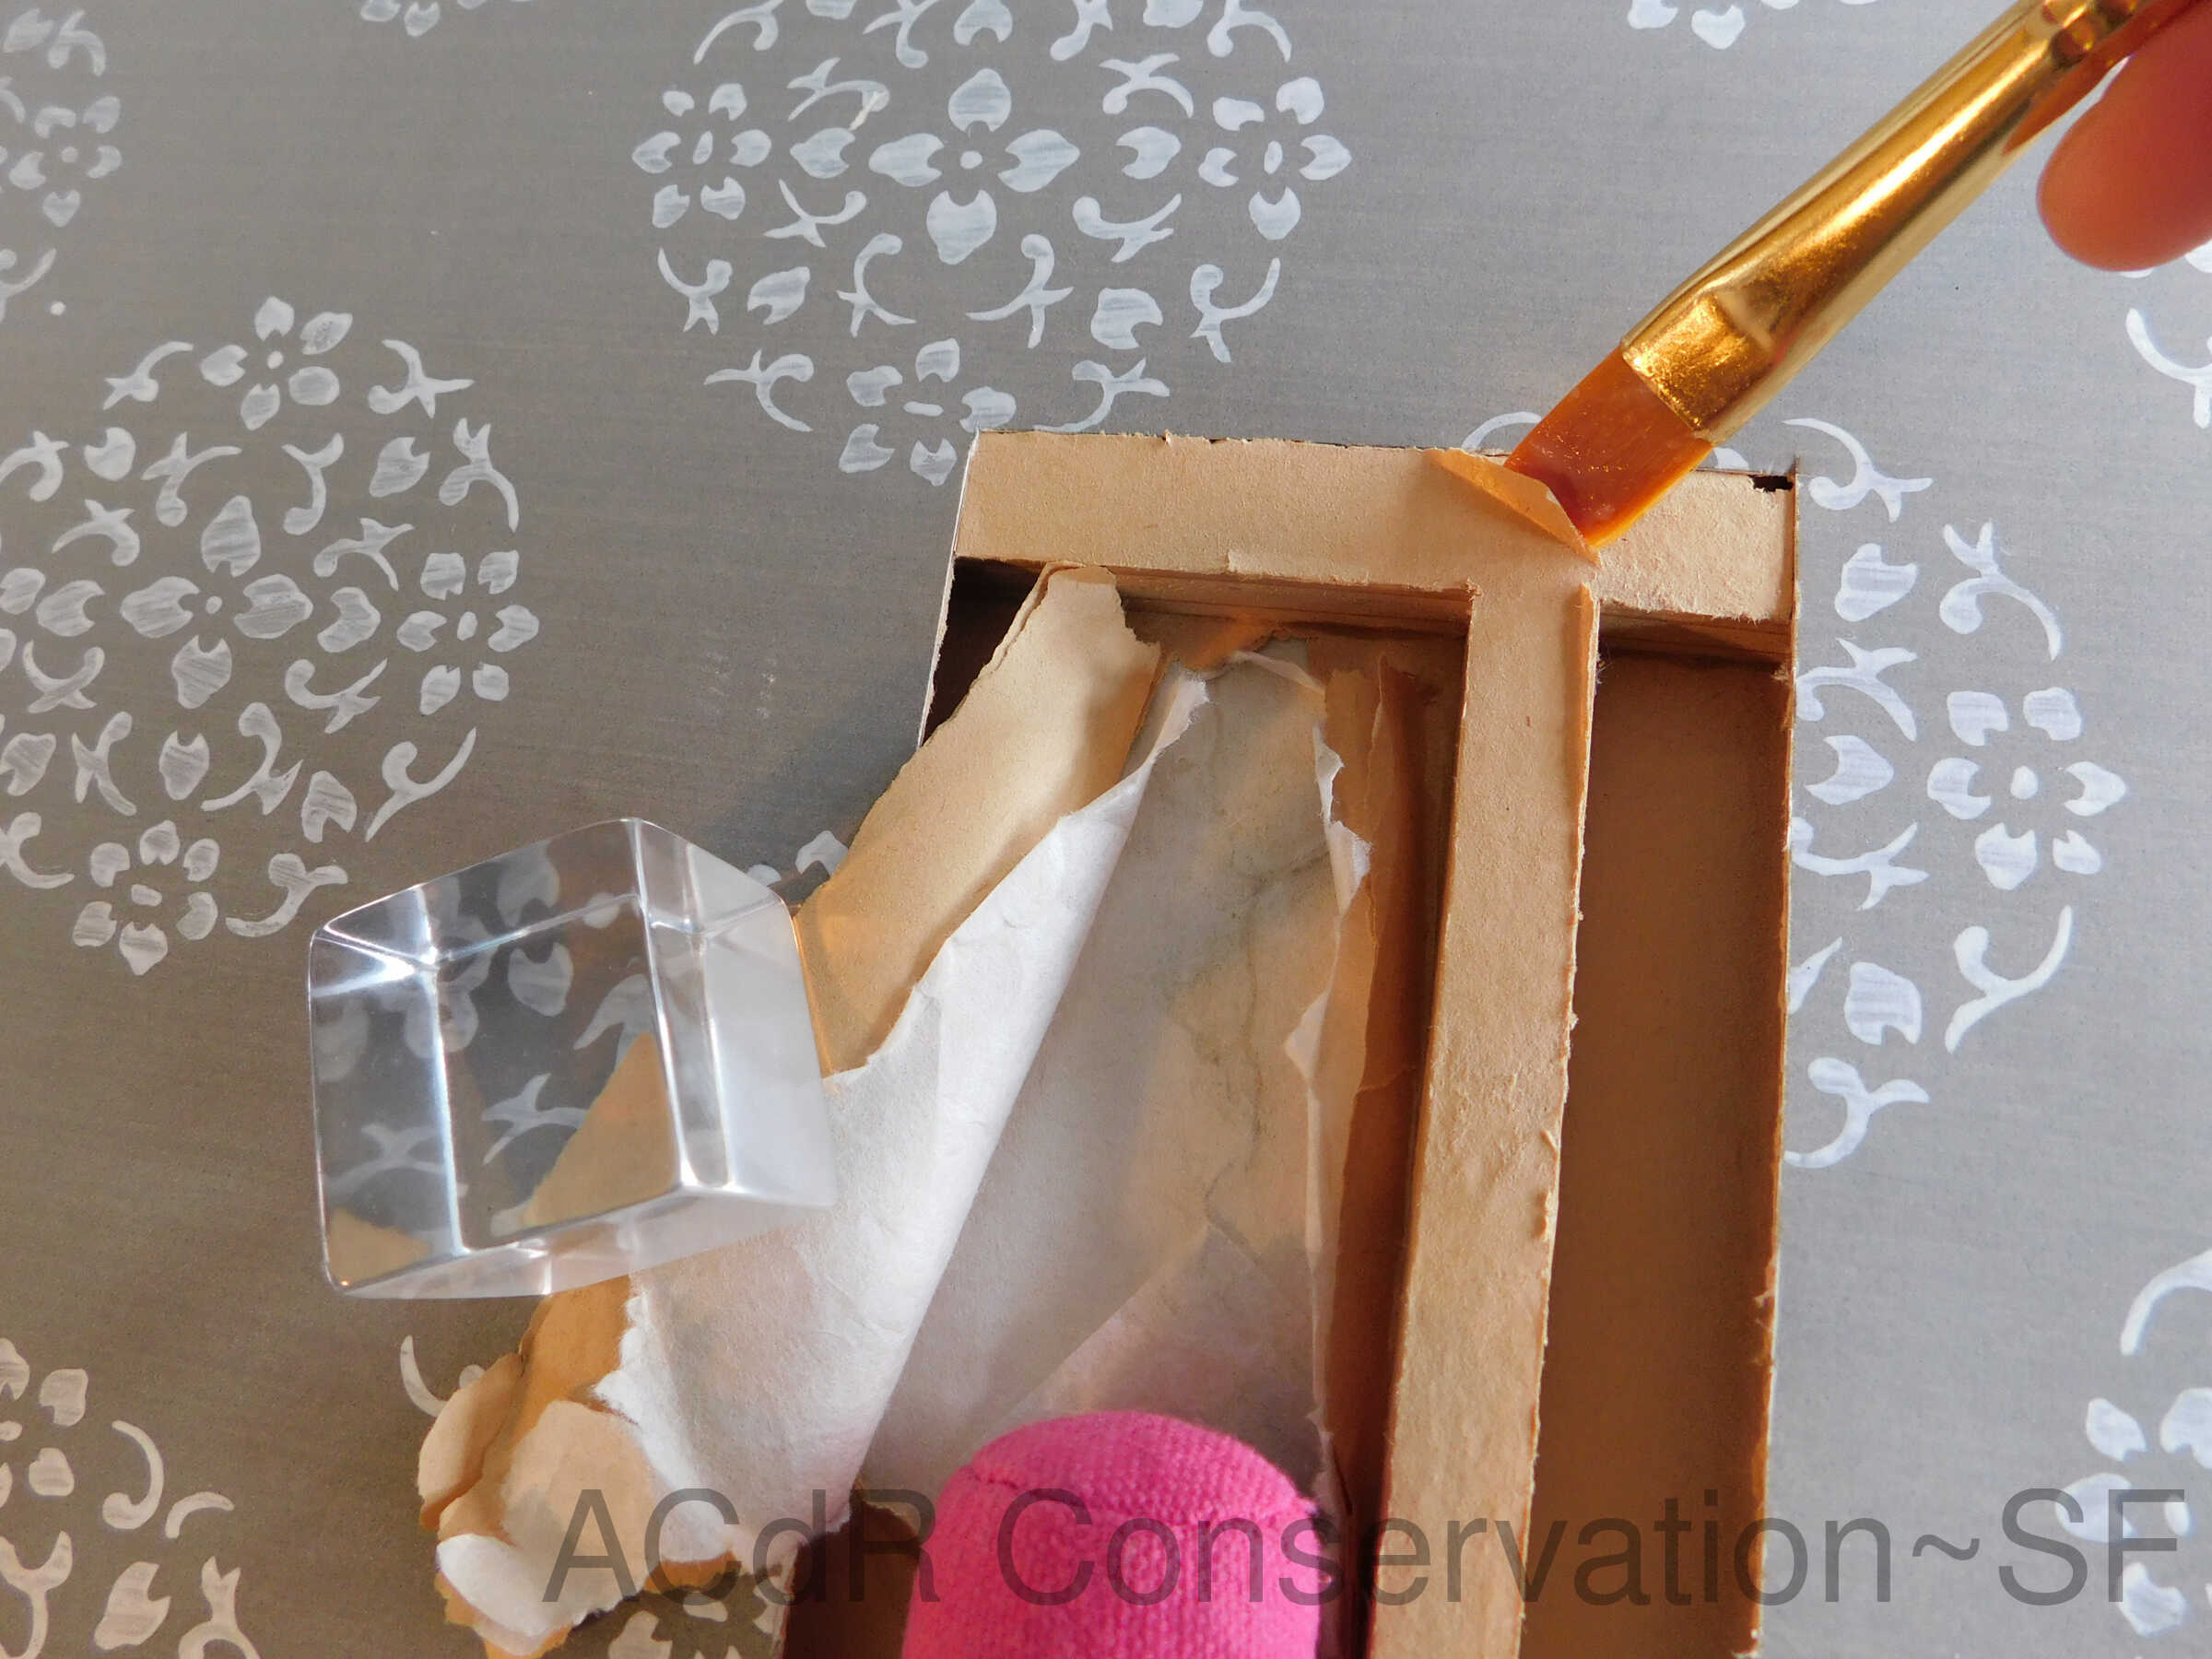
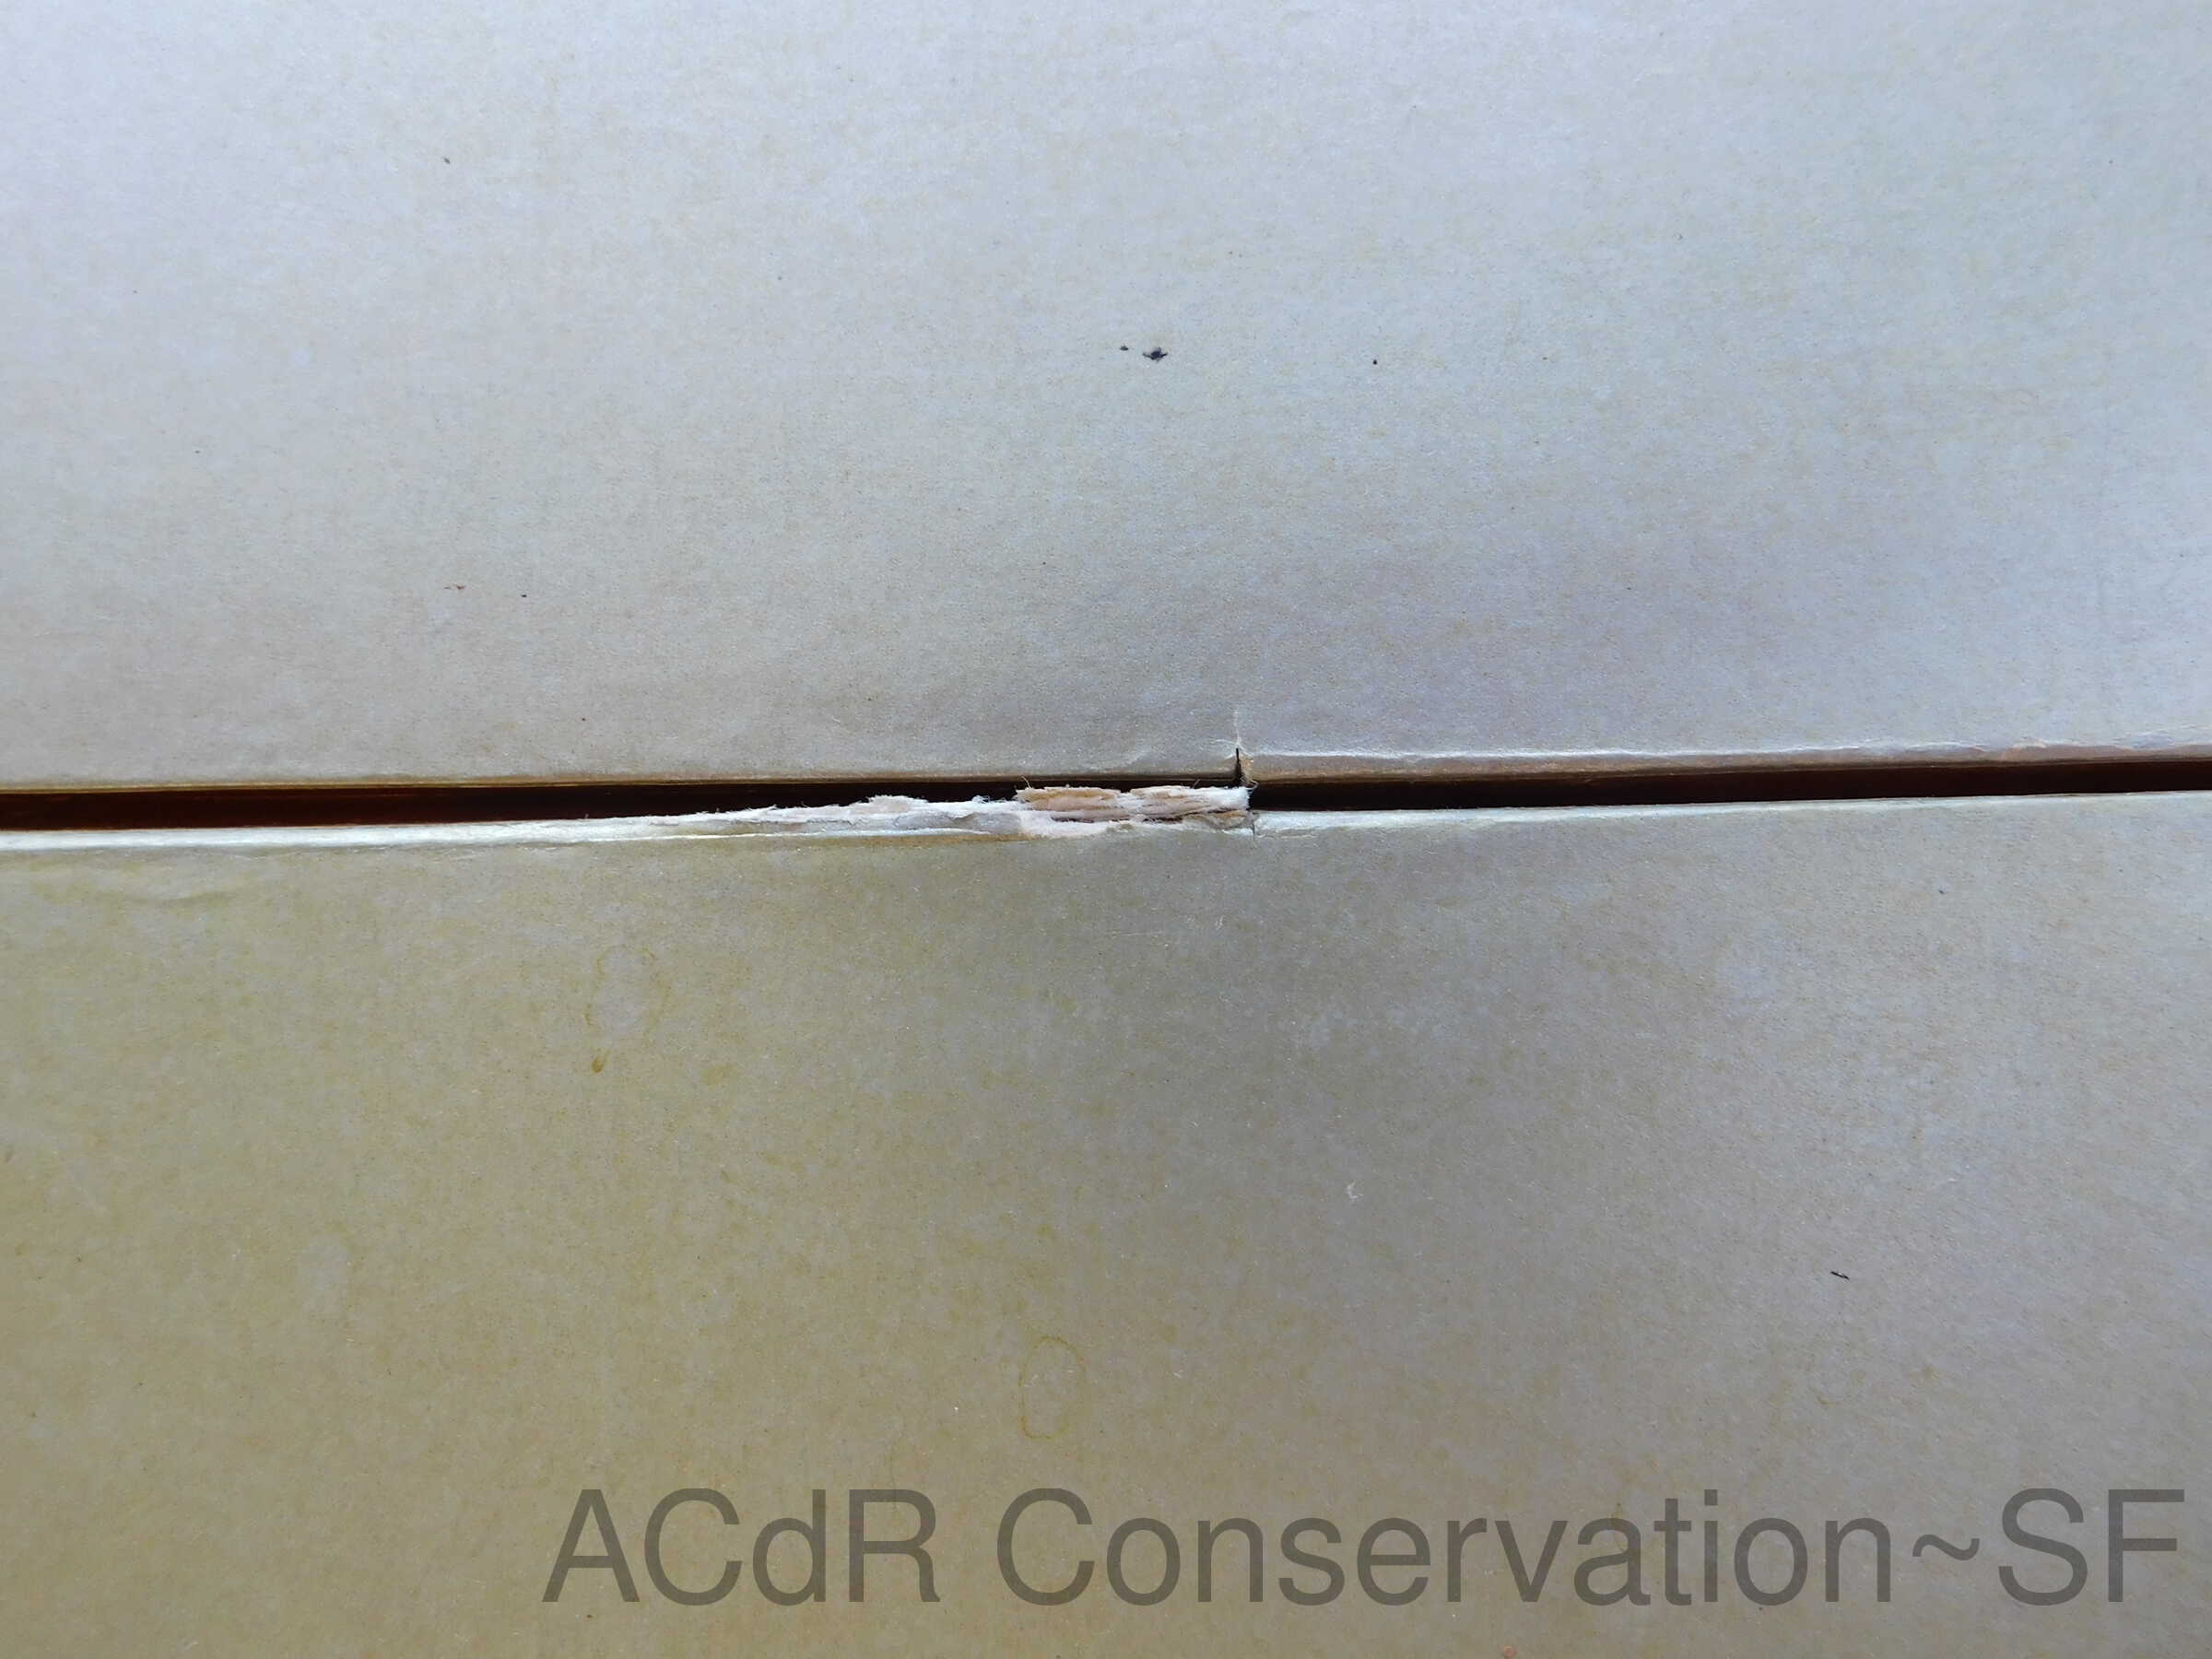
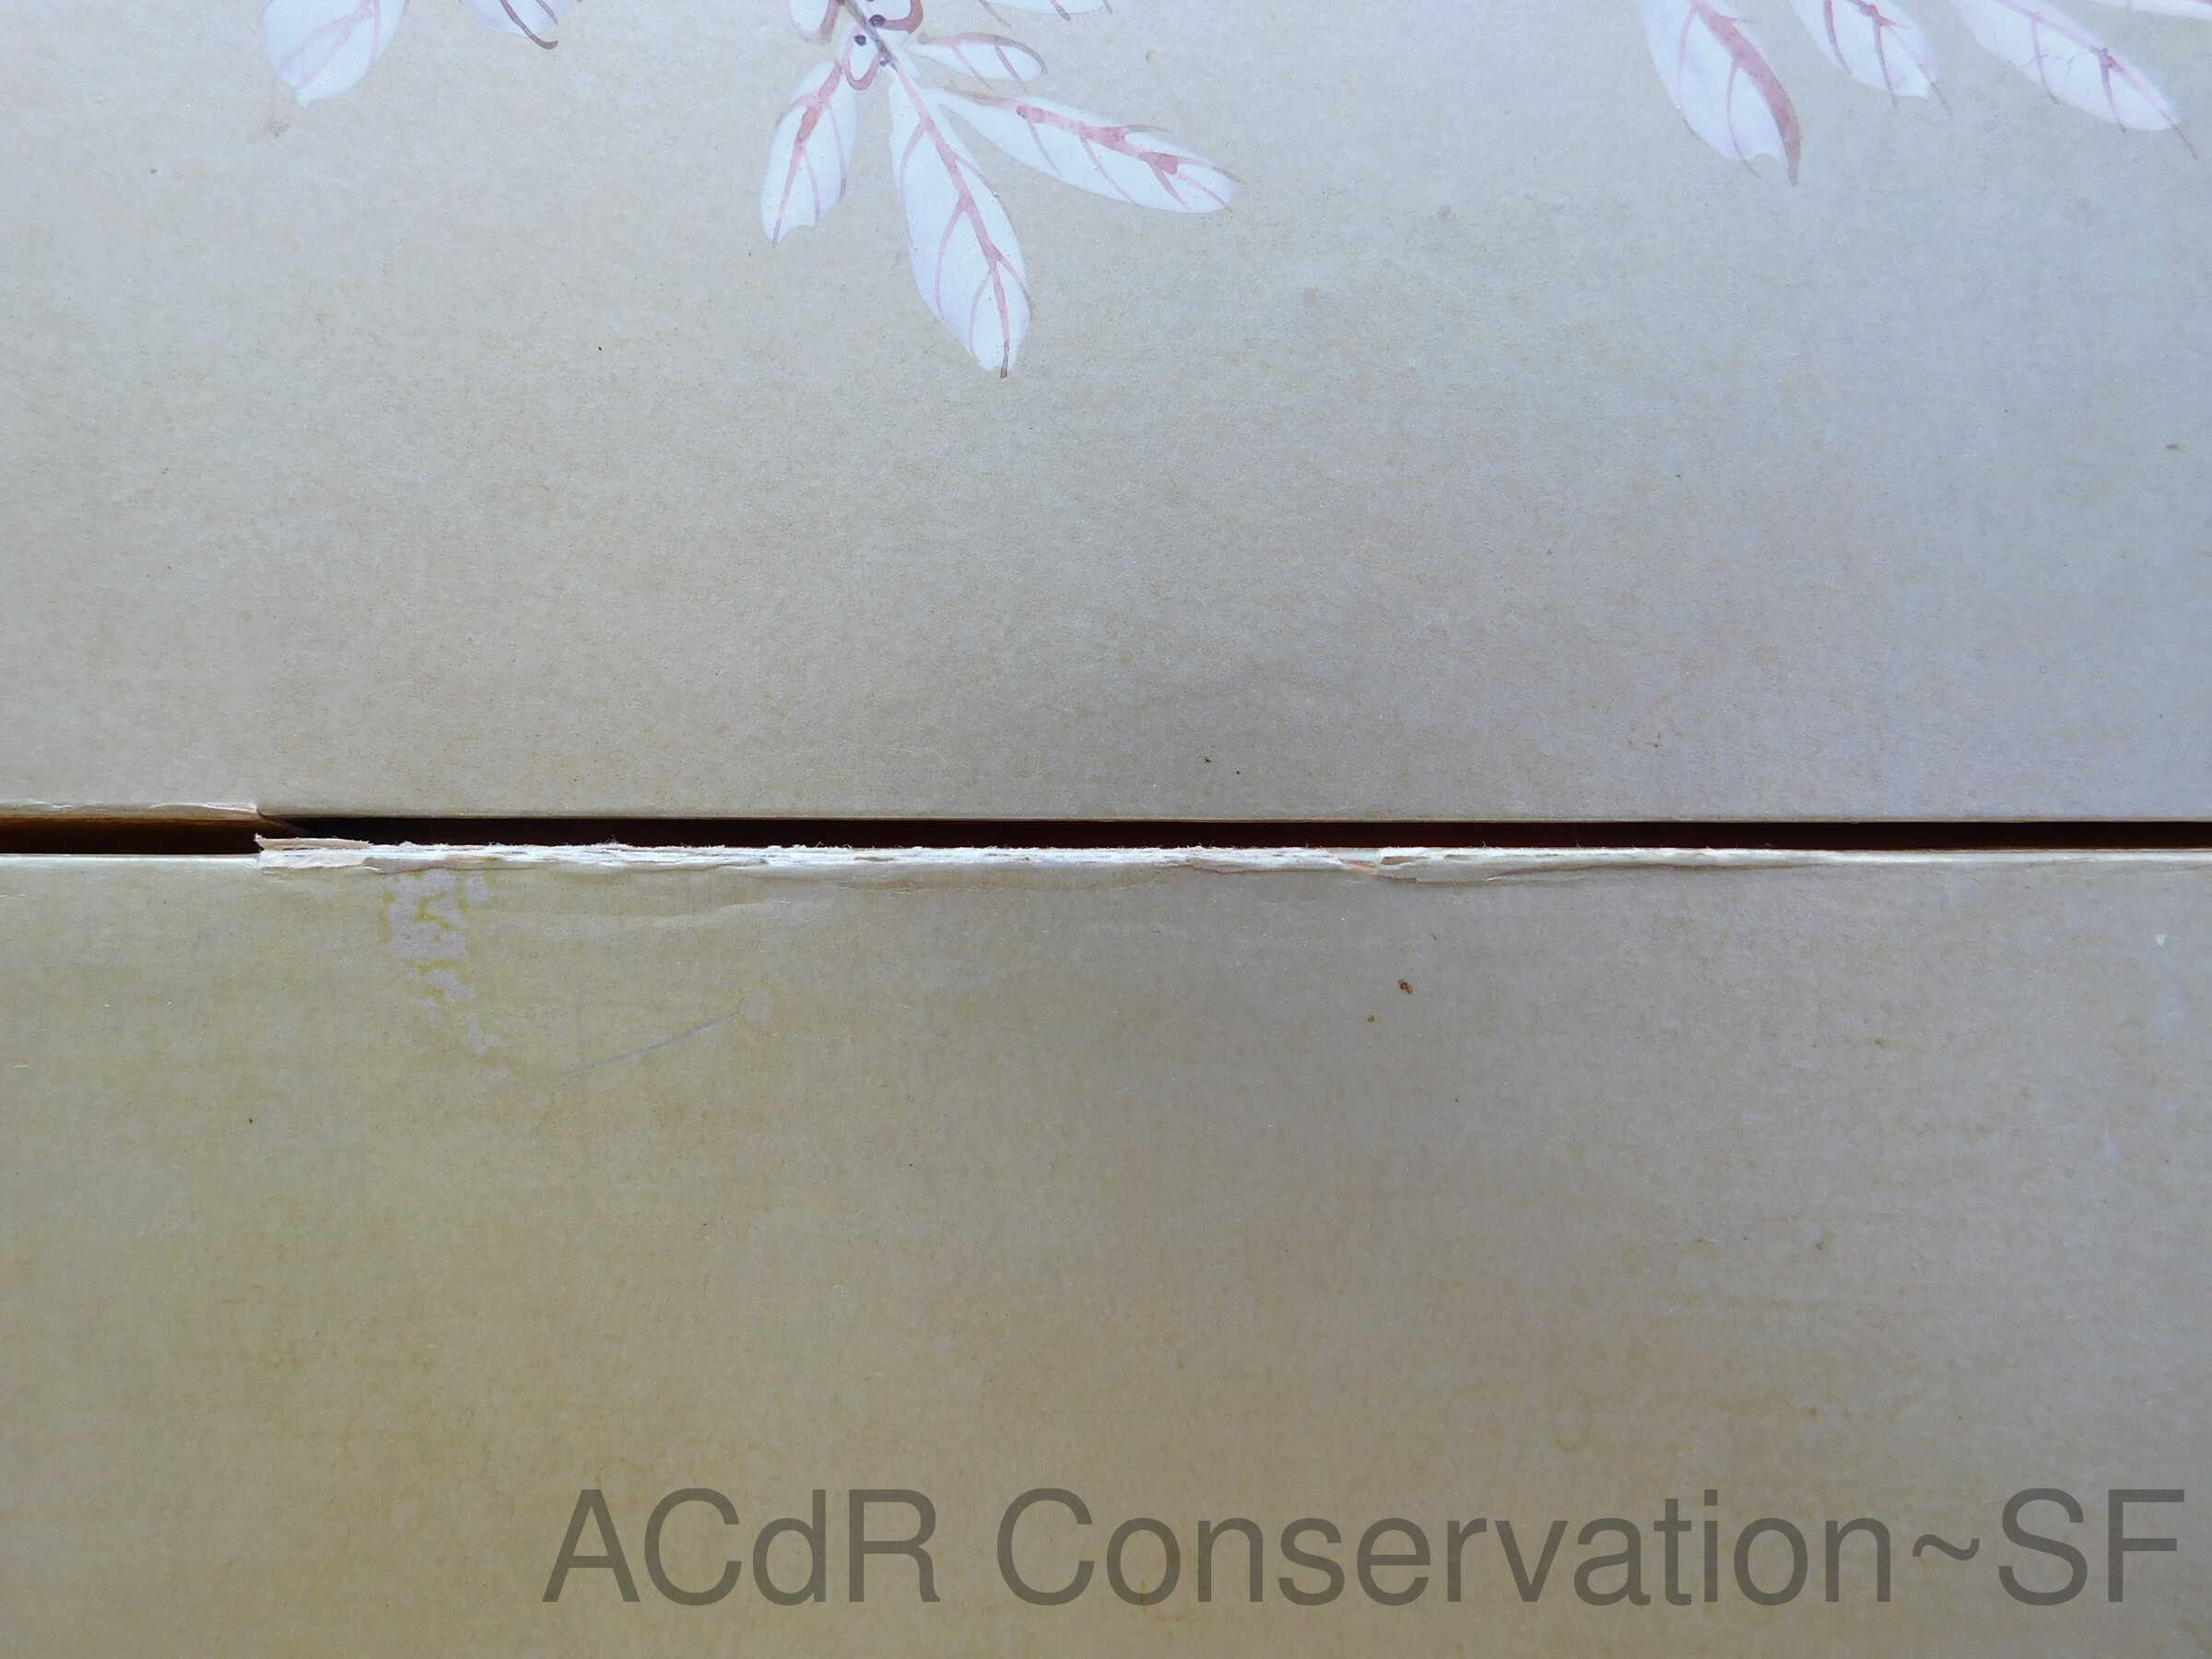
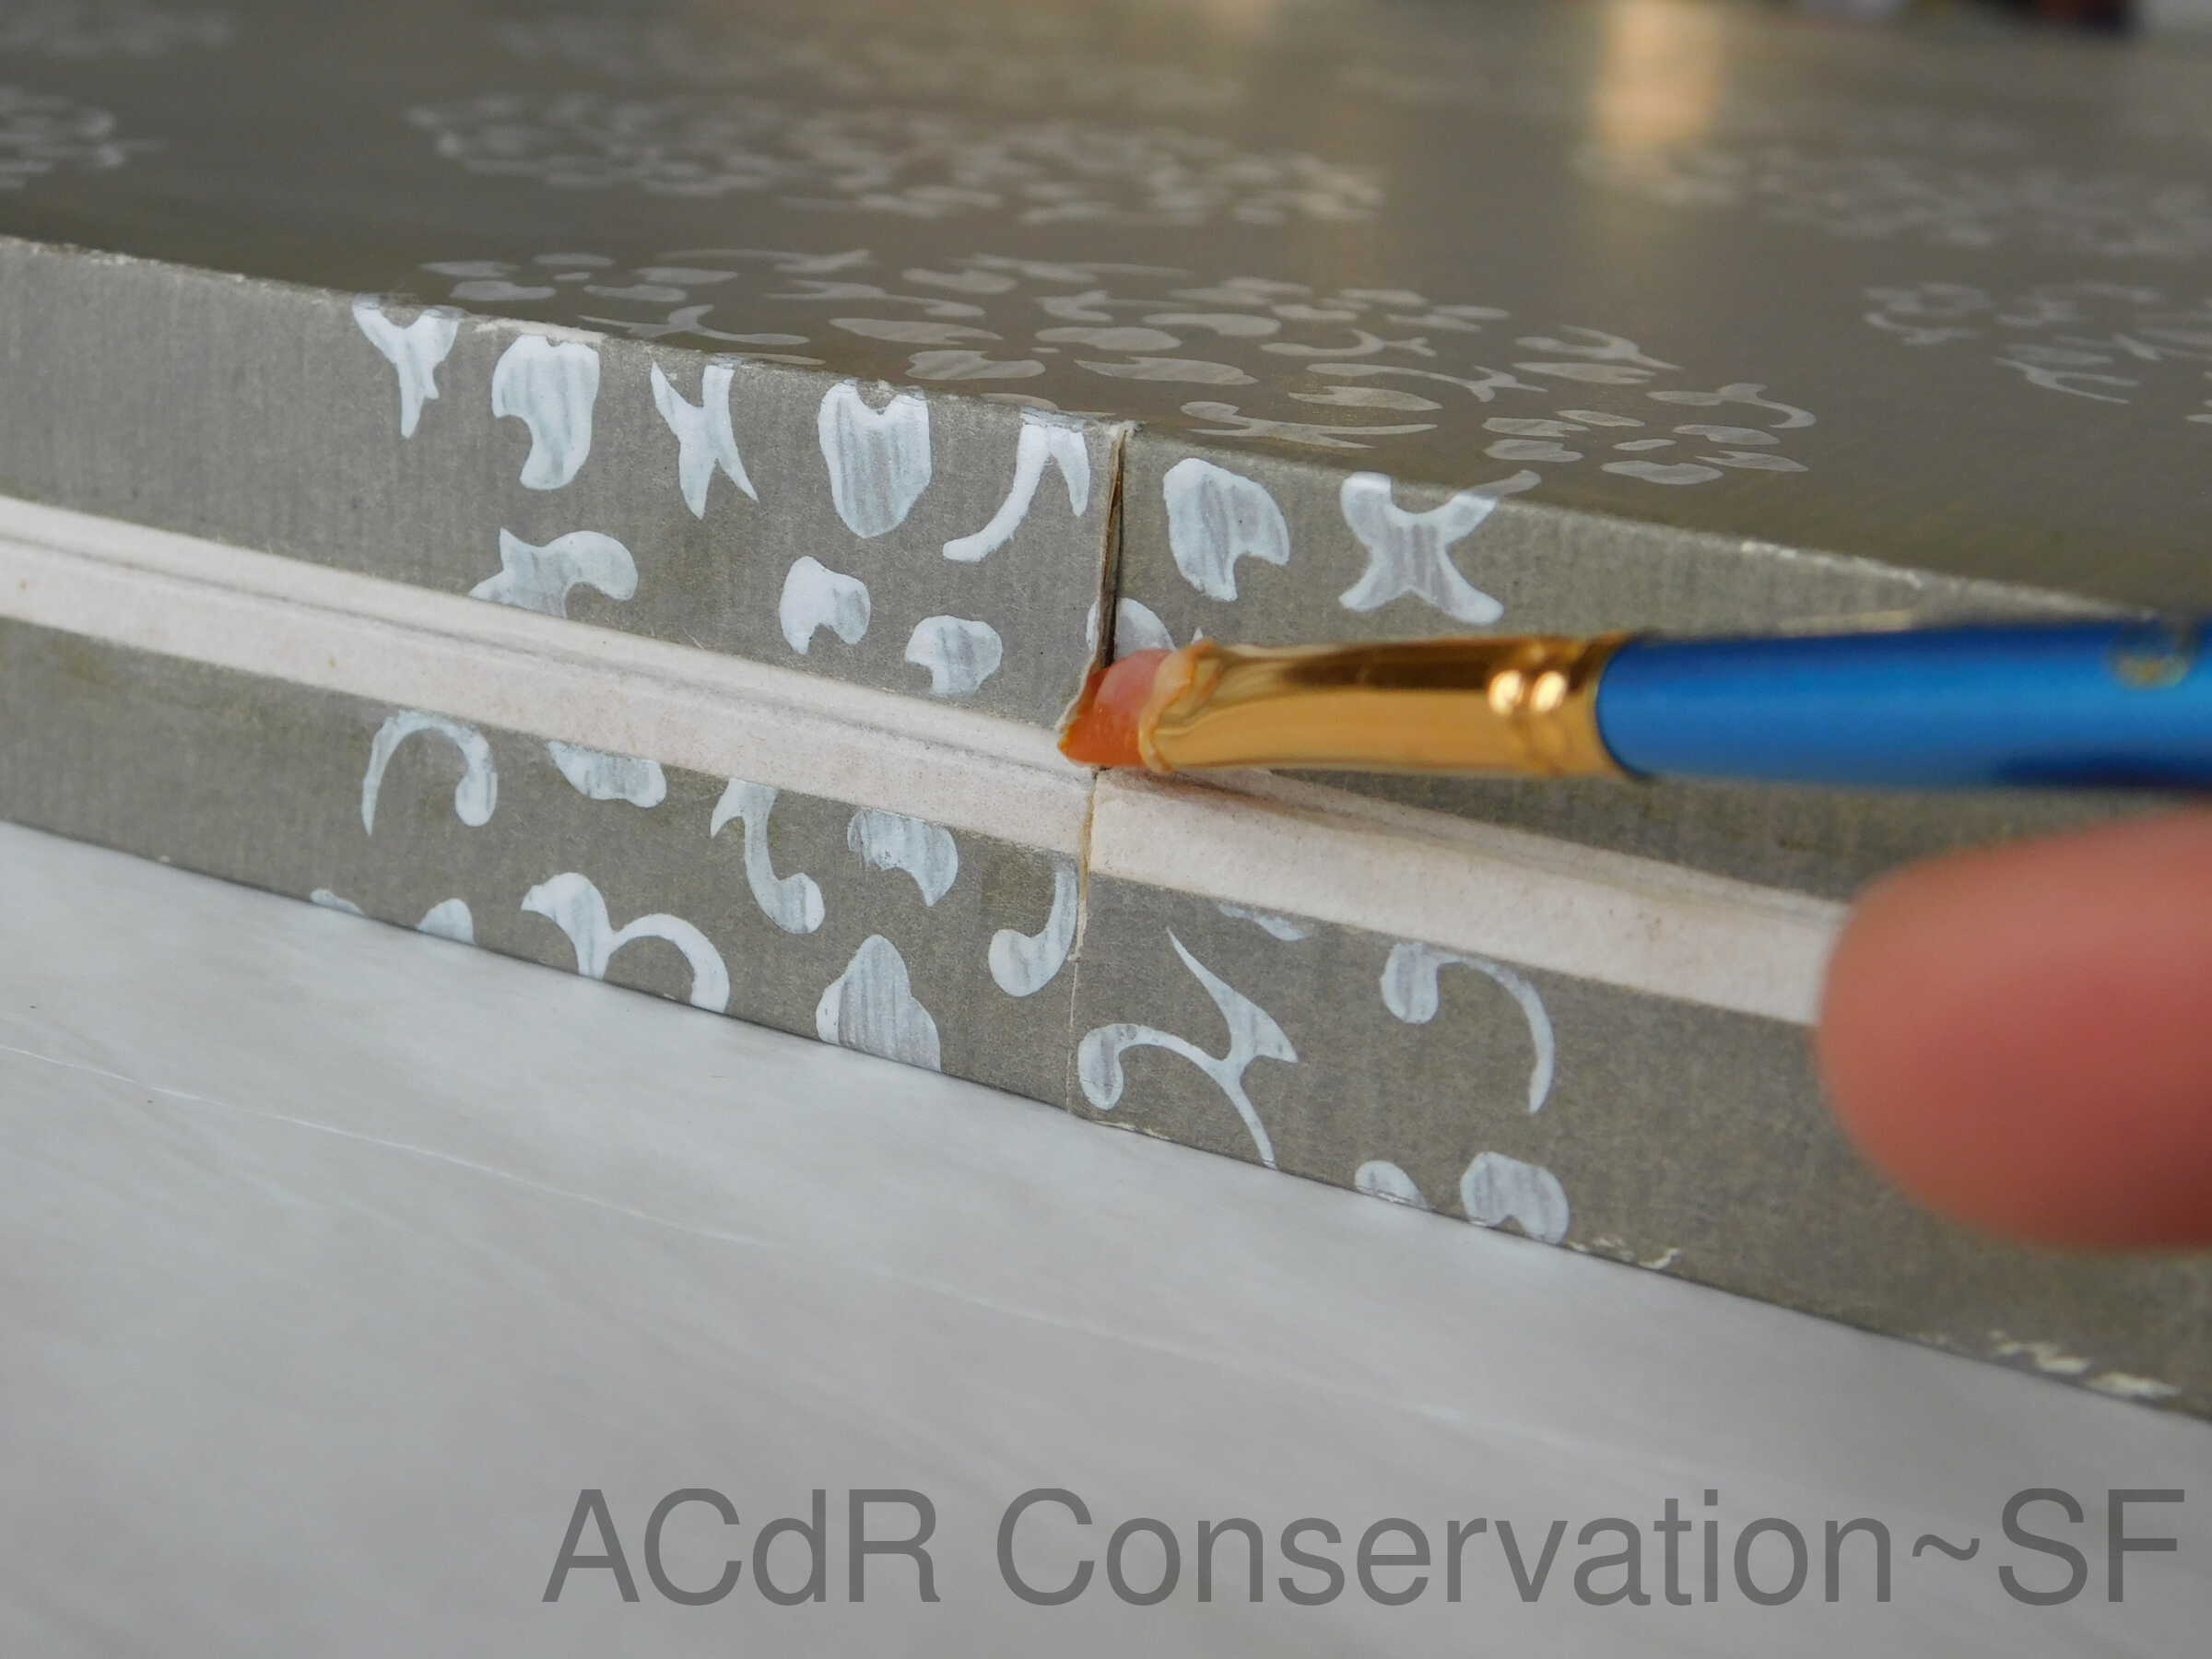
Adhesive Repair/Removal
Feb 20, 2019 - Feb 22, 2019
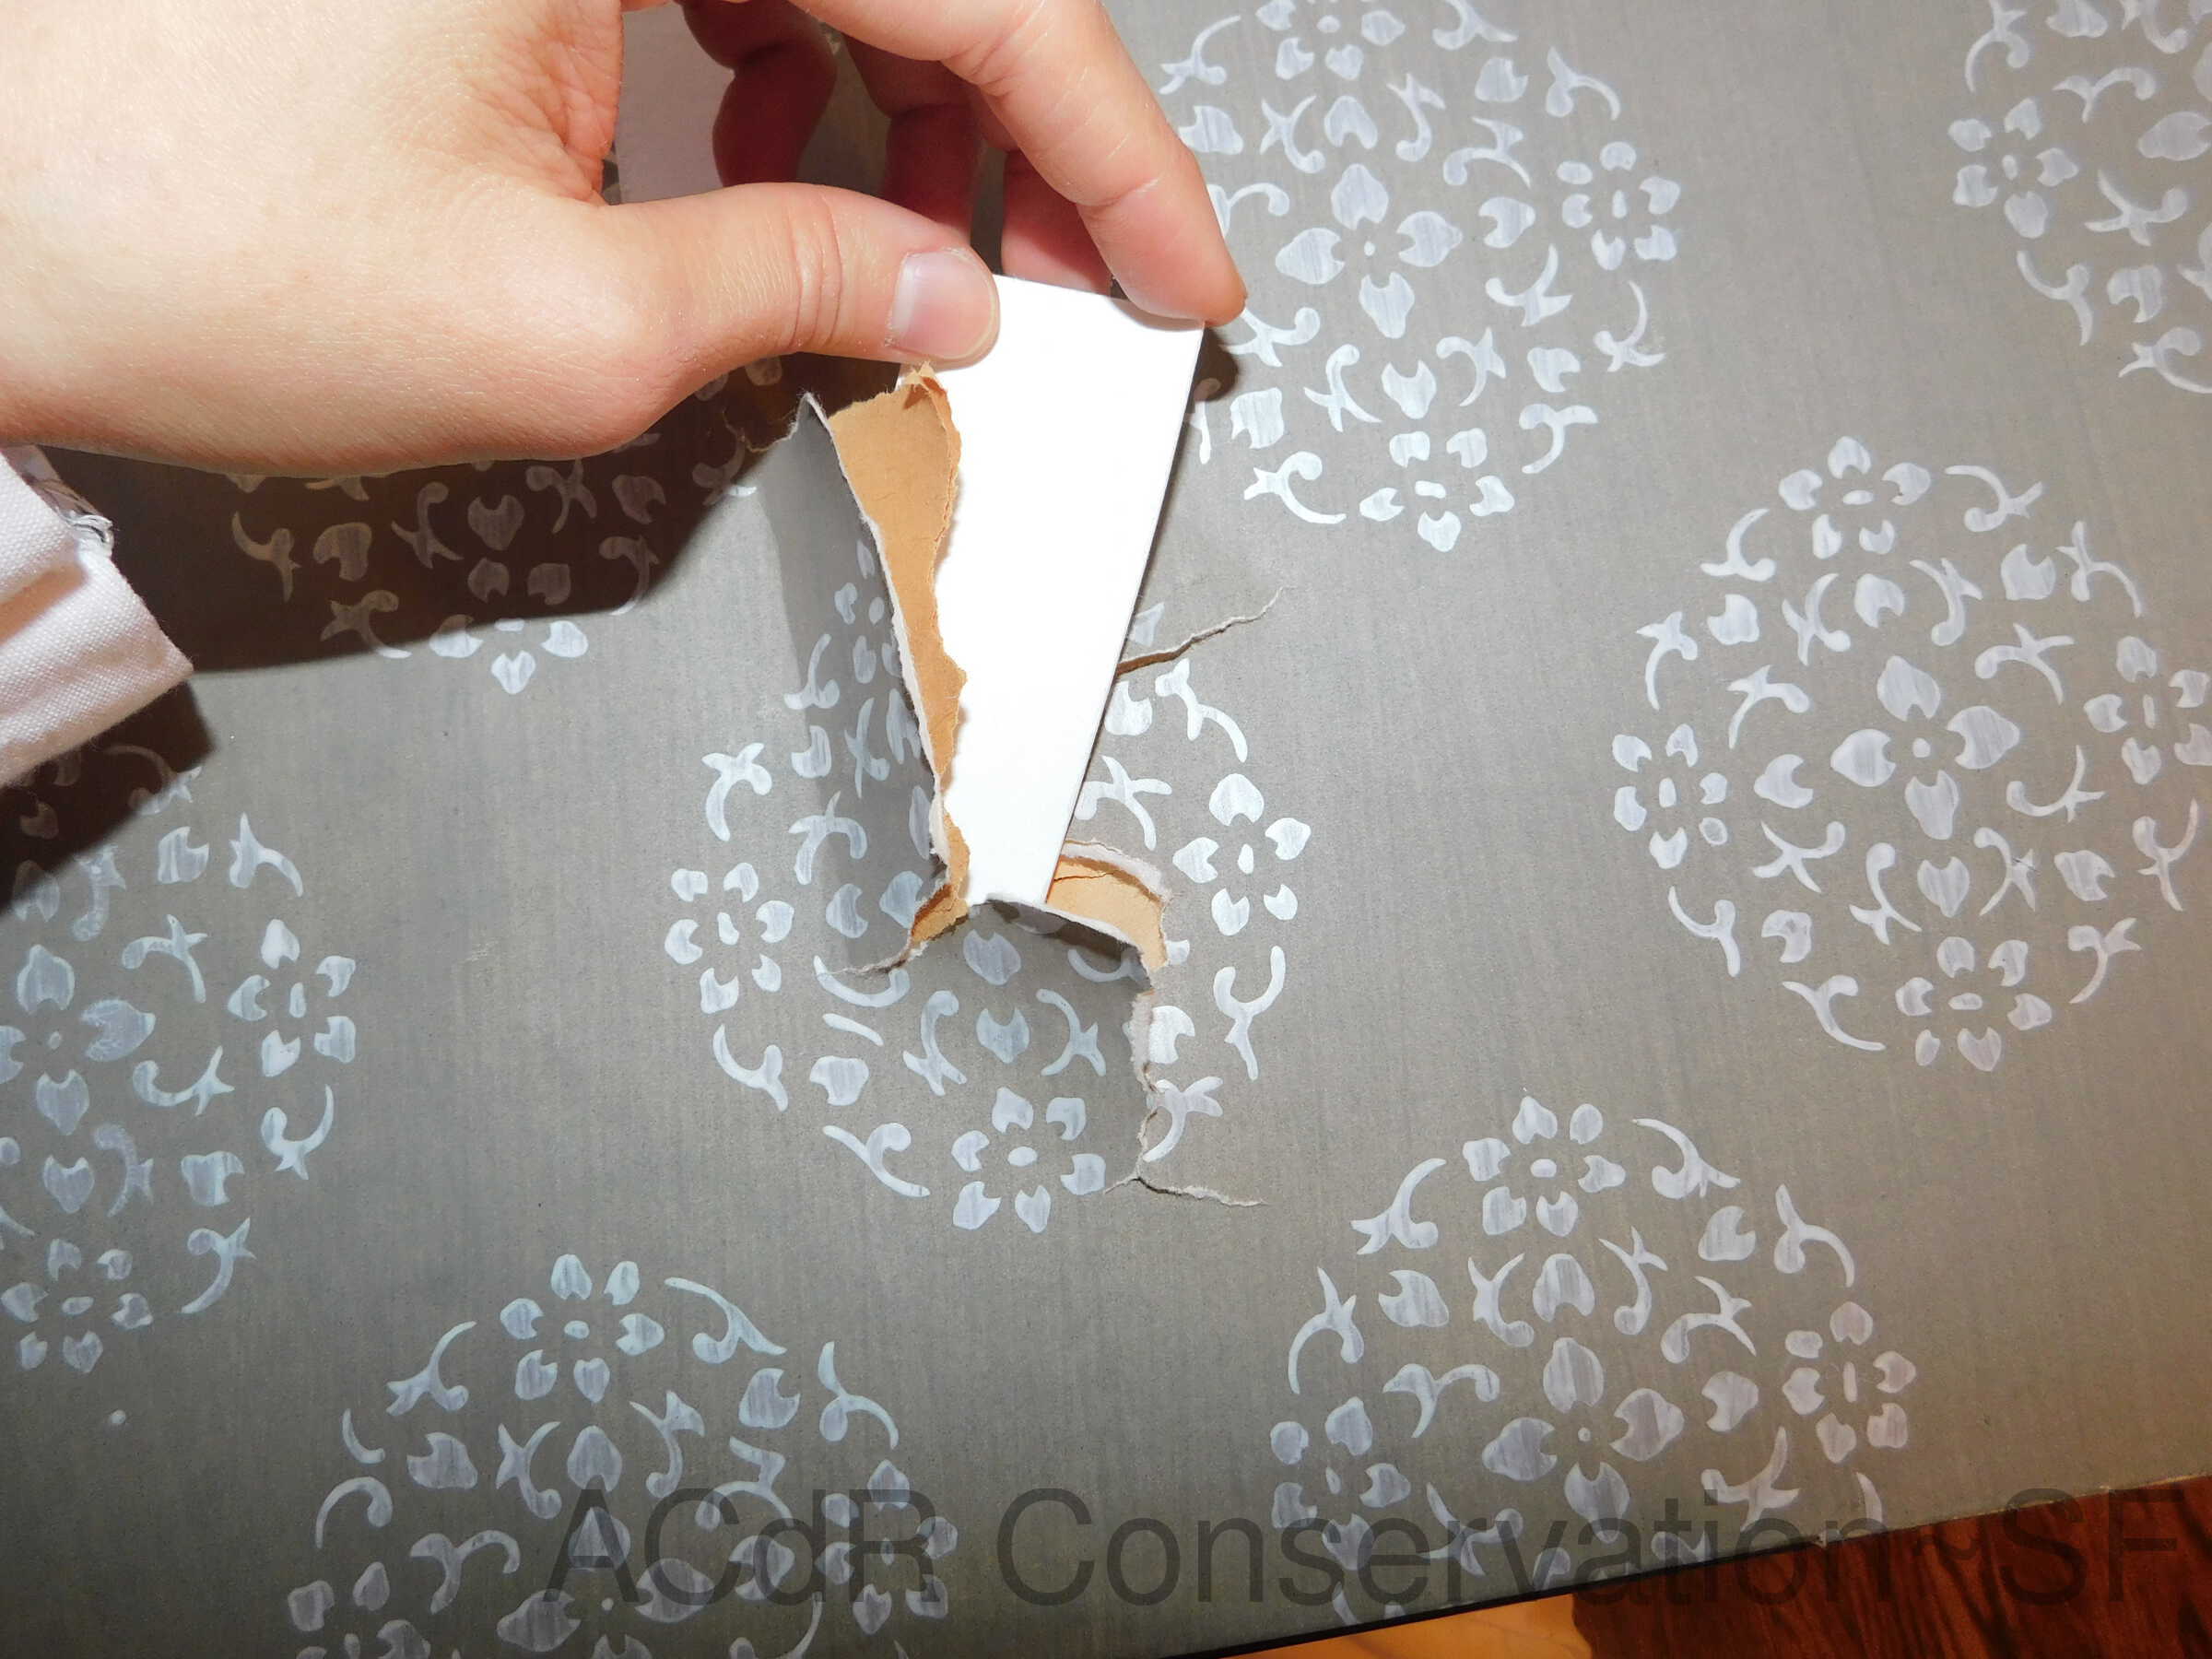
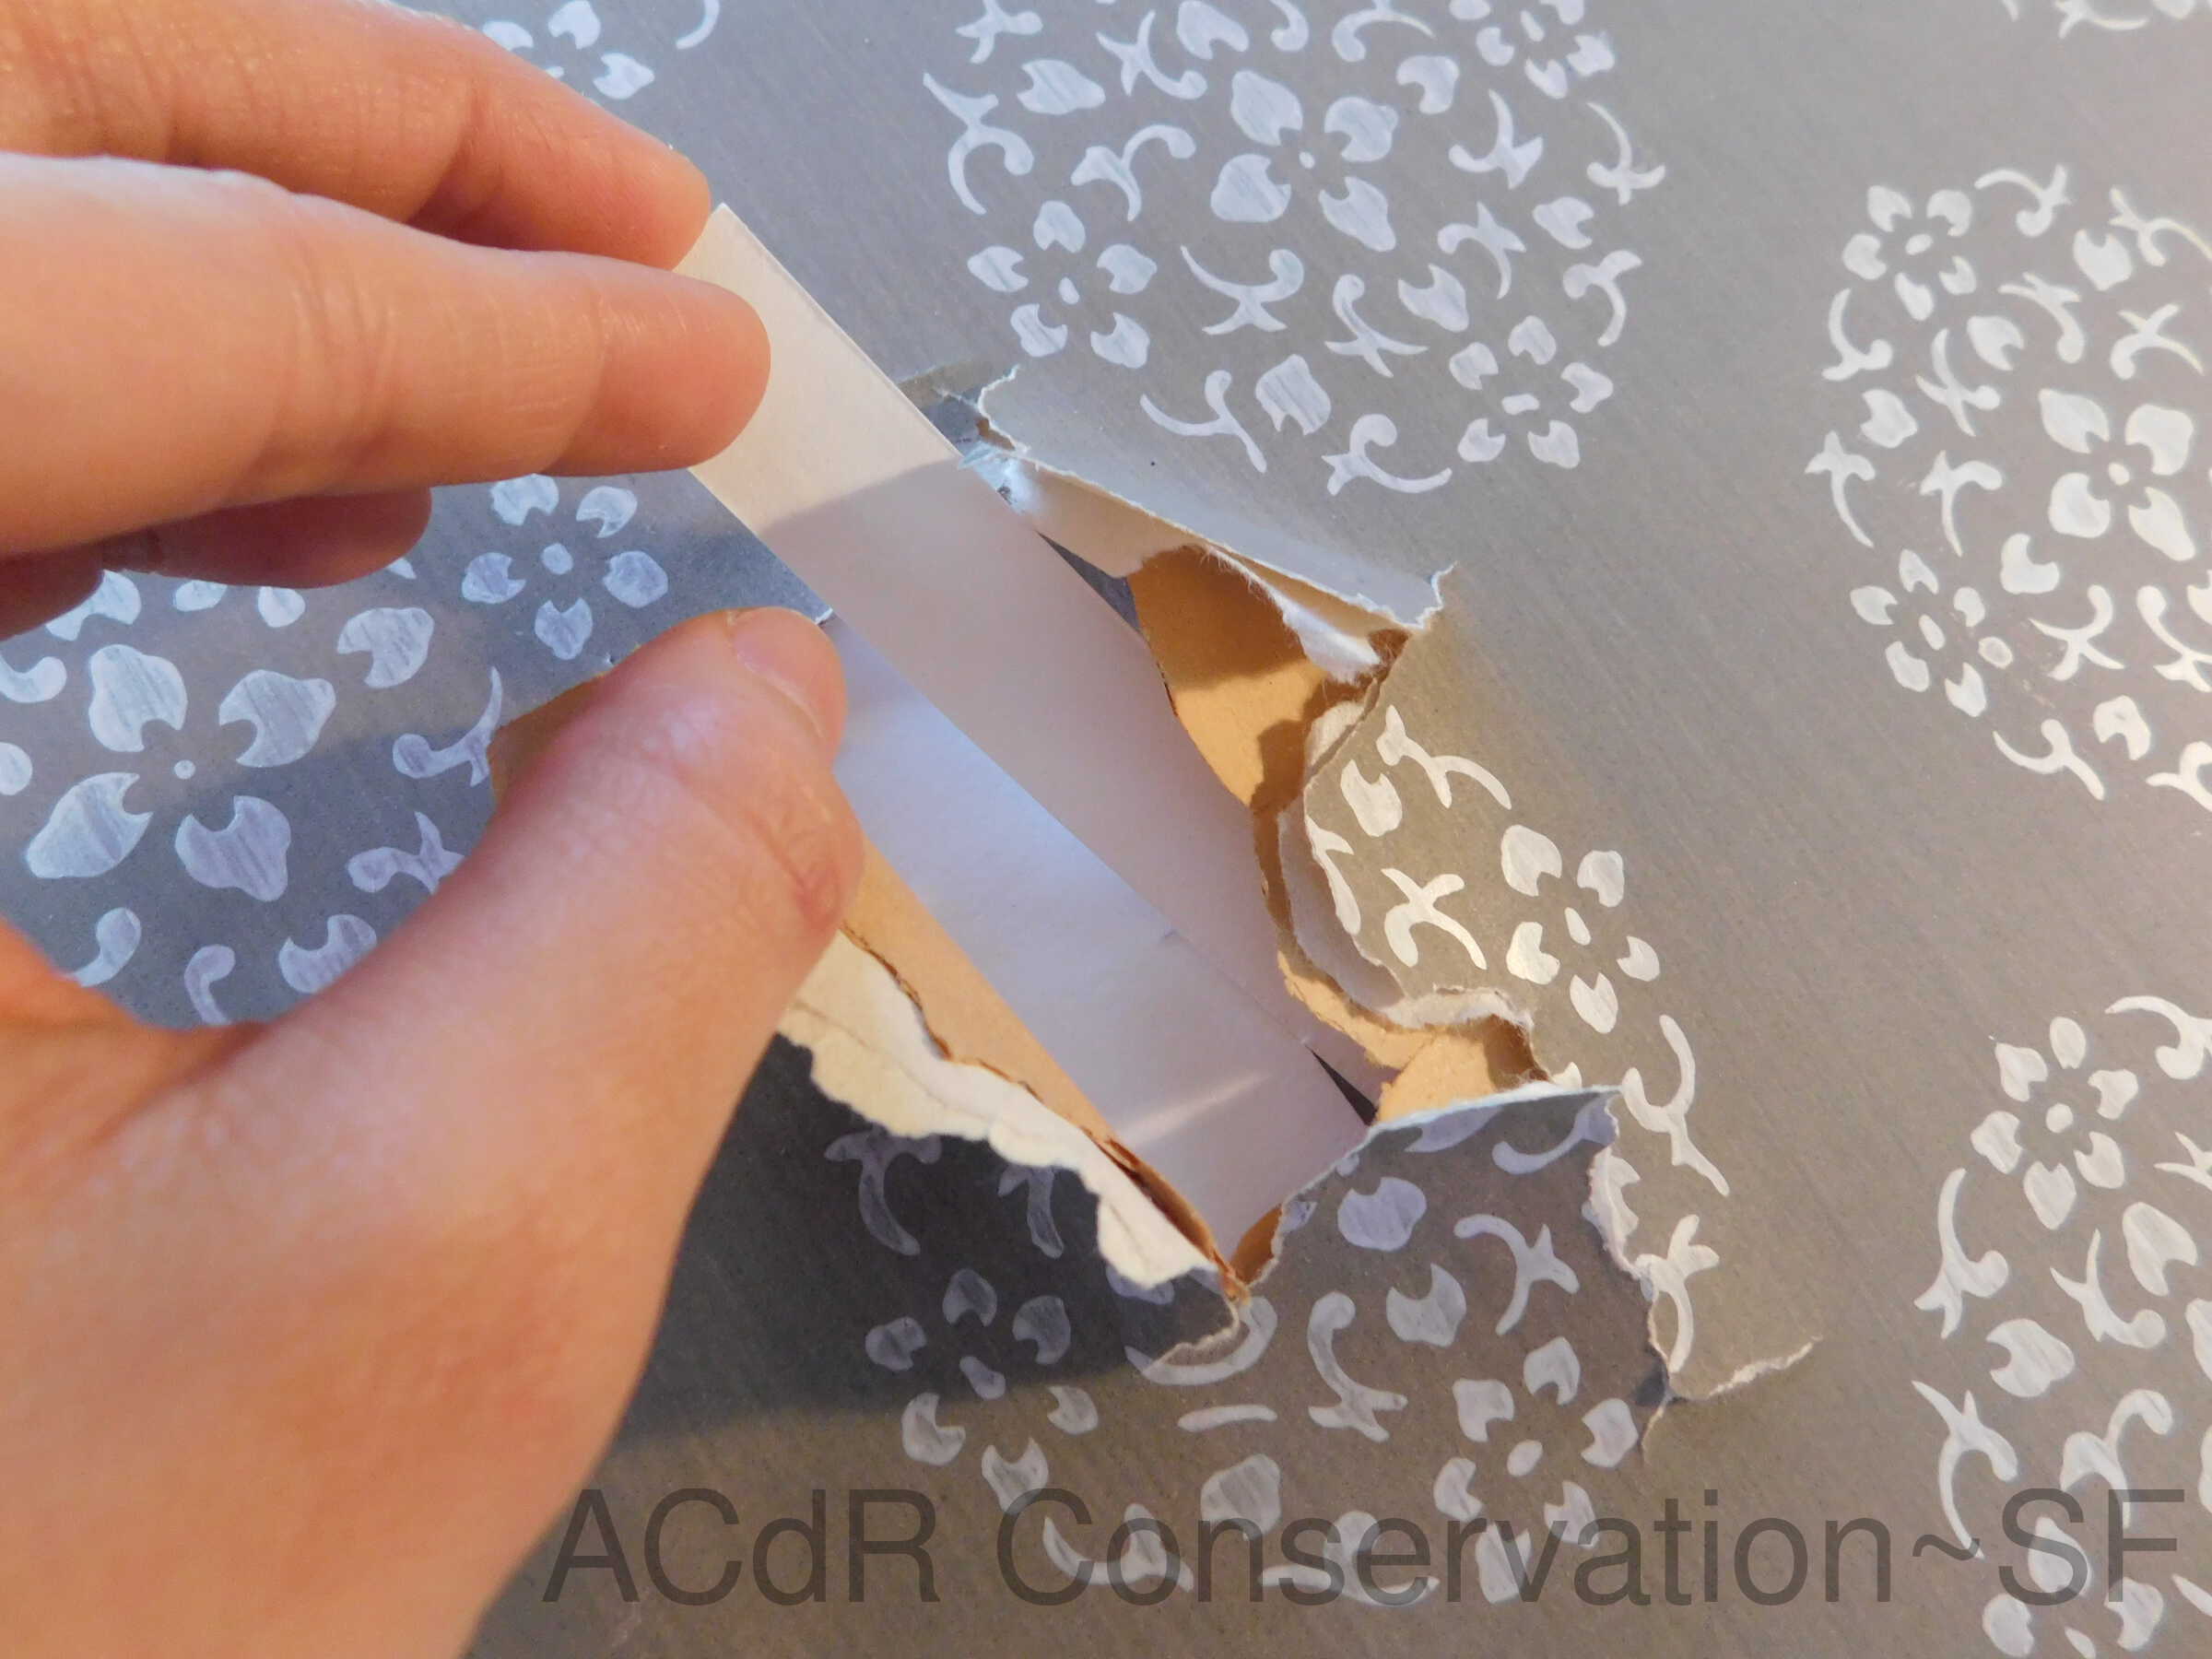
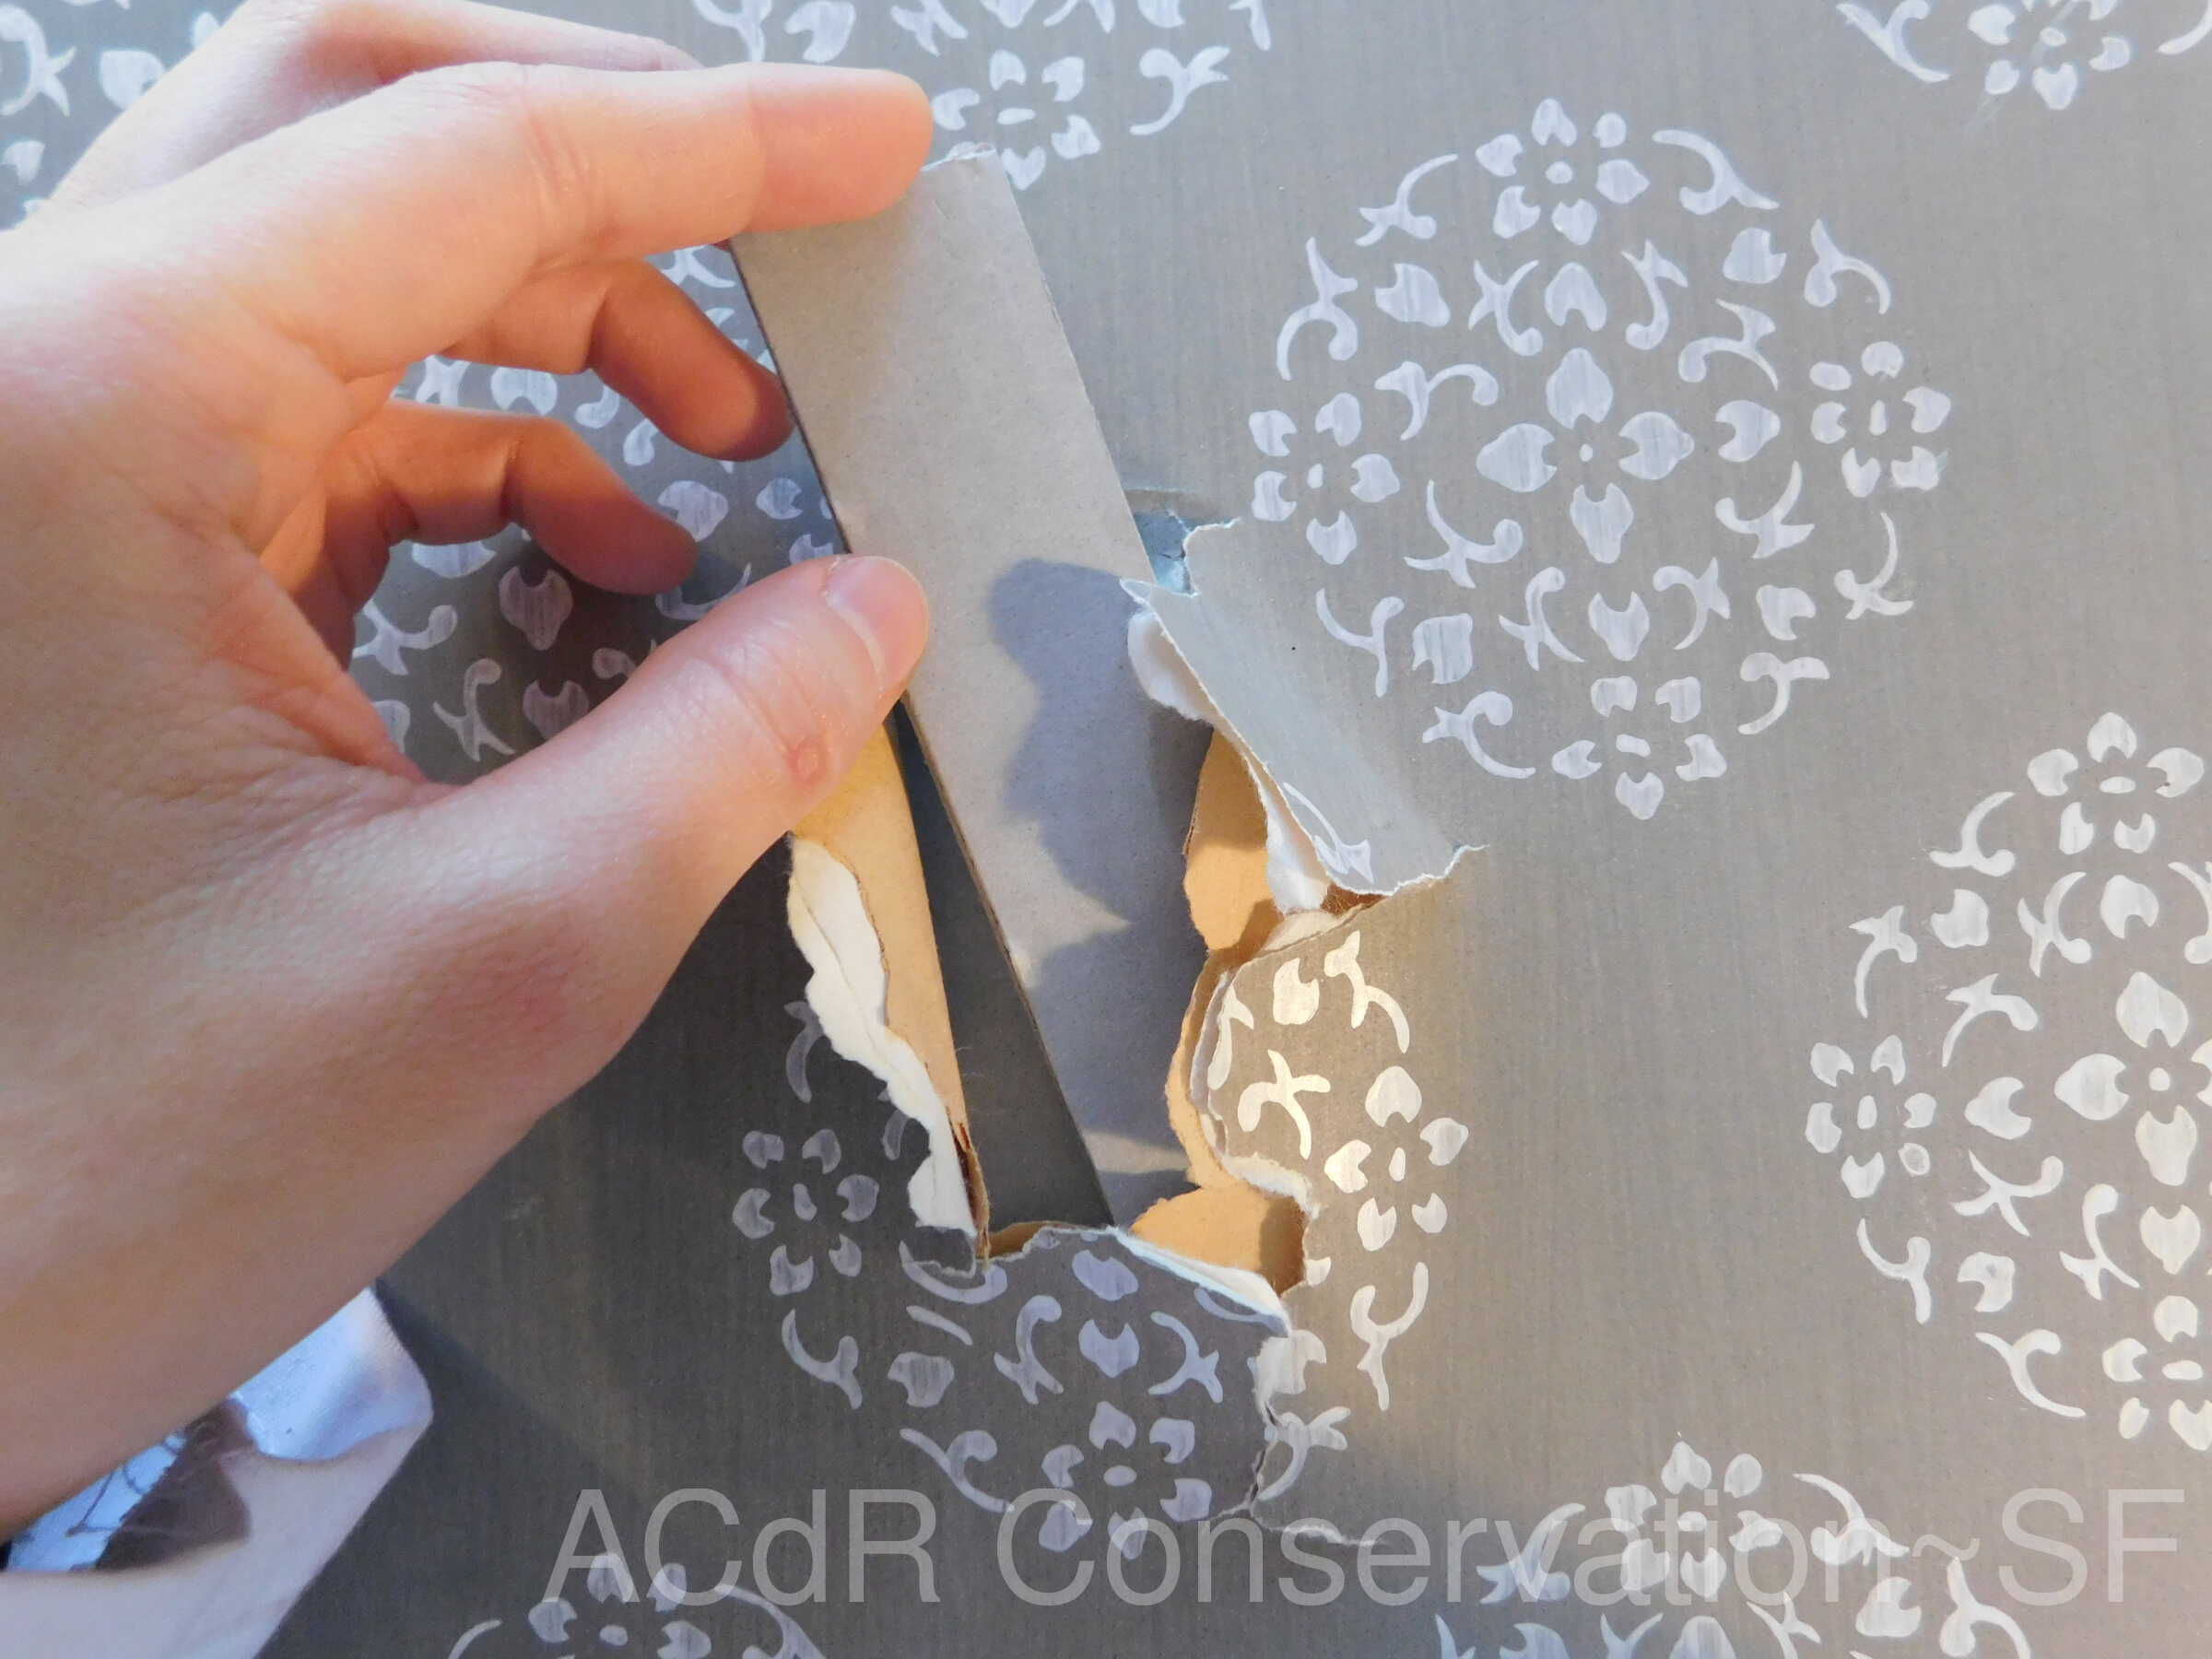
Put the fiber and the bevel of the tears in order from the front side. Attached the fiber and the bevel. Pressed the tears and let it dry. Chose Japanese paper and tear into strips. Mending tears using strips, pressing into sandwich layers. For the bigger hole, put fiber and bevel of the tears in the right order and attached them.
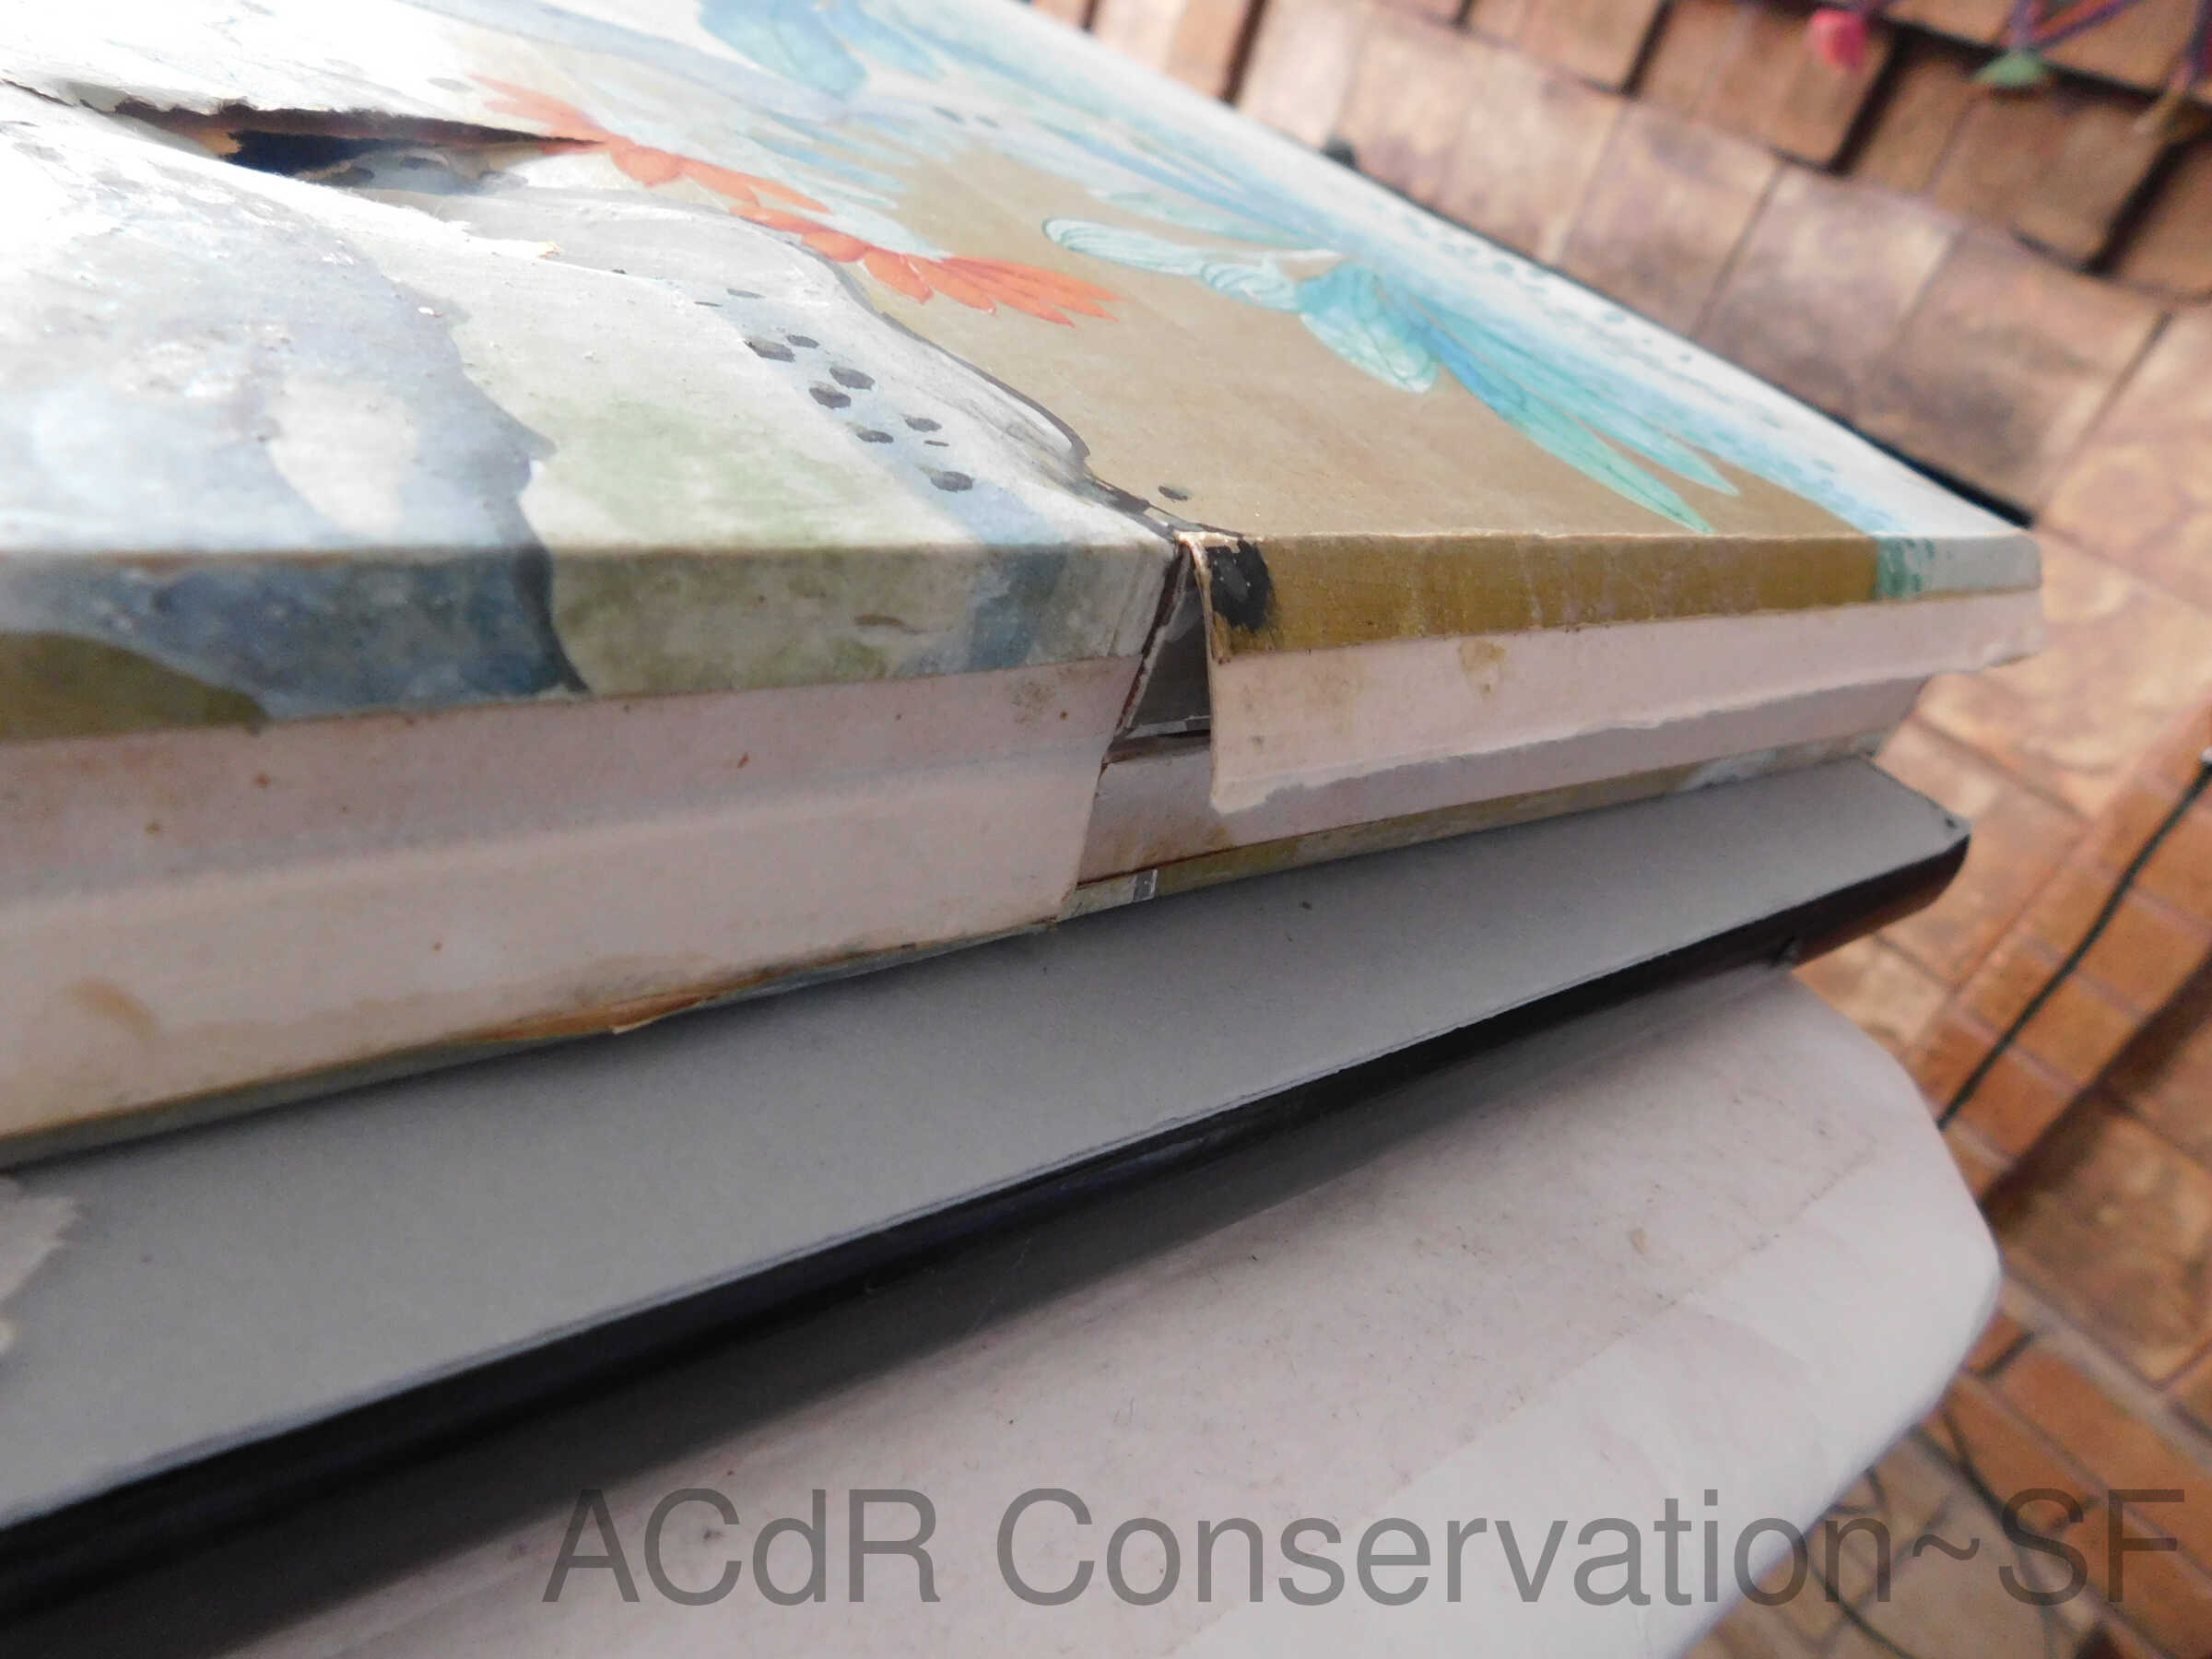
Lining Support
Feb 22, 2019
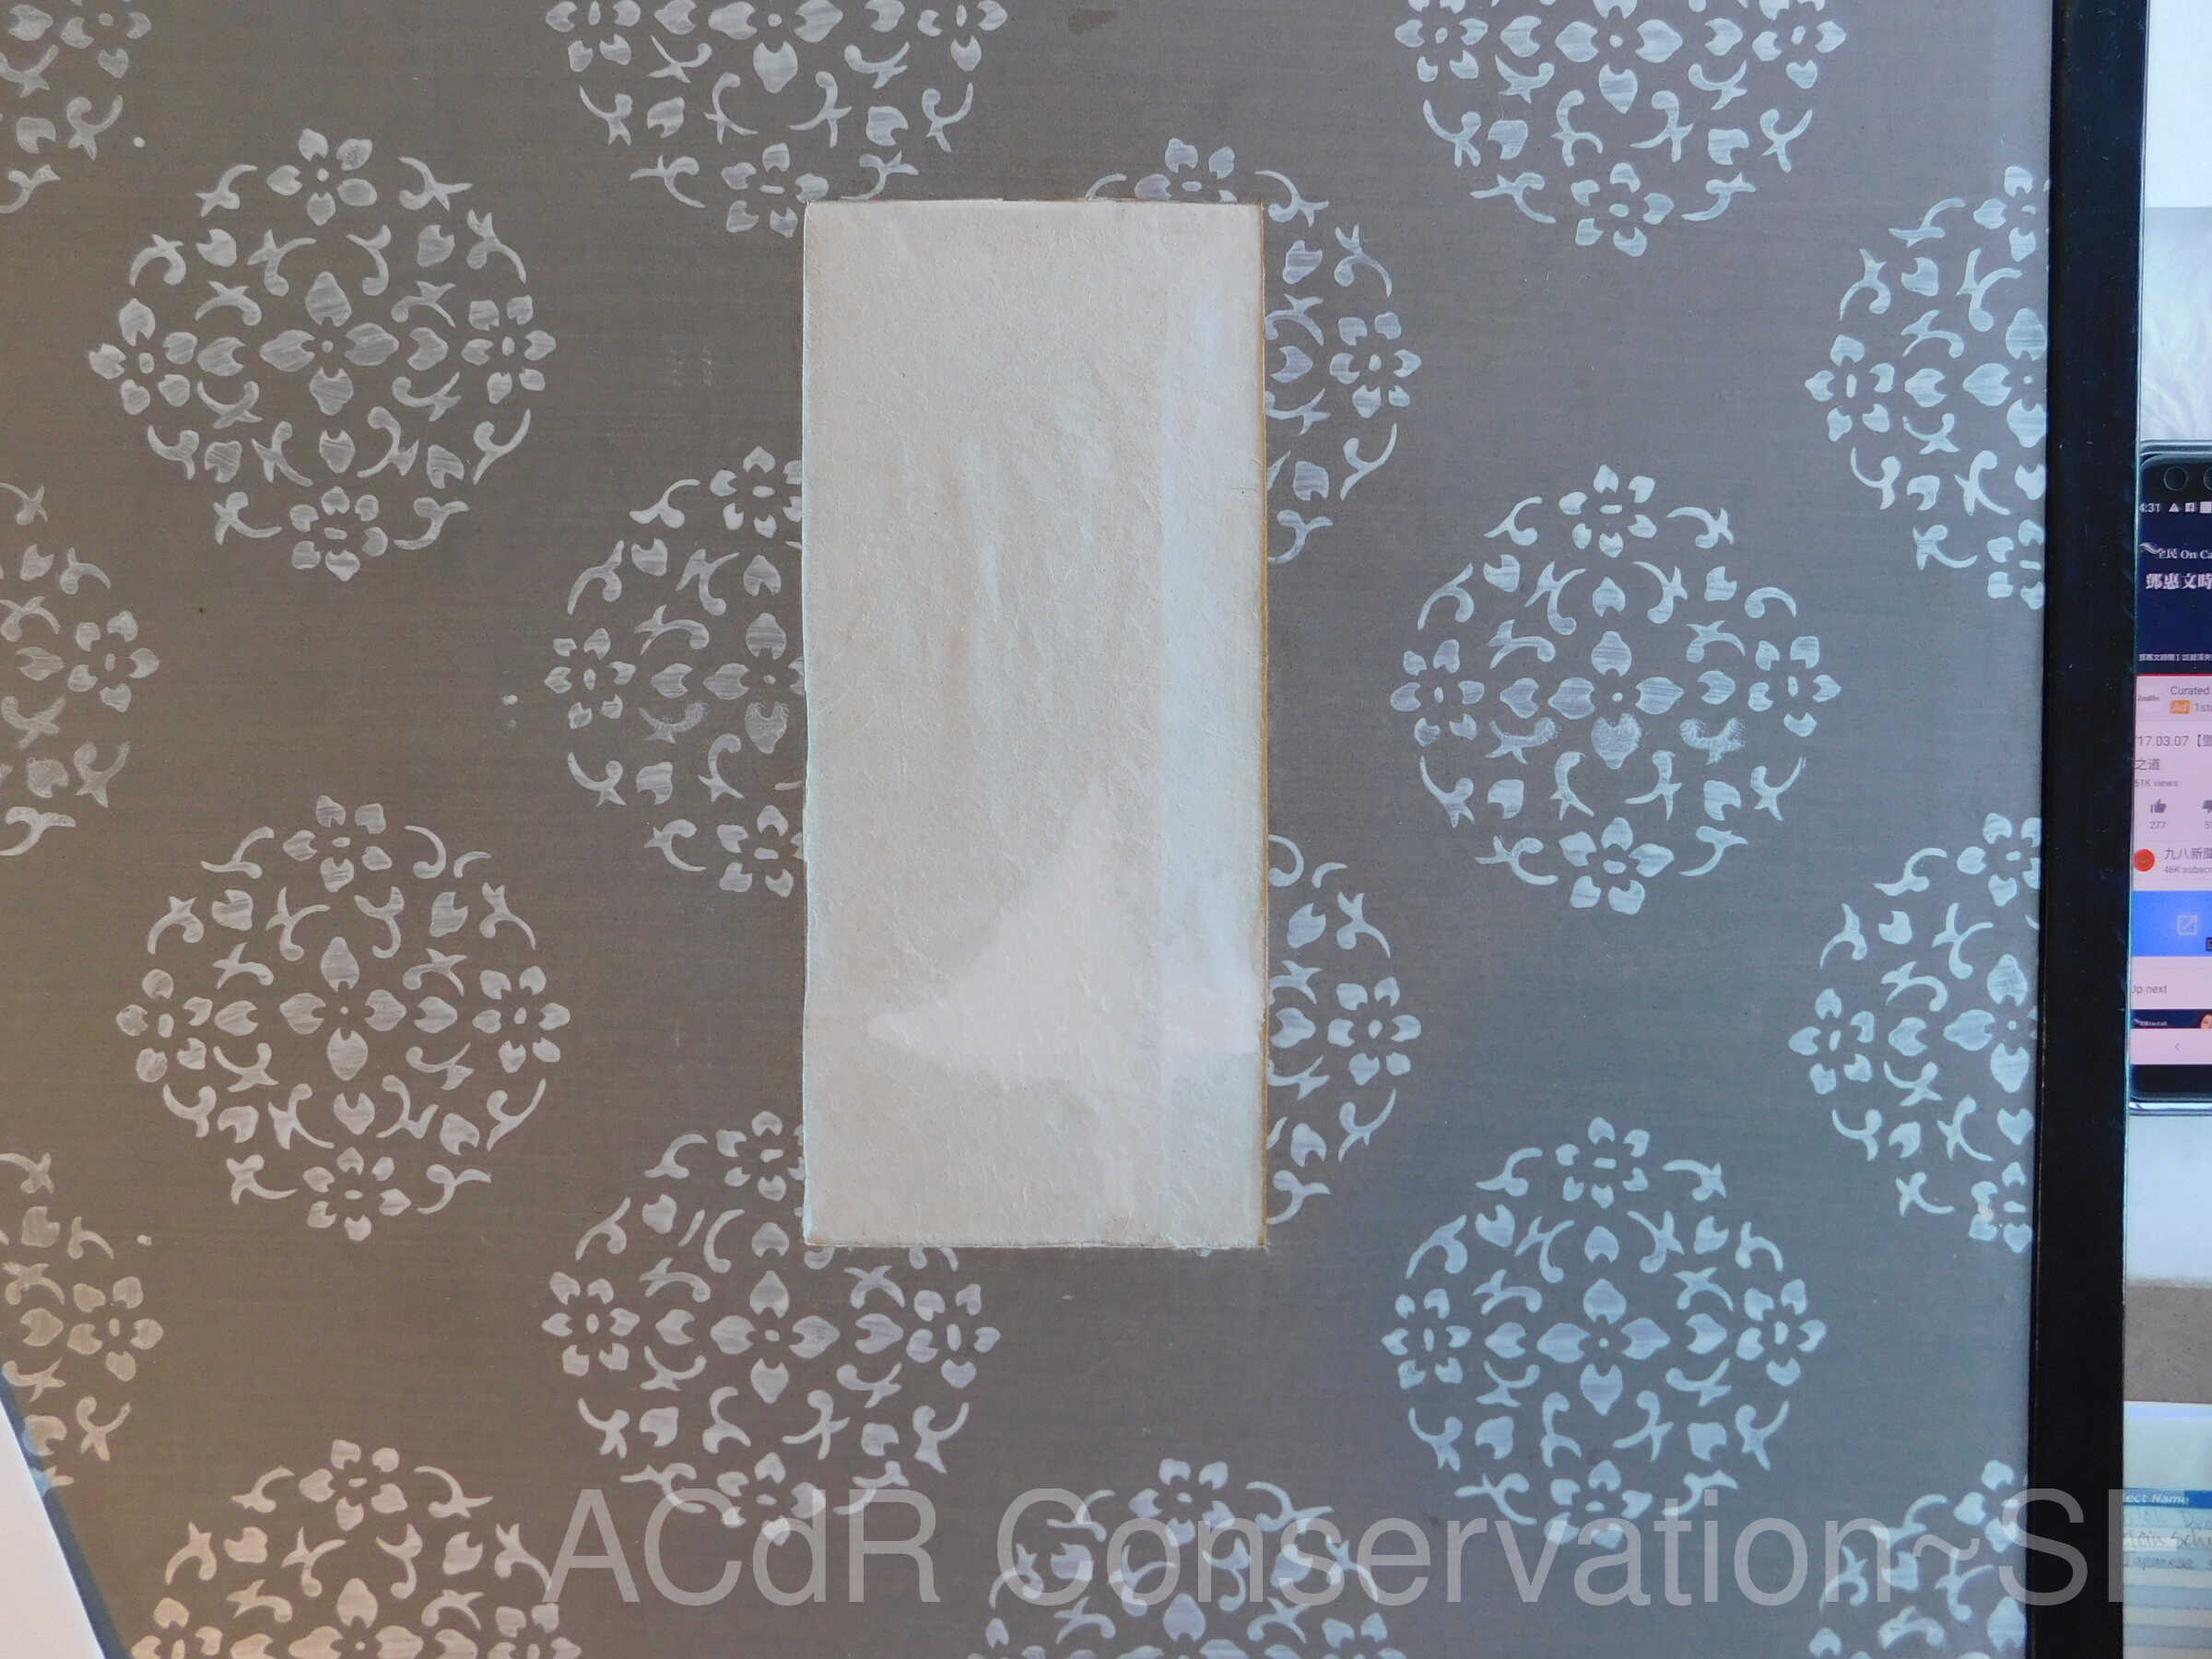
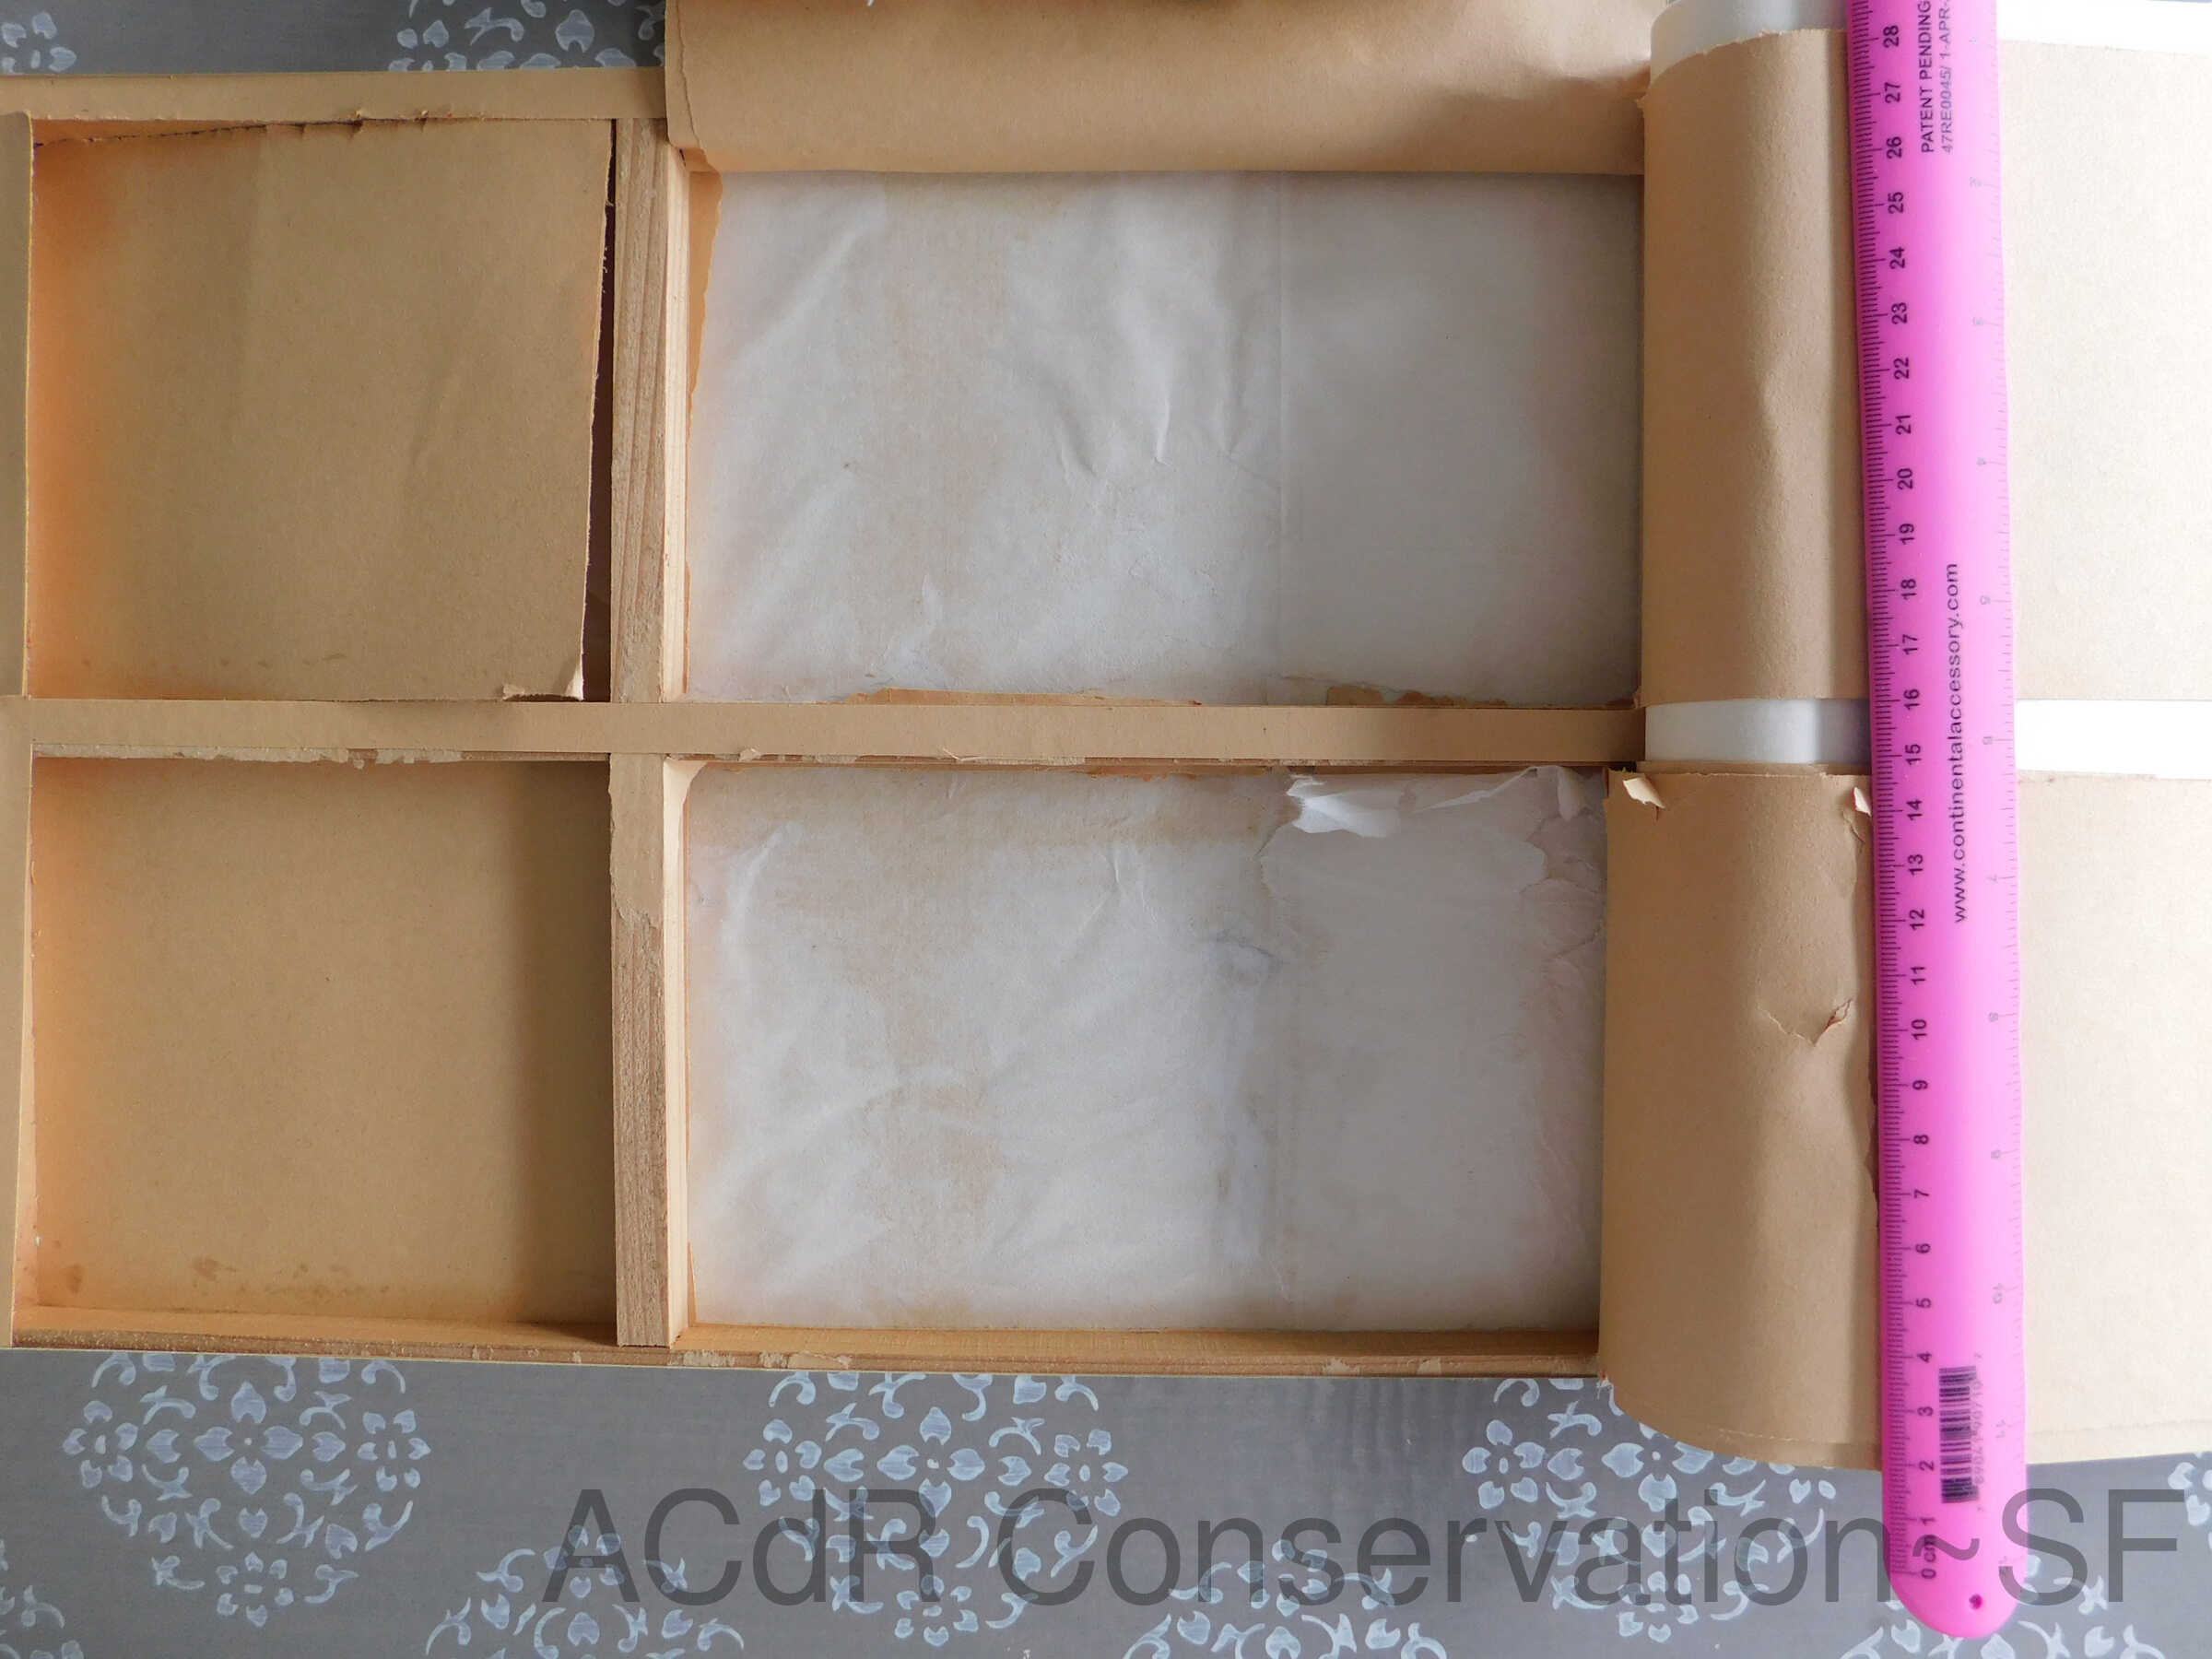
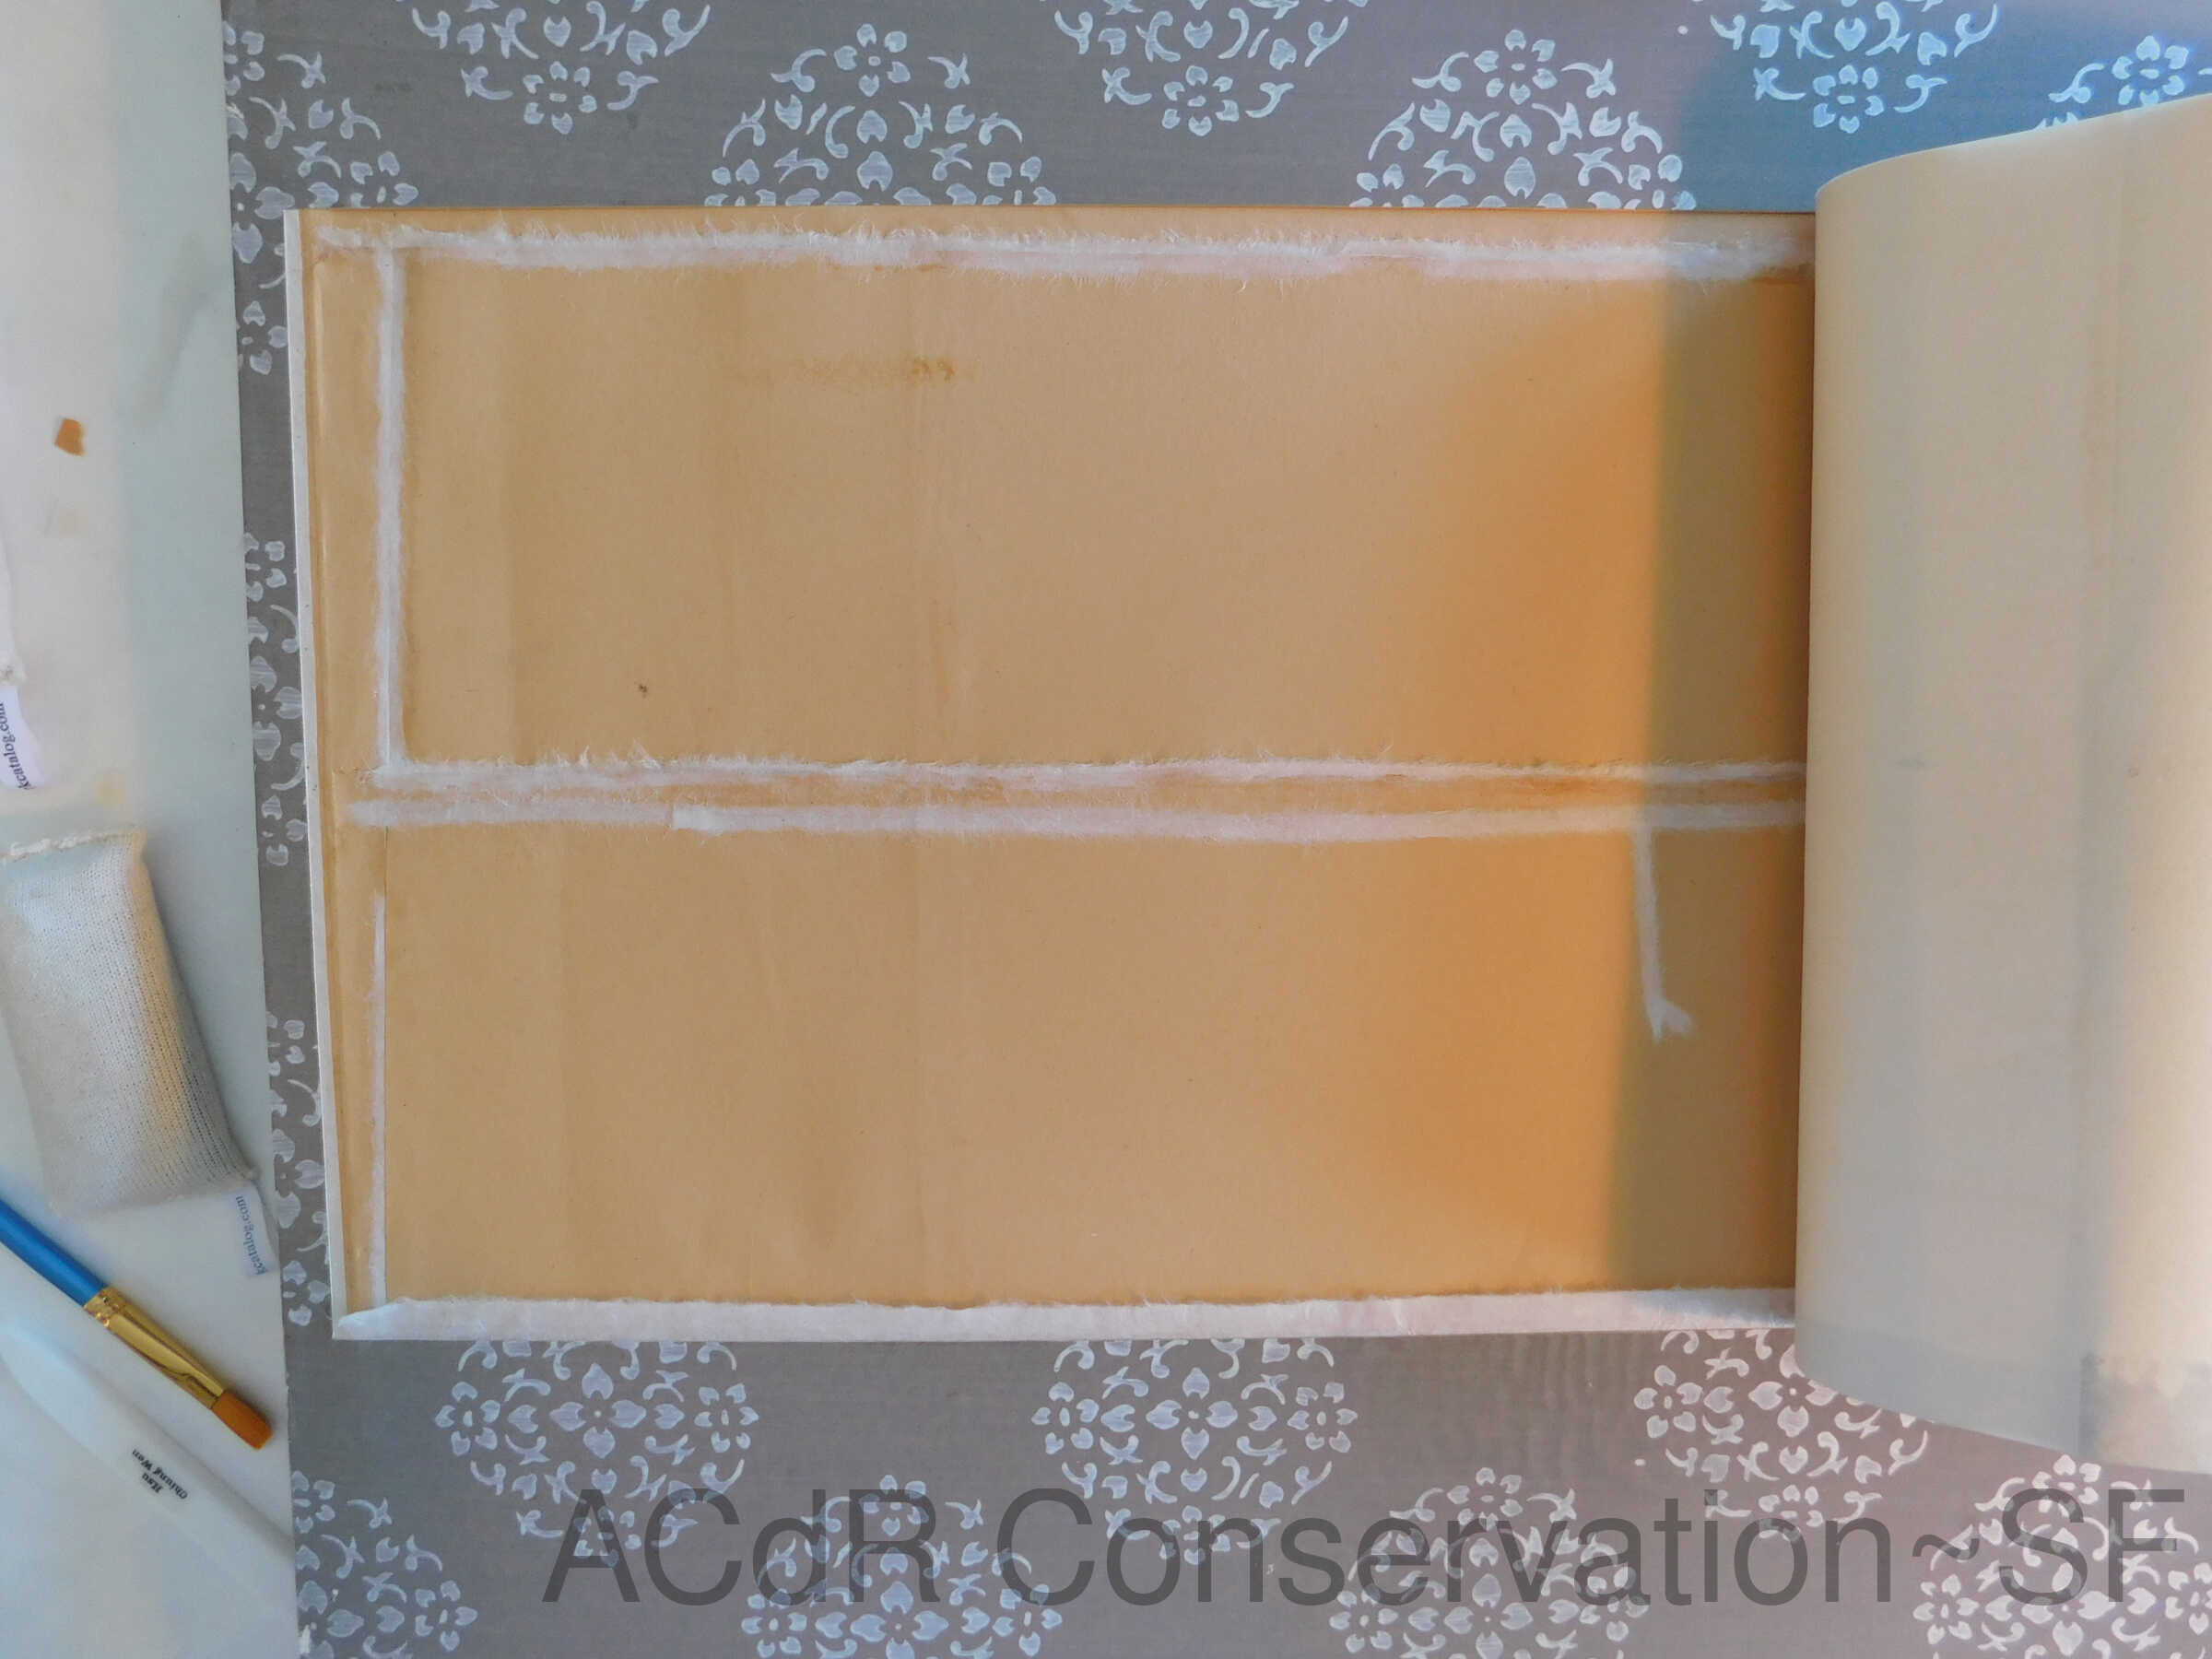
Tearing a piece of Japanese paper for lining. Also cut a piece of cardboard, Hollytex, and blotting paper to the gift size to tuck them under the lining for support. Pressed the lining and let it dry.
Humidification
Feb 22, 2019
Humidified lining again and rubbed from back side due to undulation of the surface. Humidified again and tucked the cardboard from the front side, rubbing and pressing from the back.
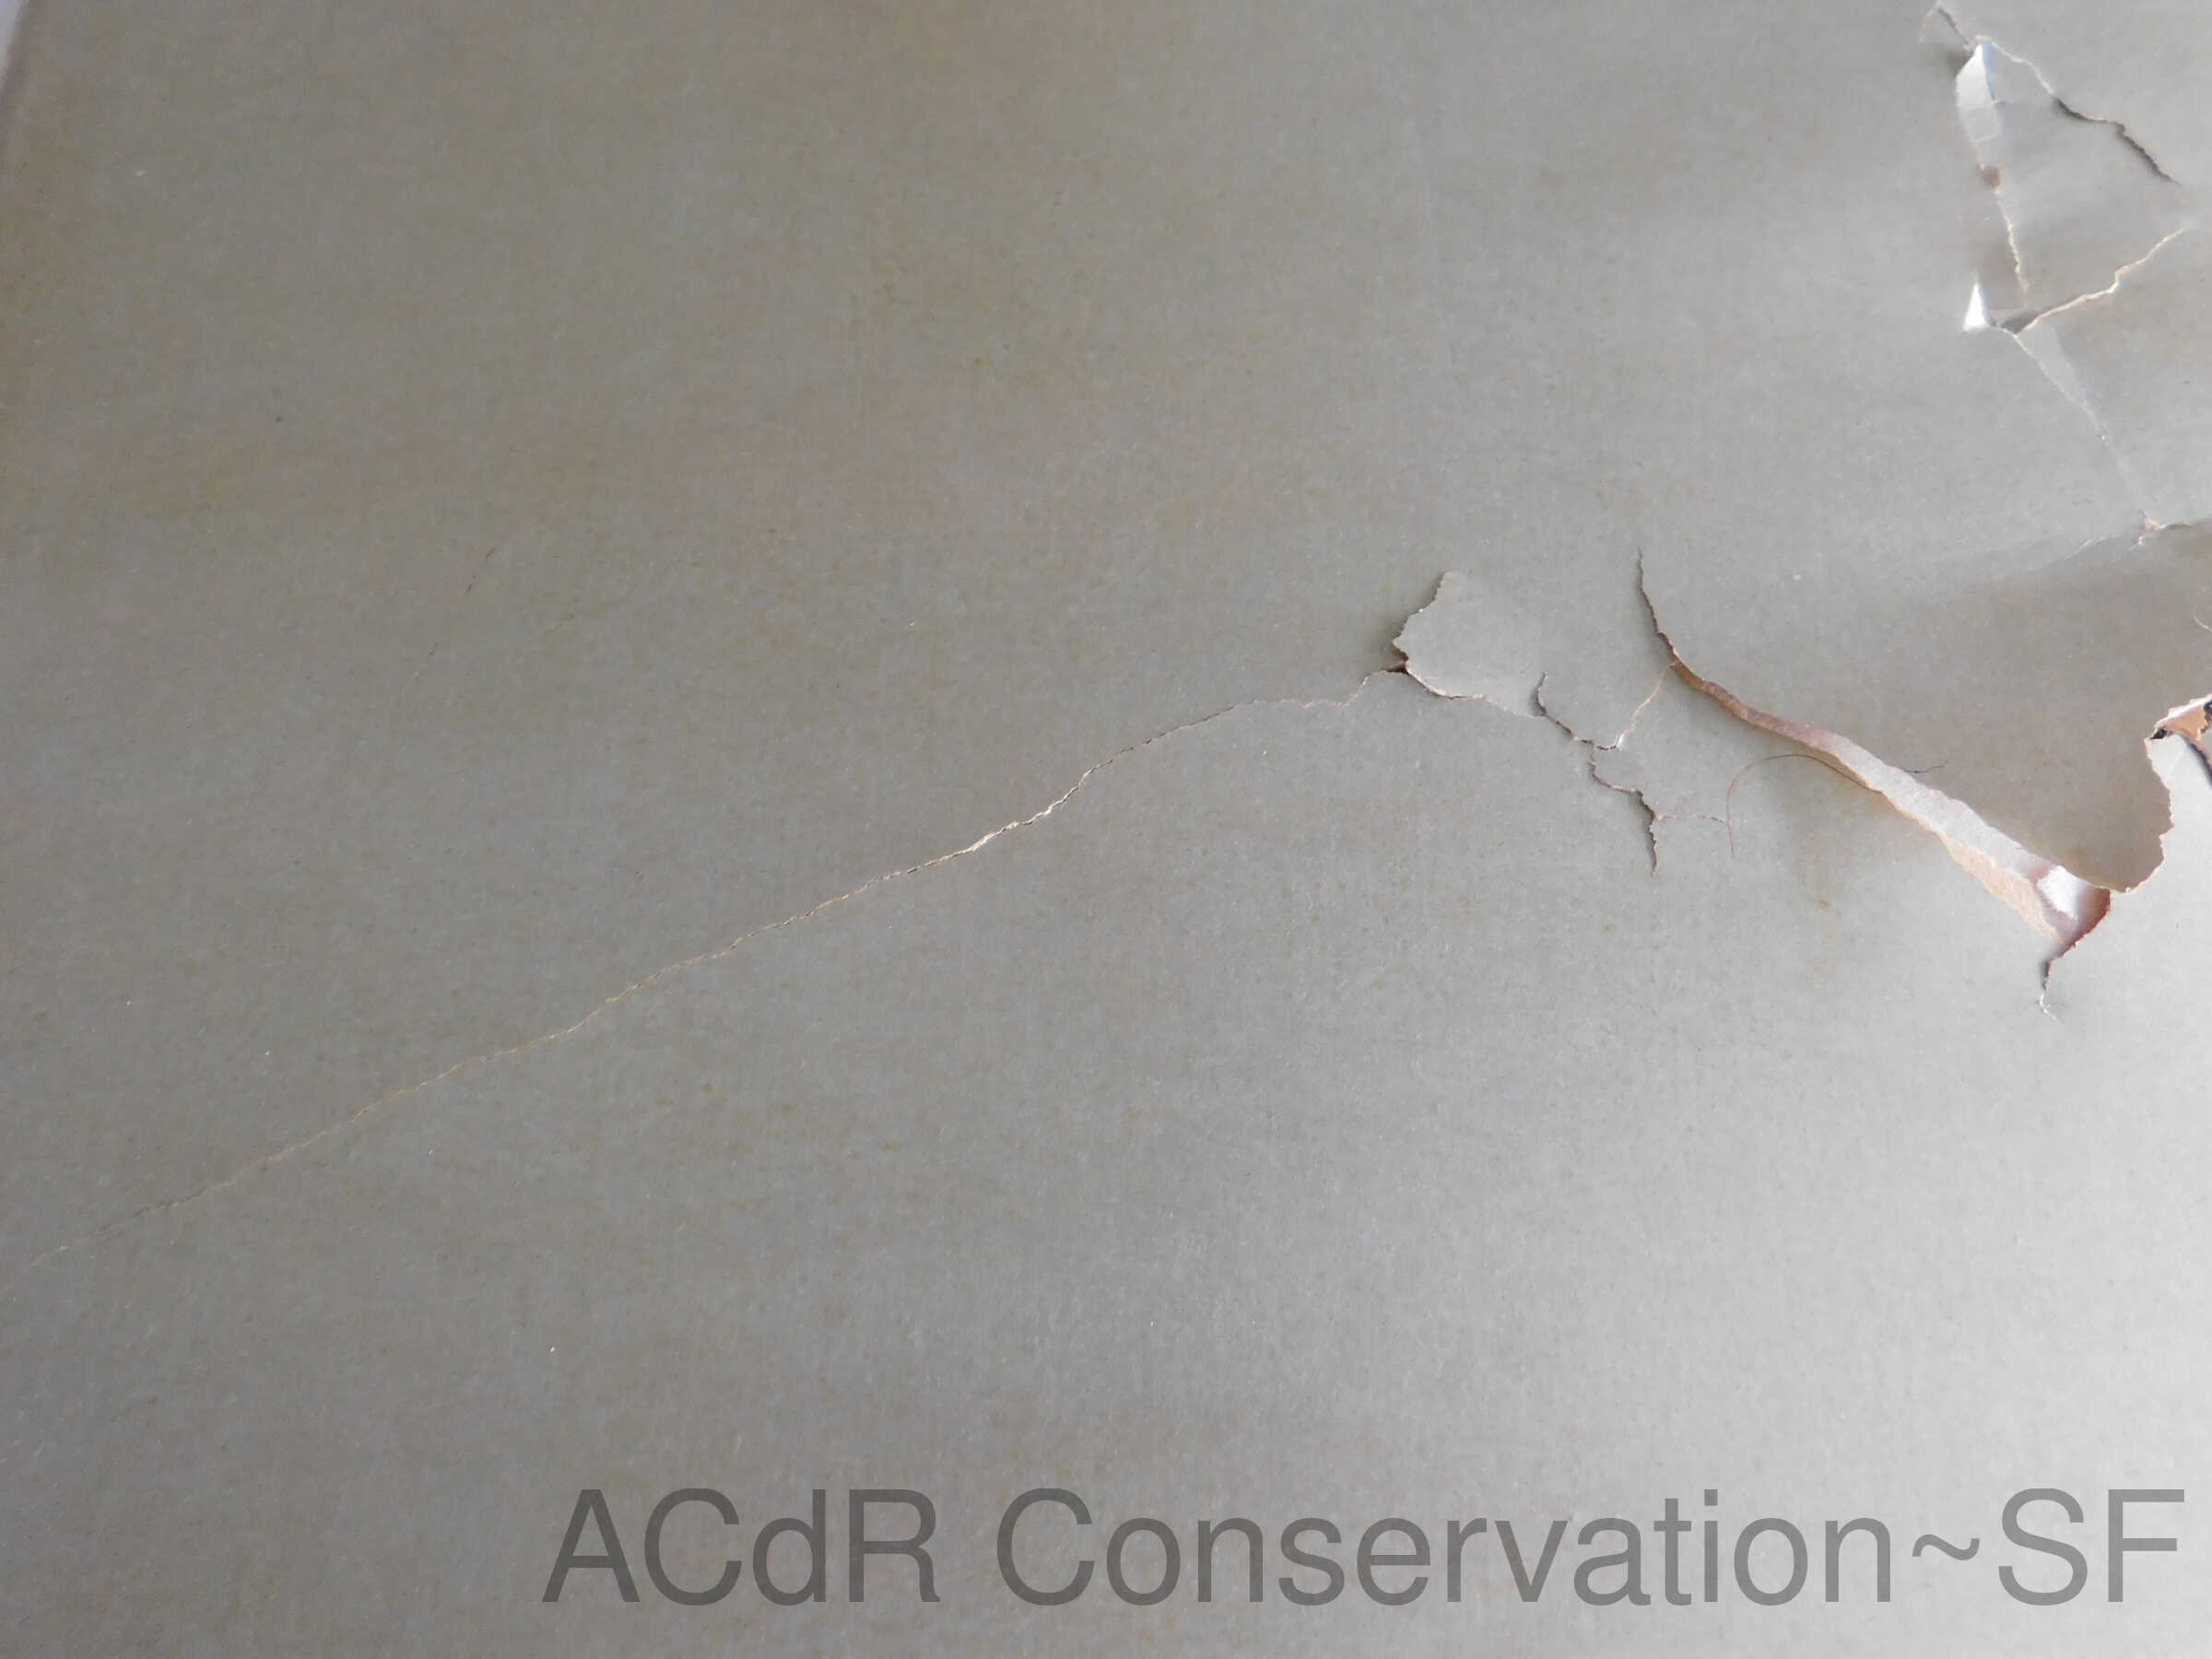
Adhesive Repair/Removal
Feb 25, 2019 - Mar 11, 2019
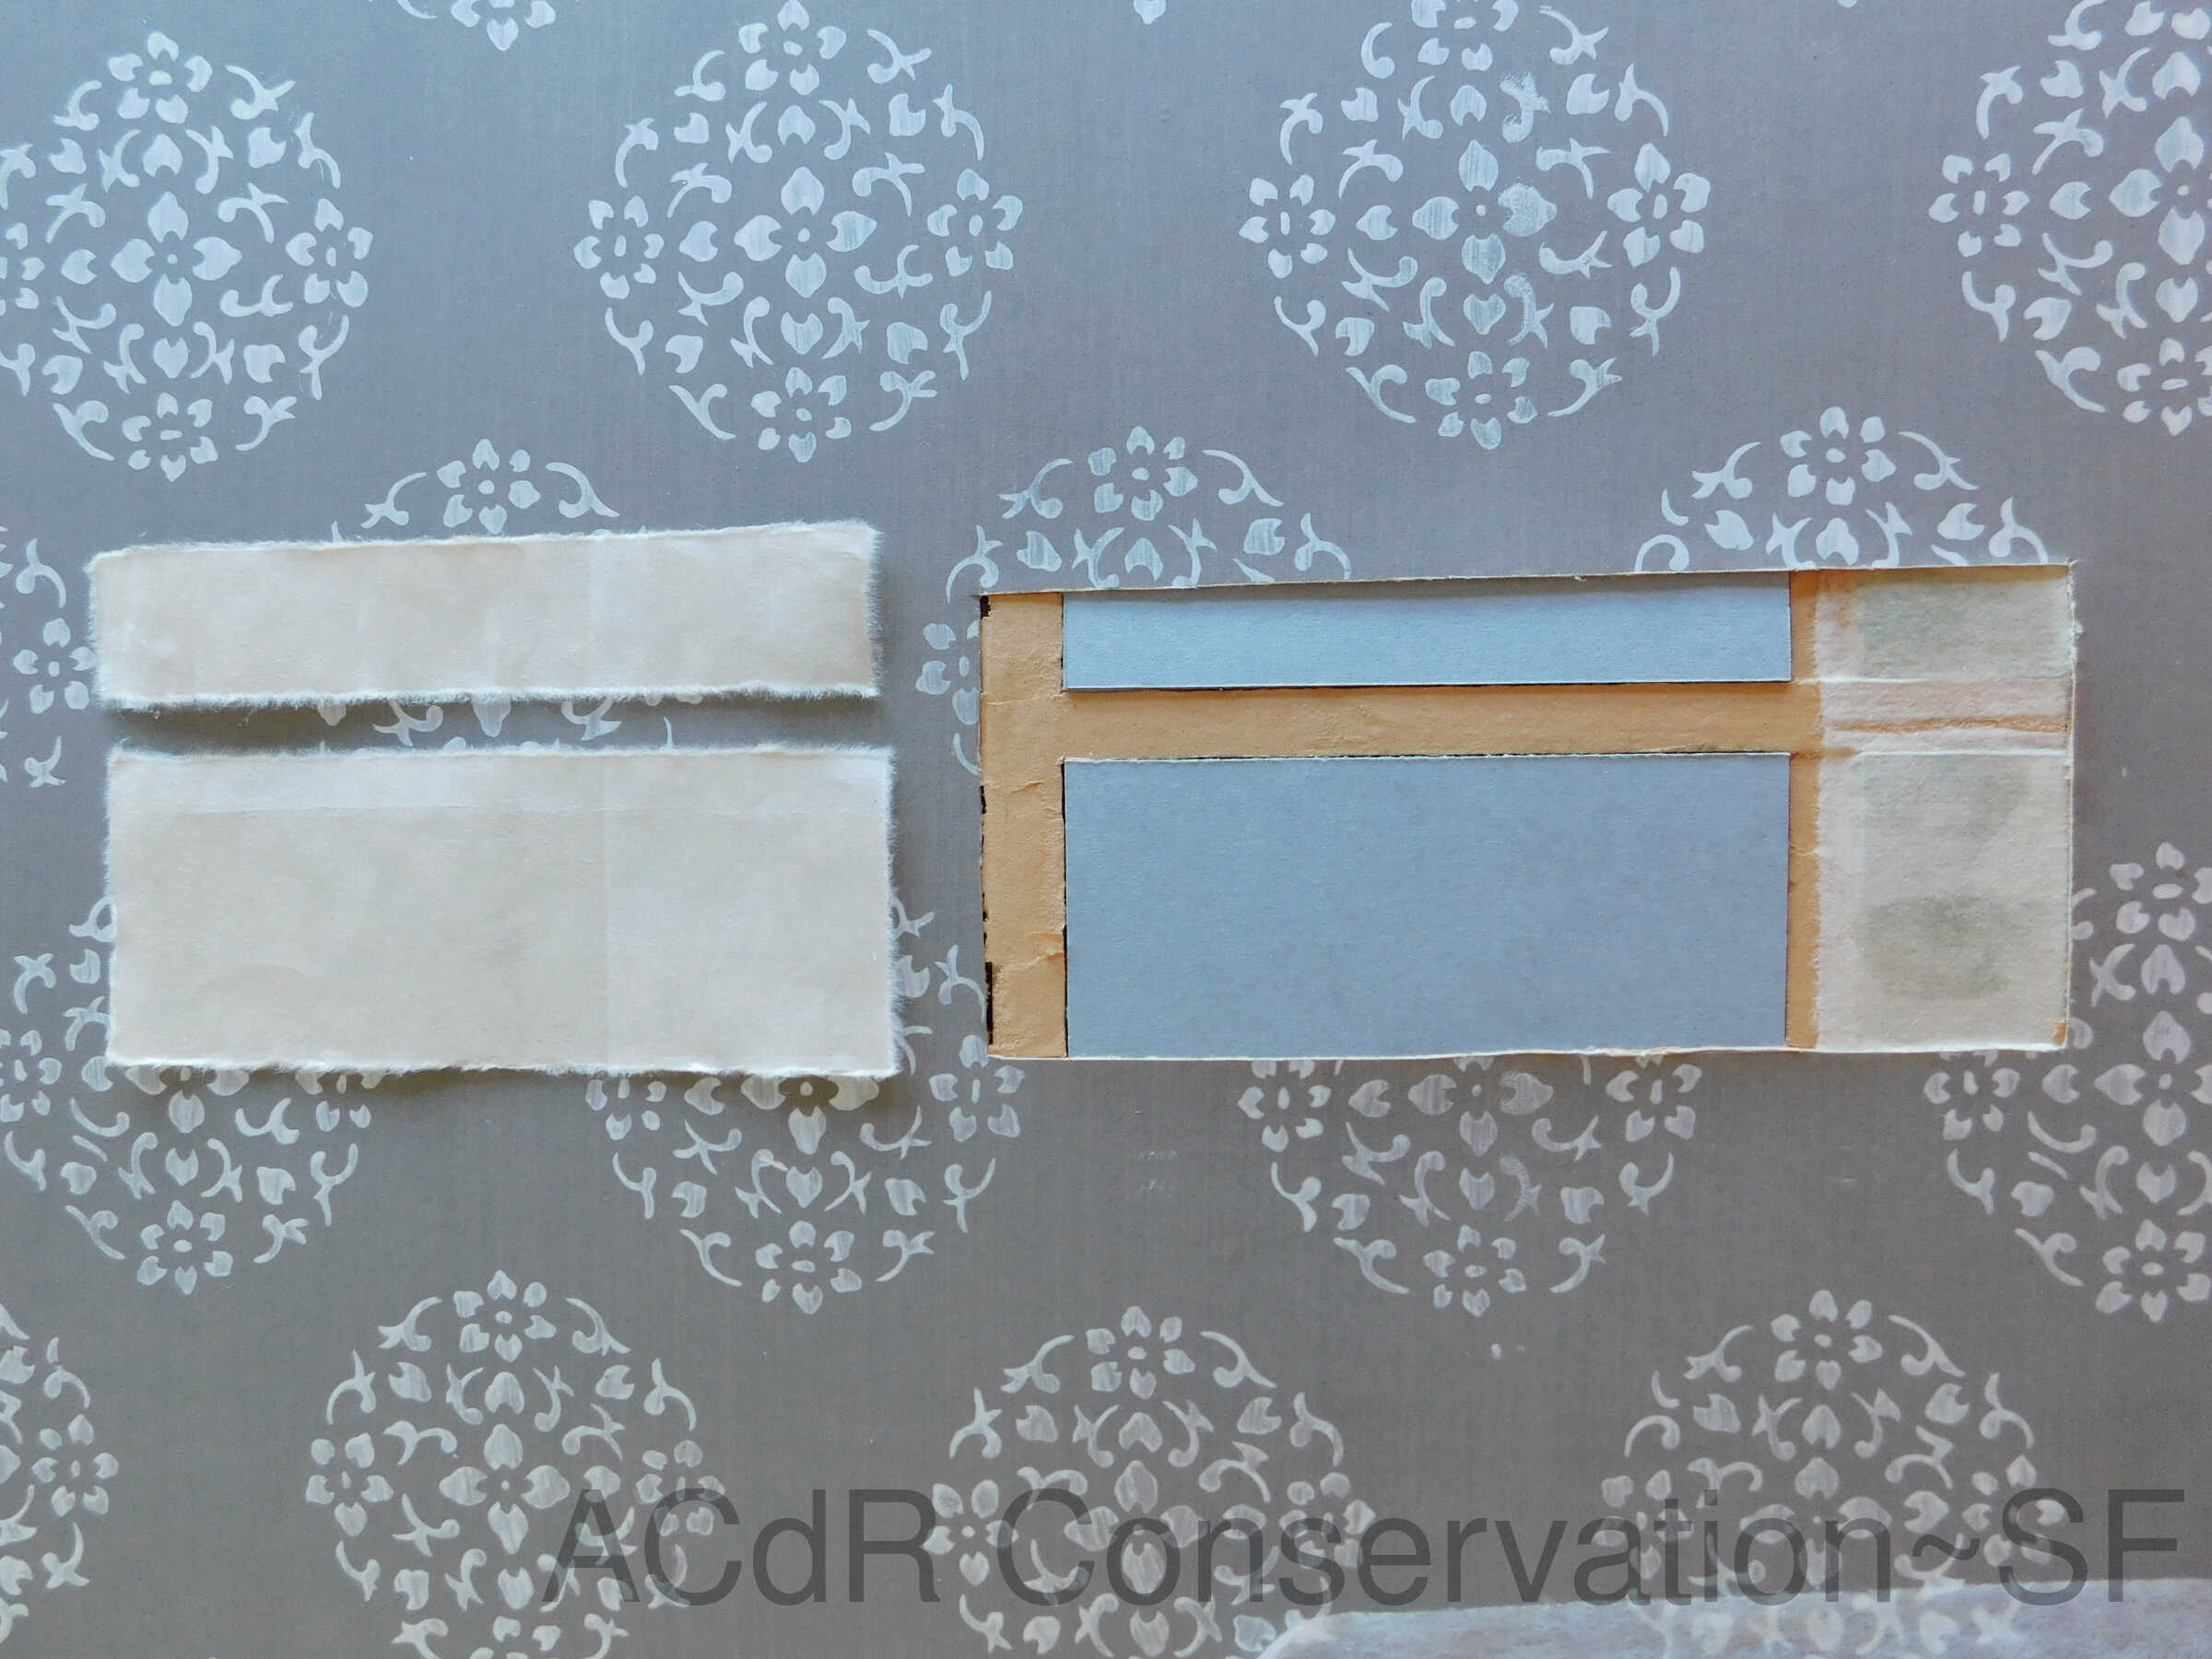
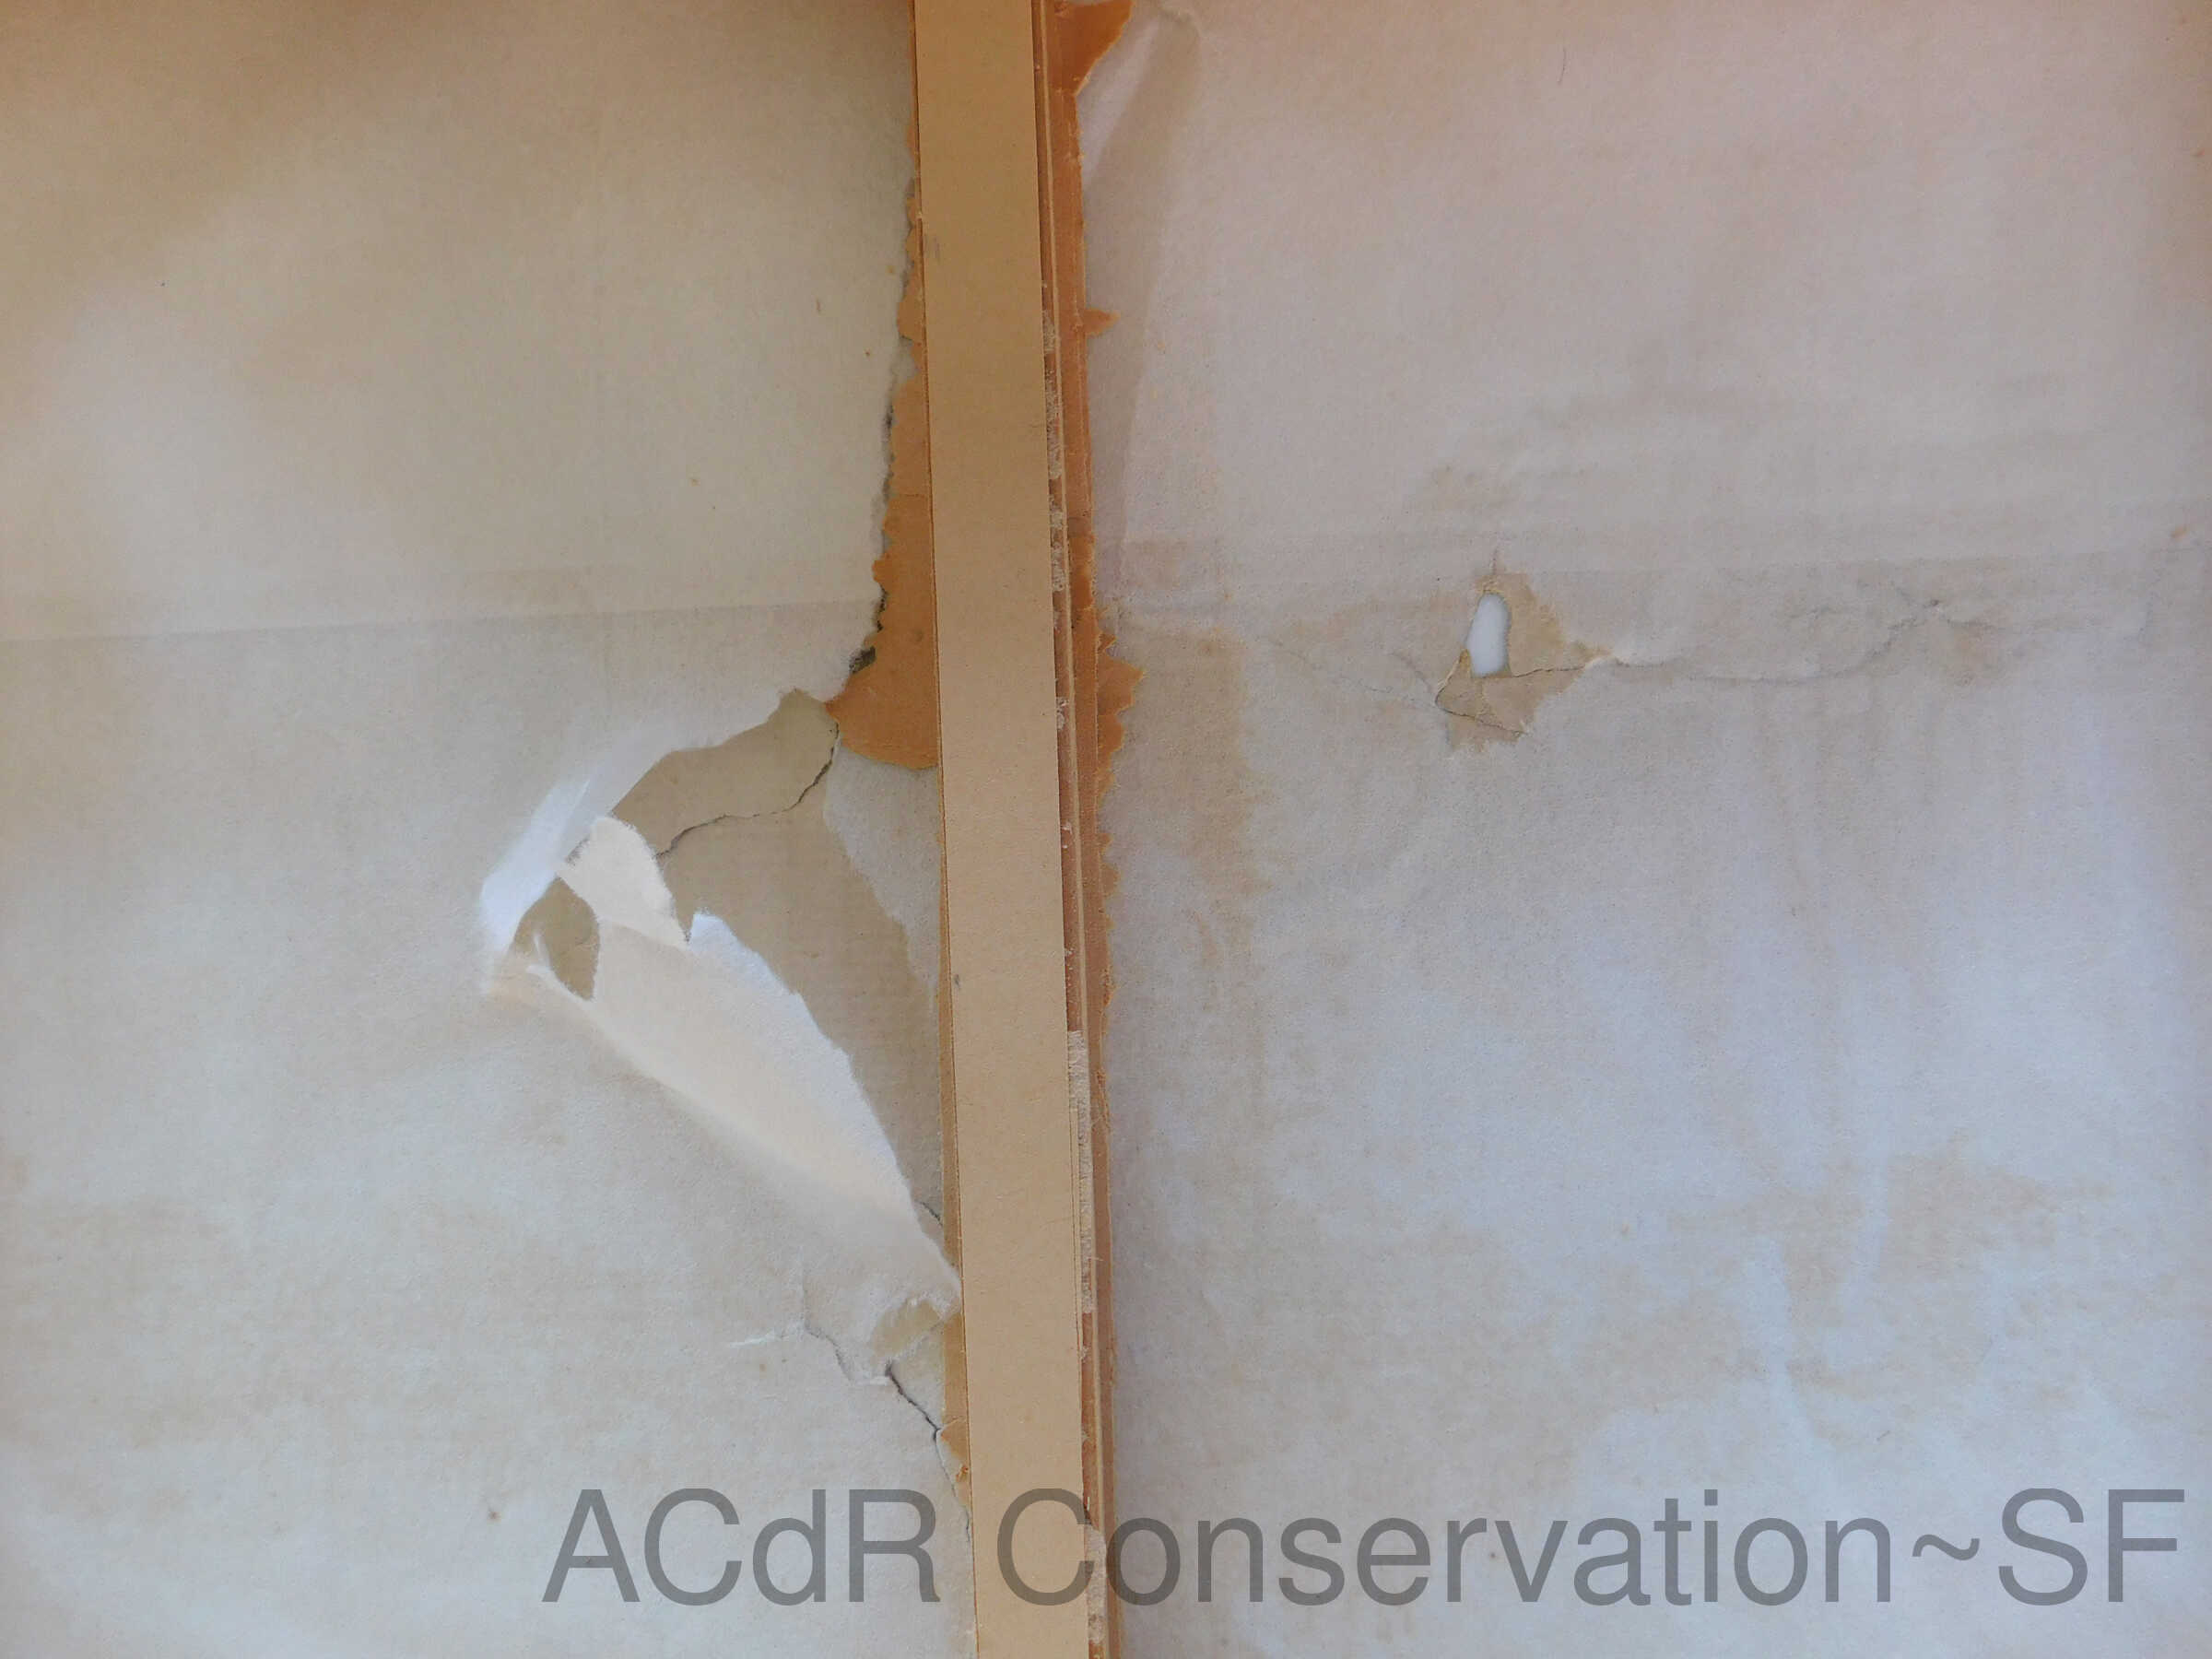
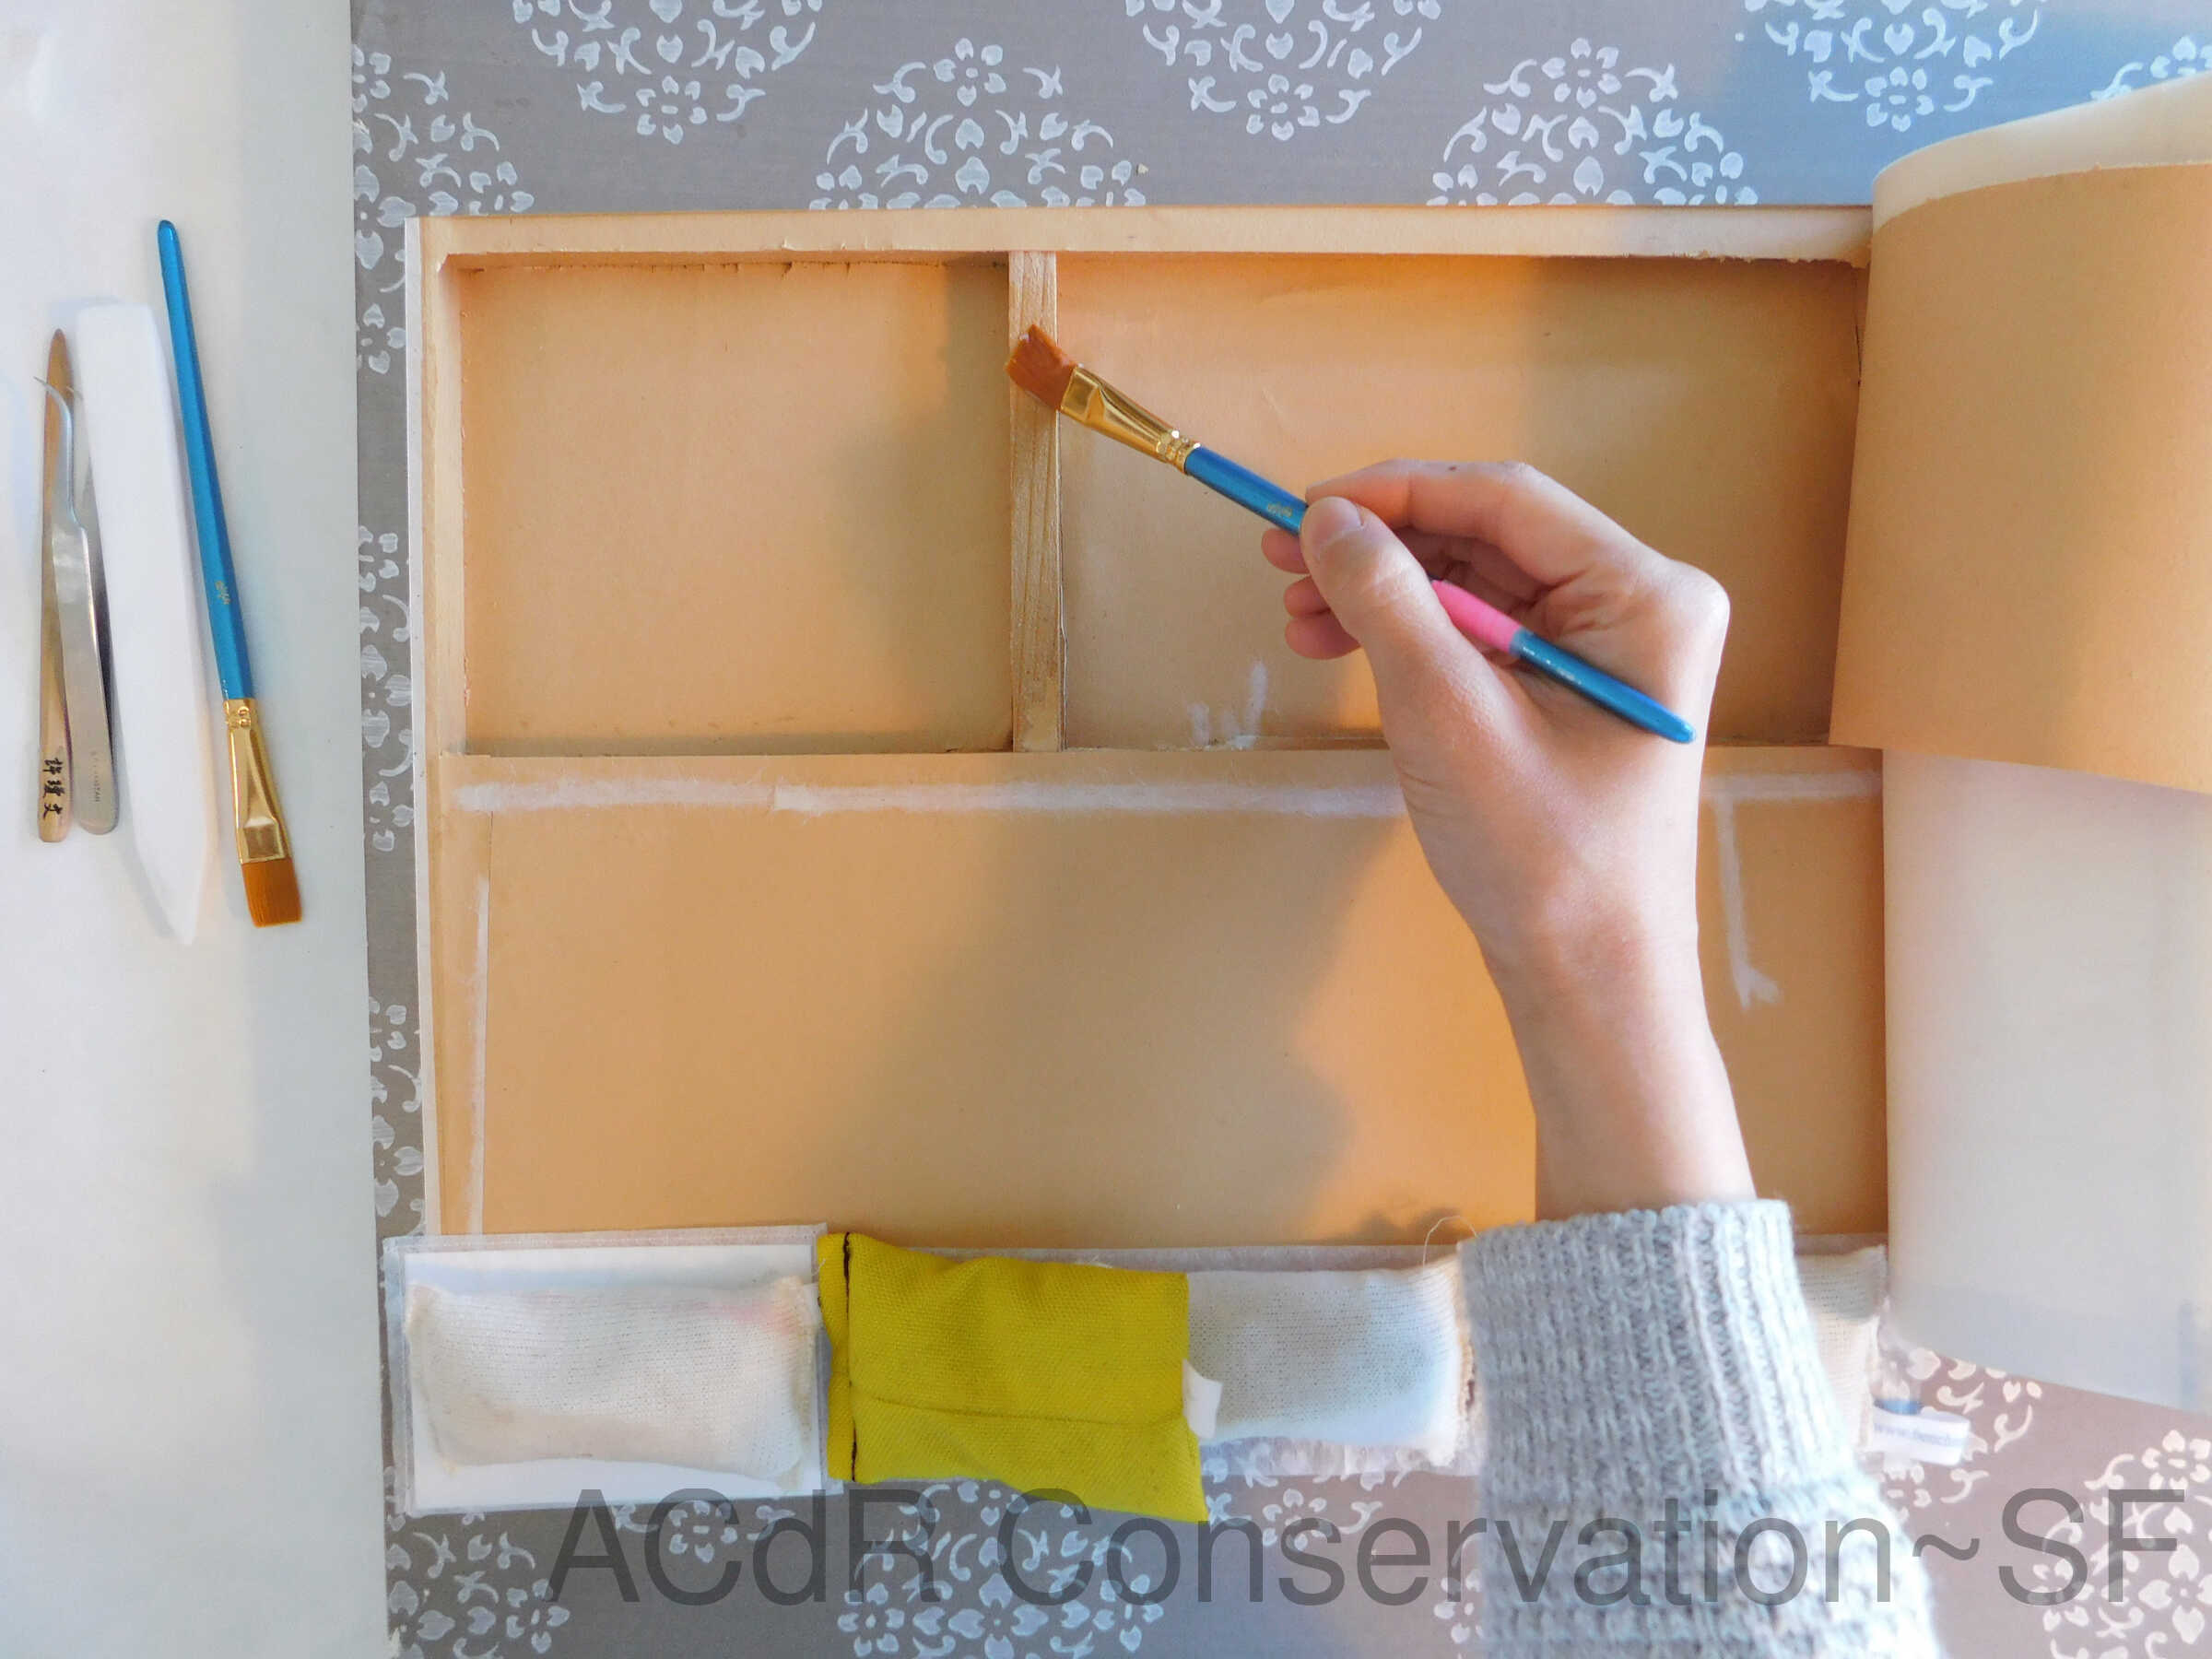
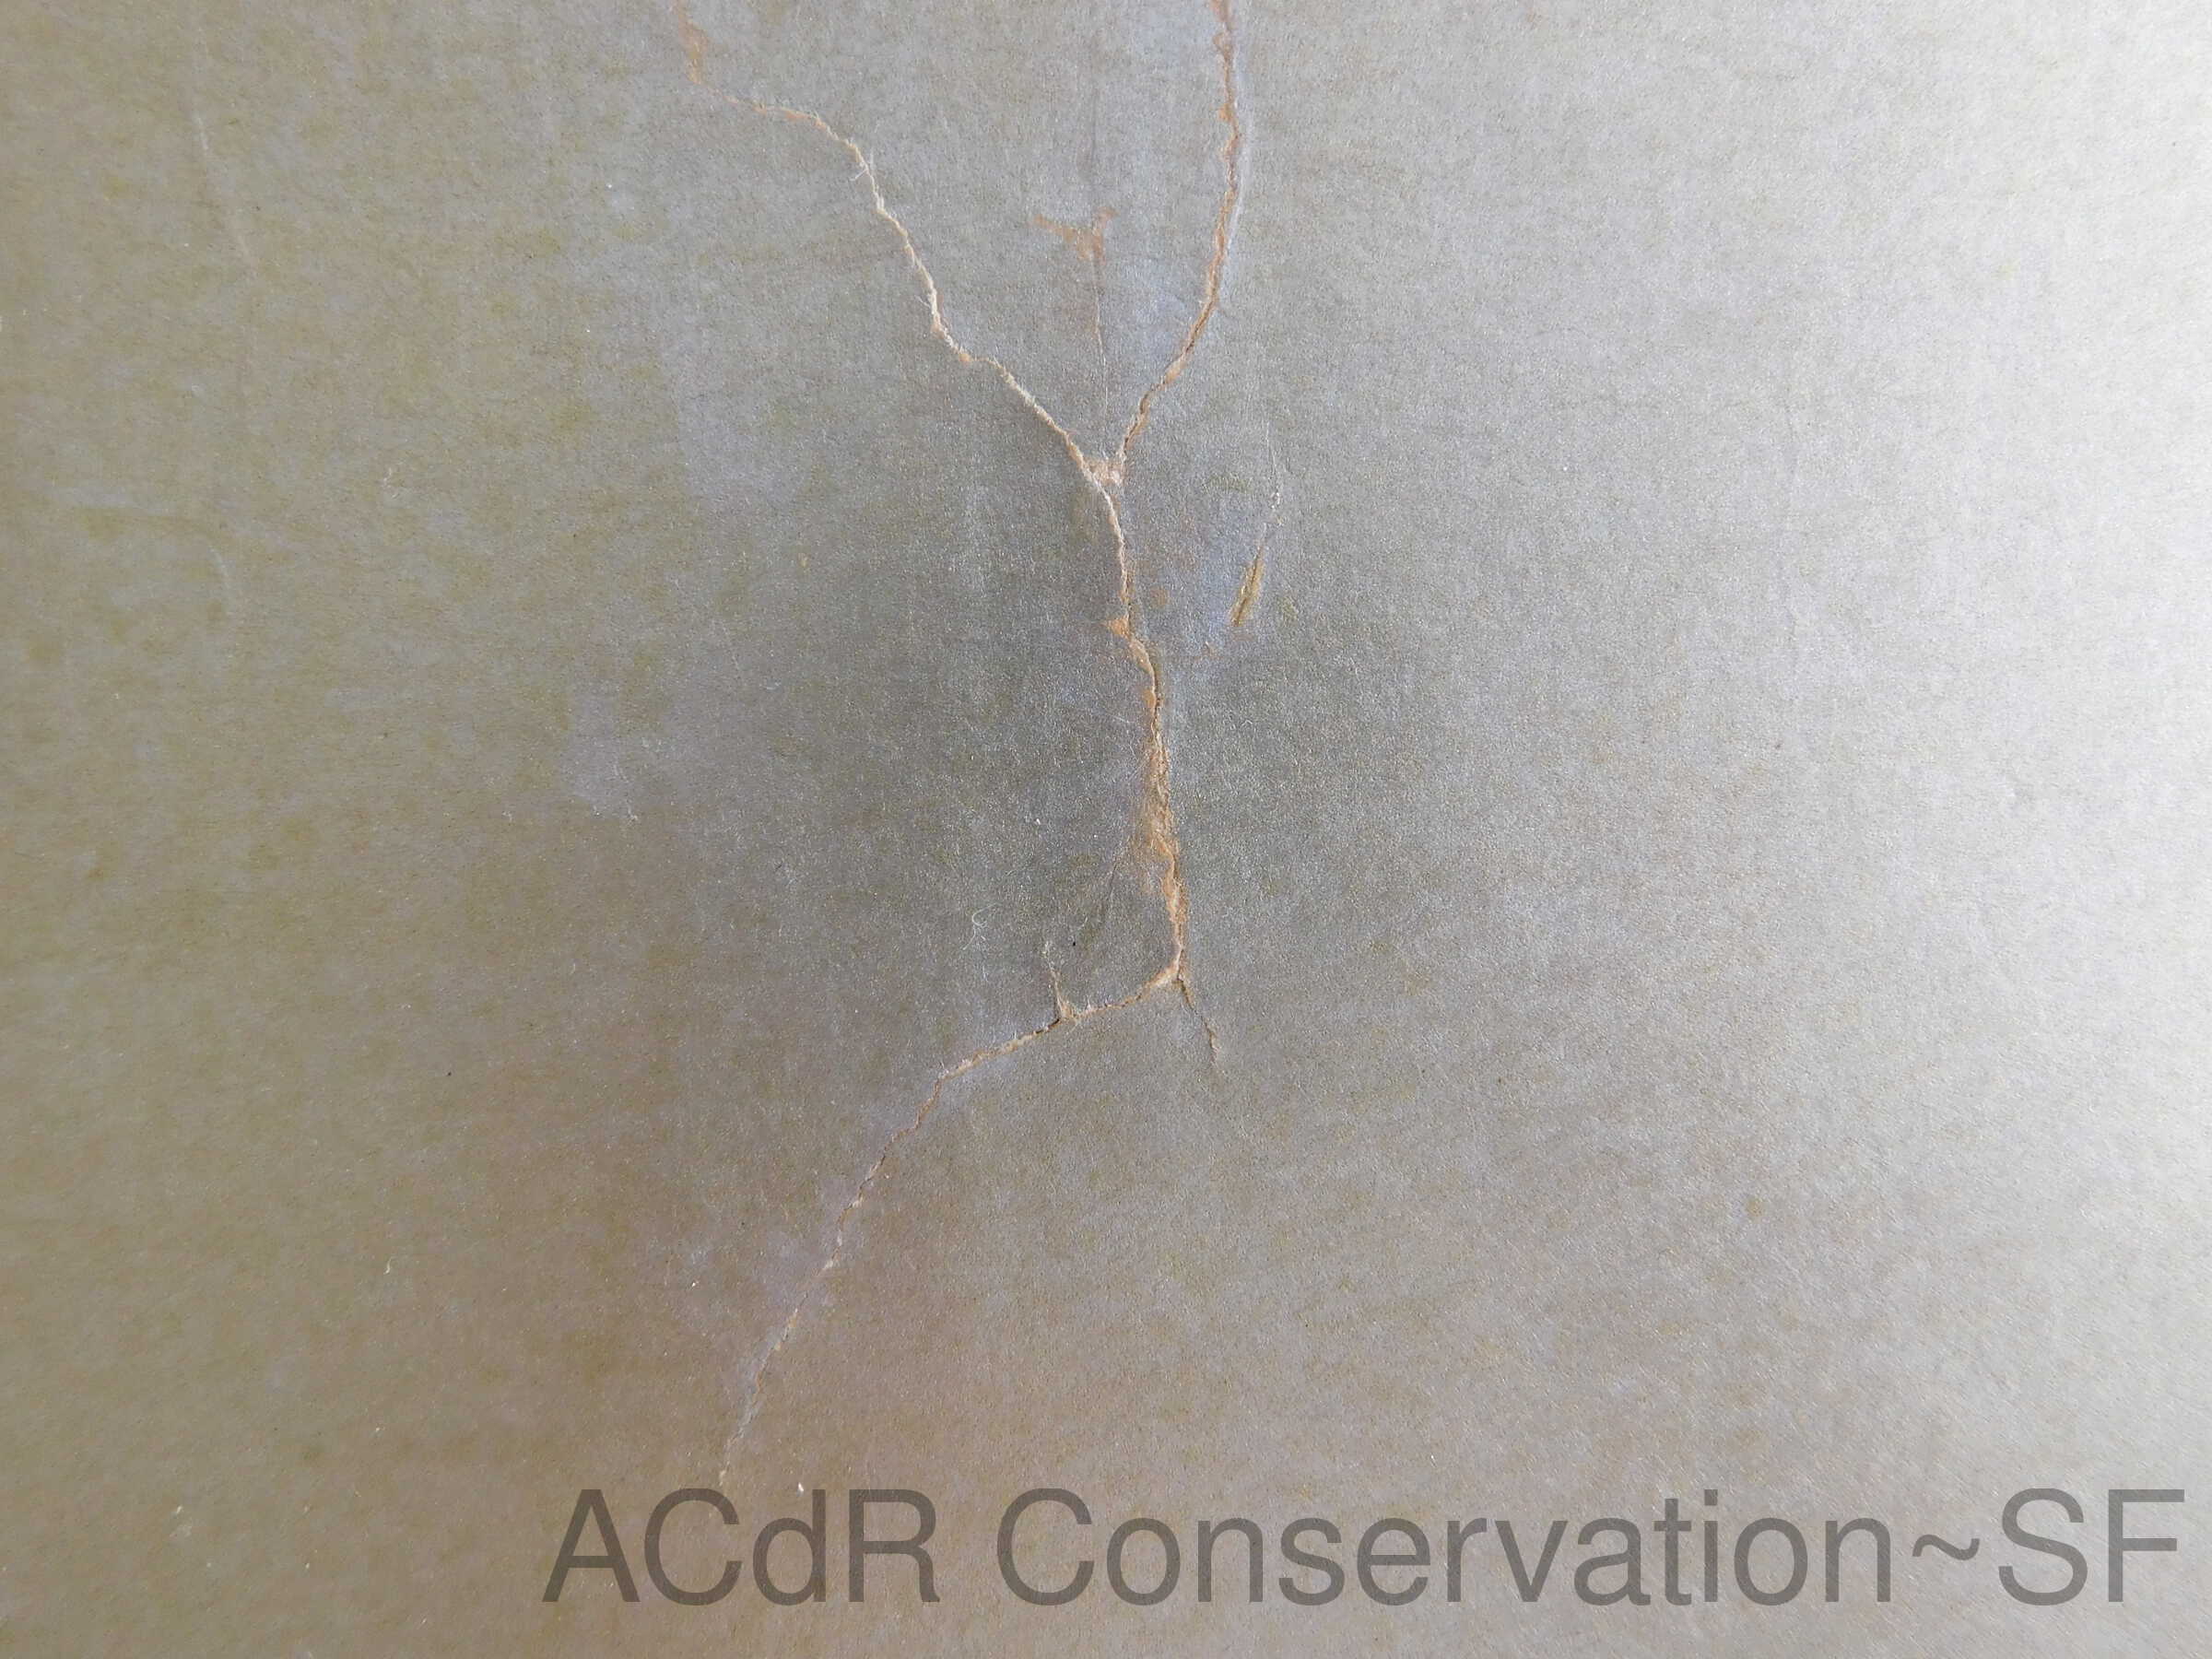
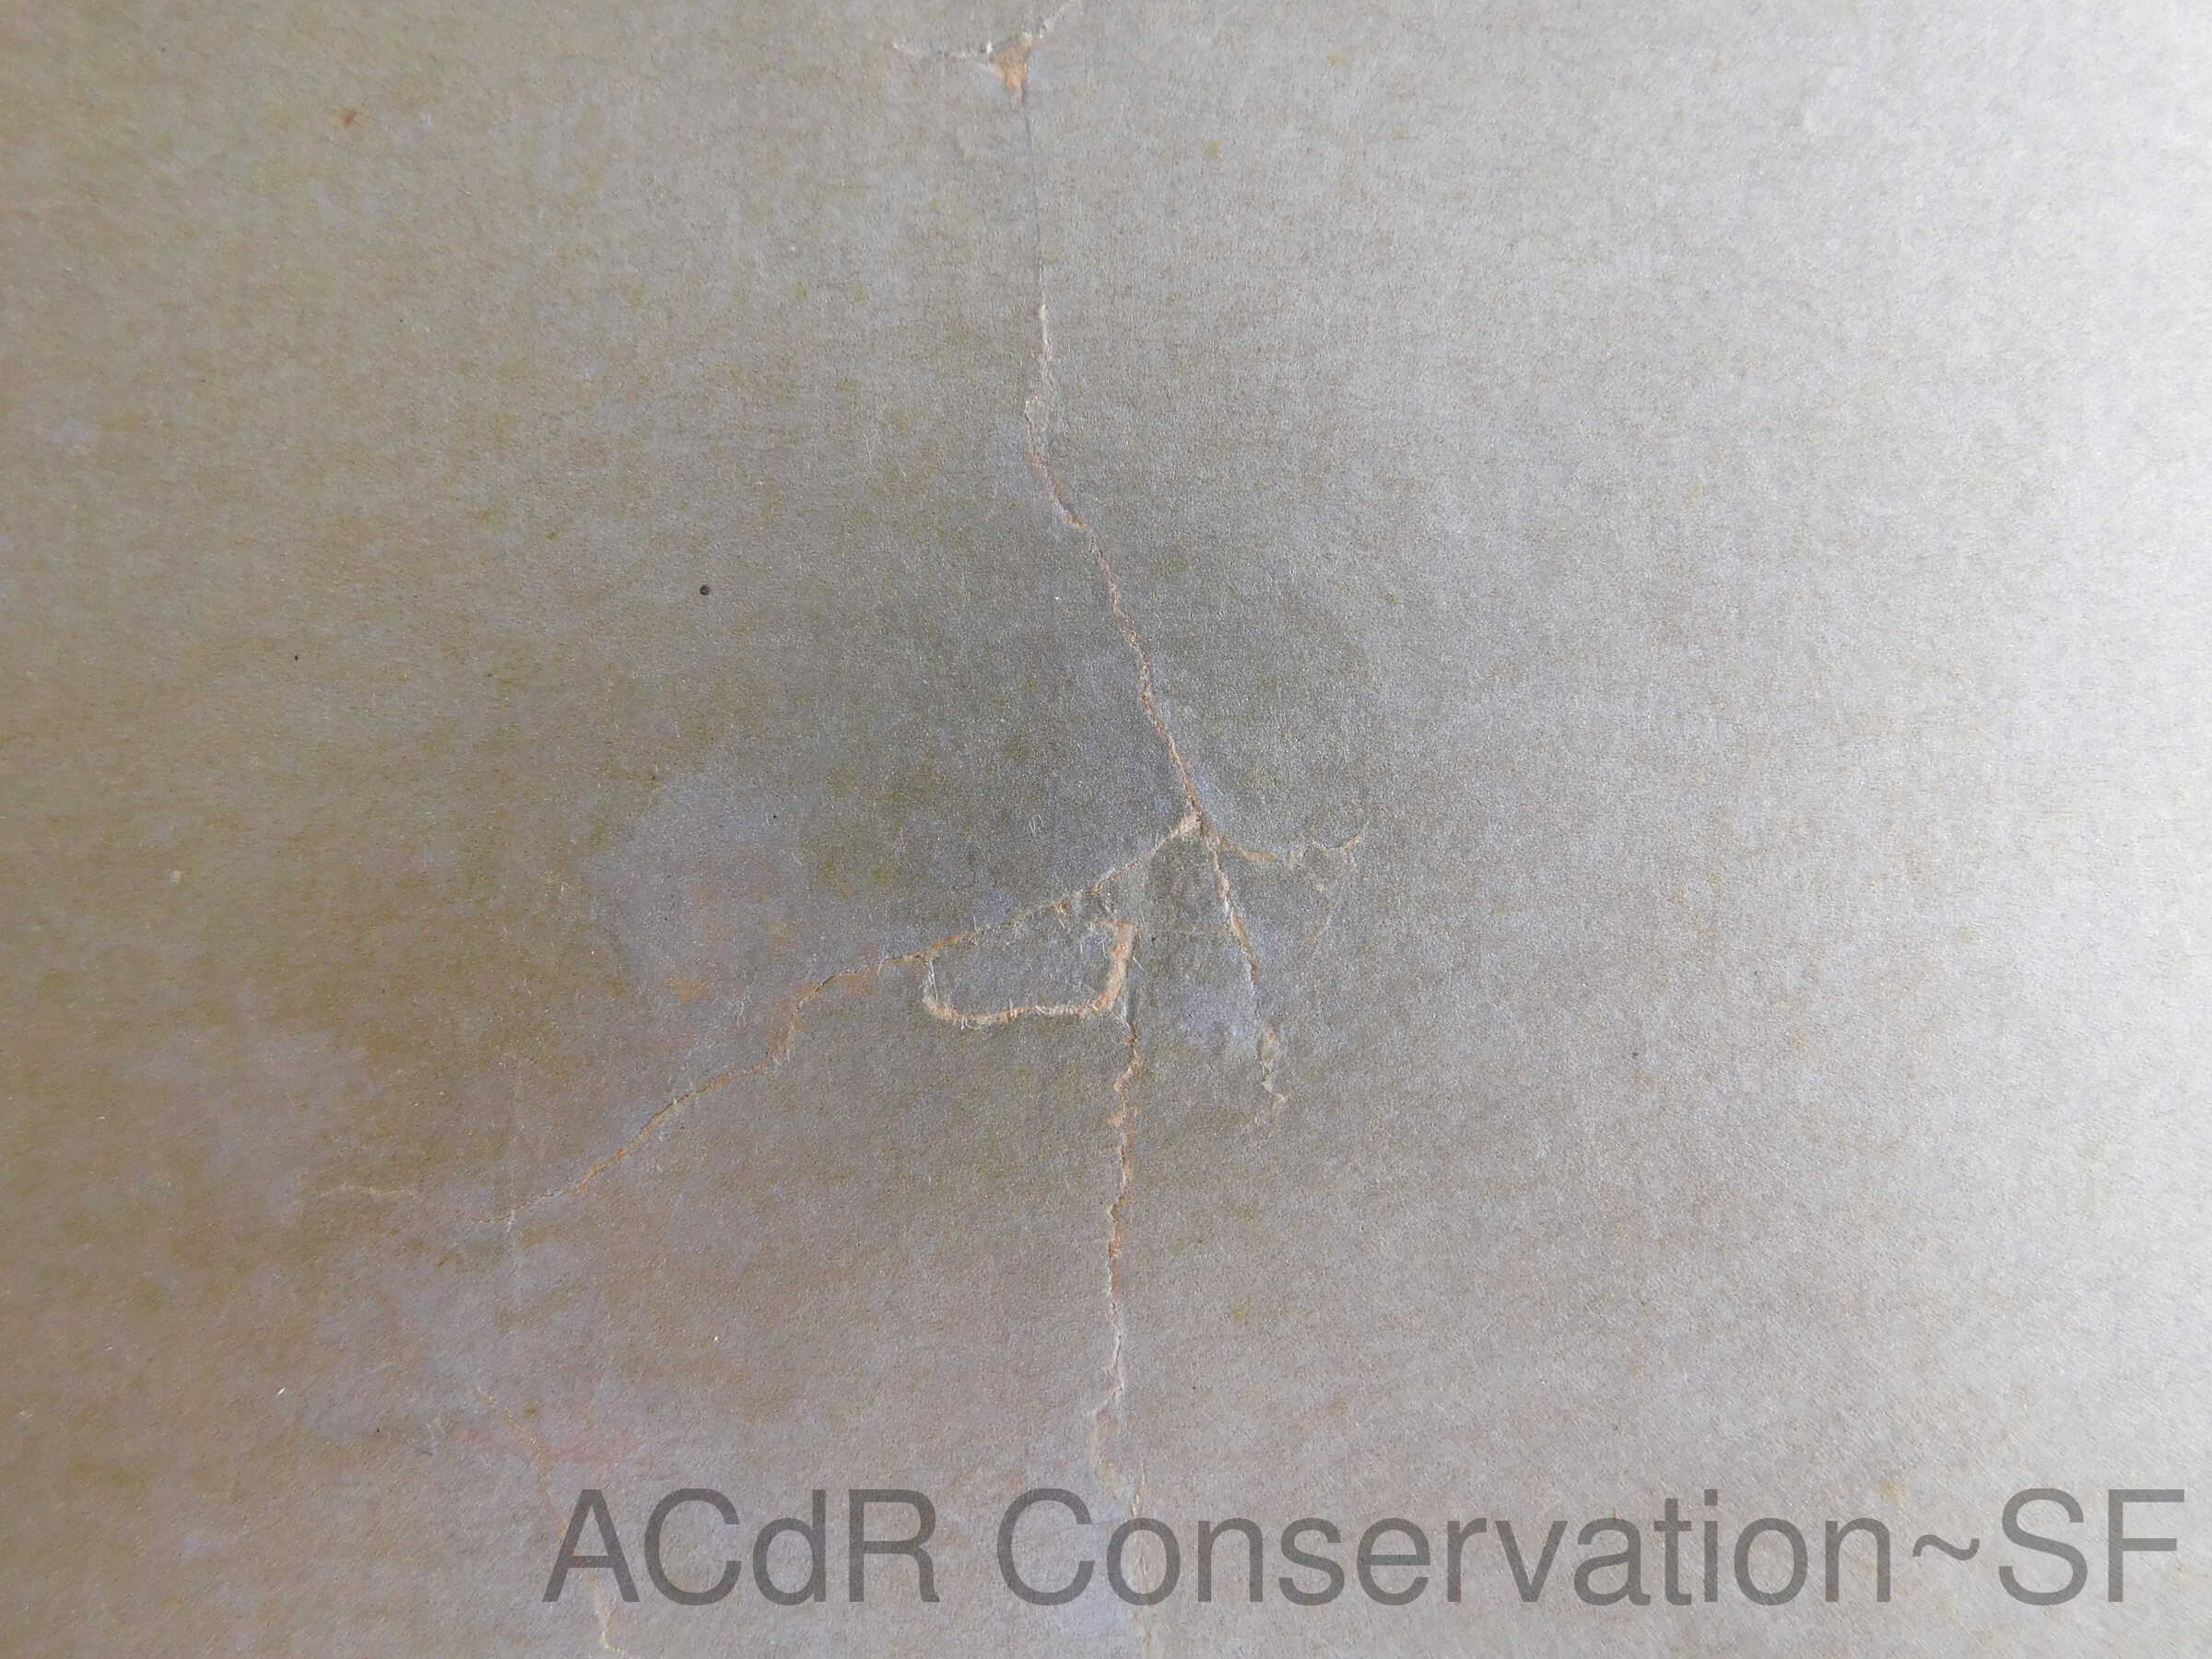
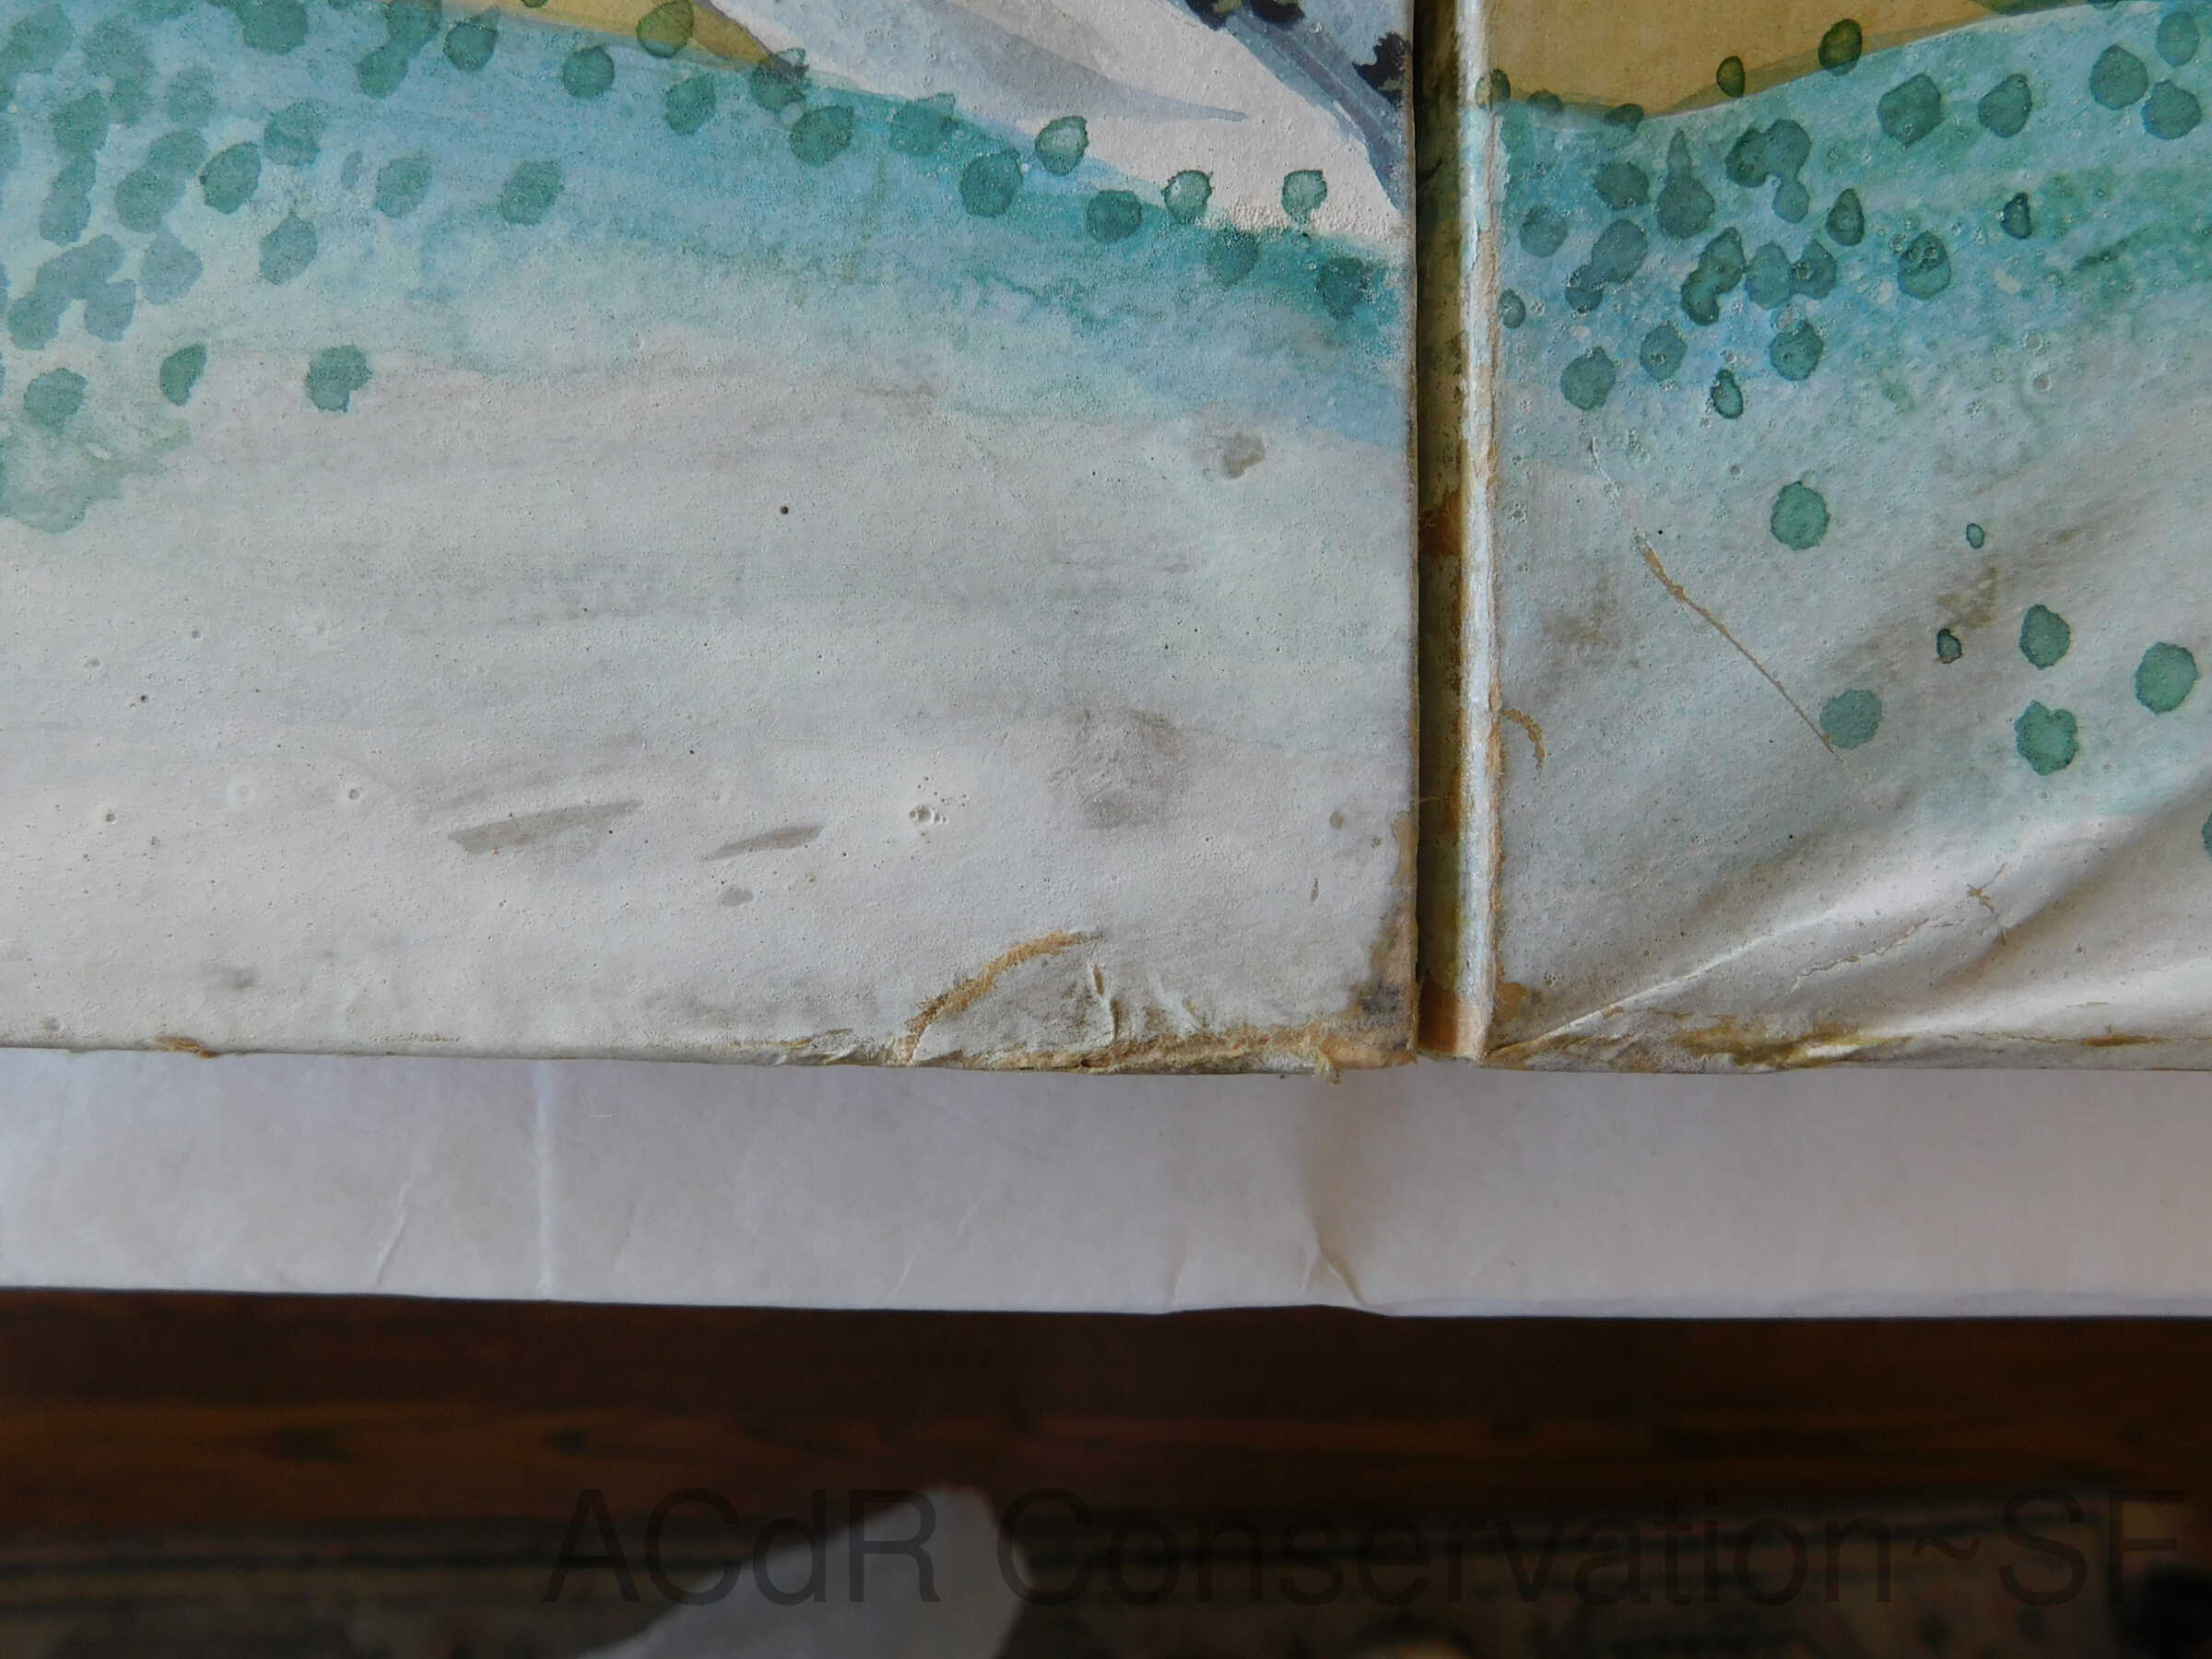
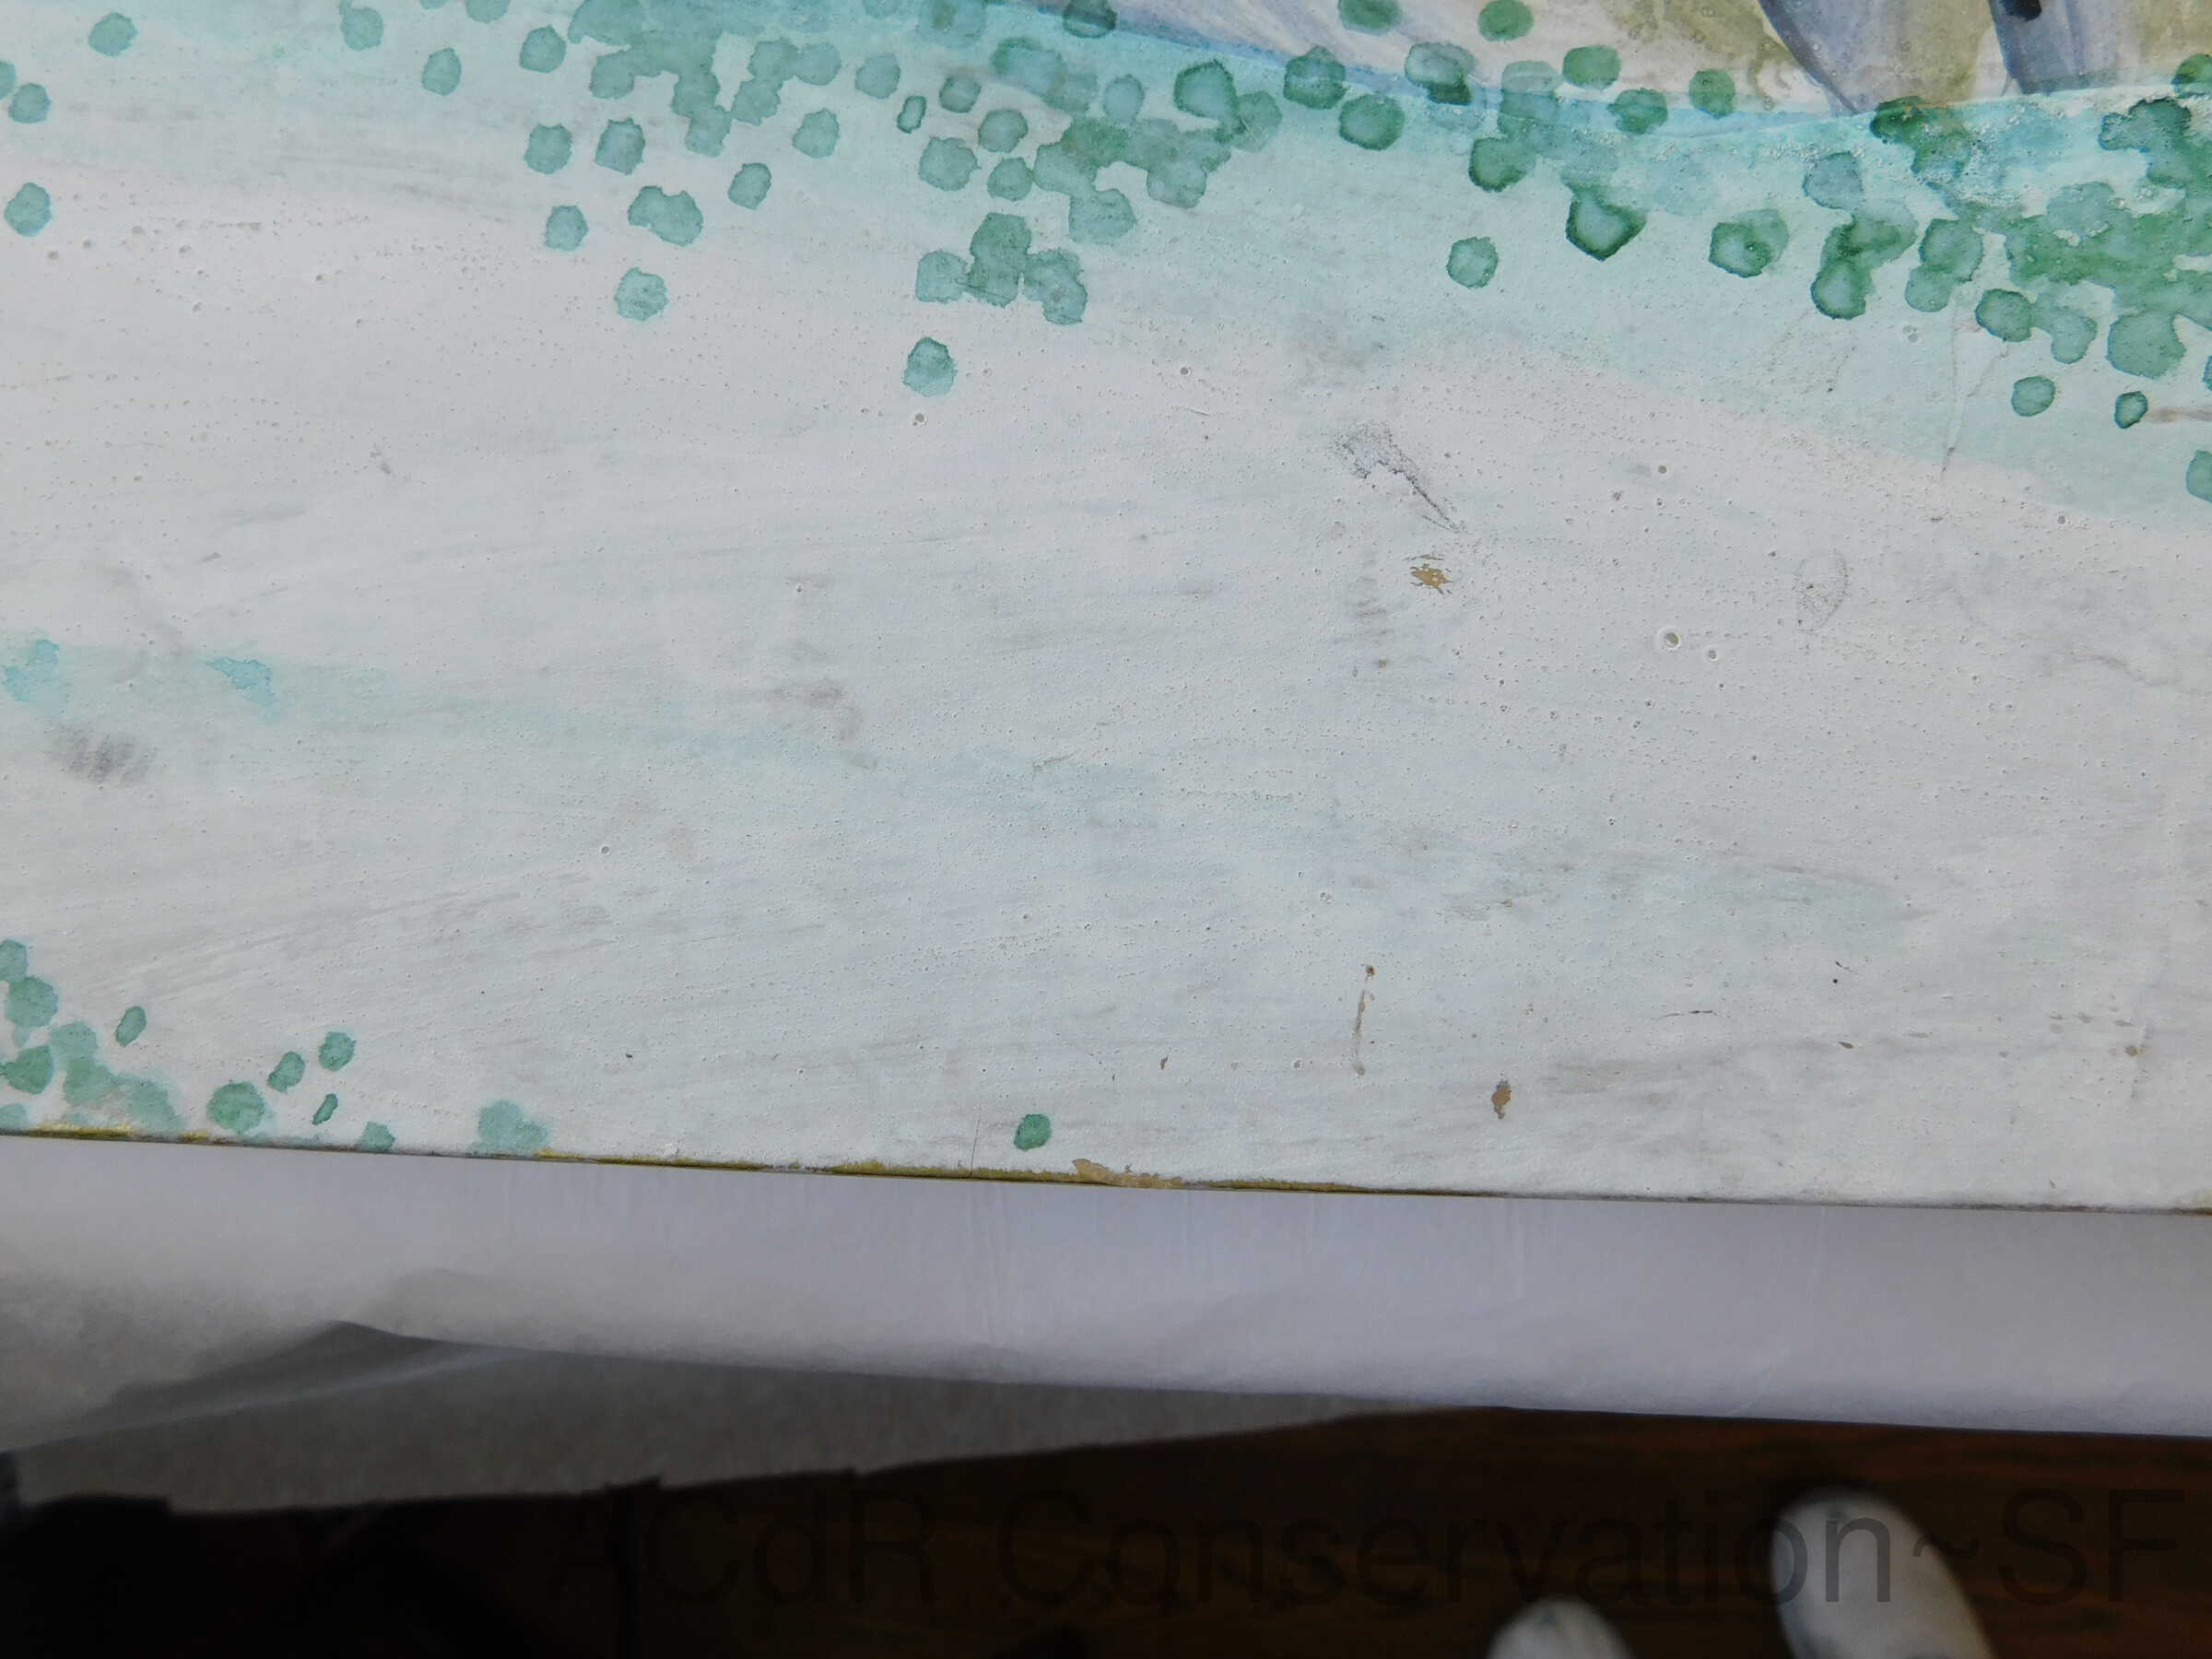
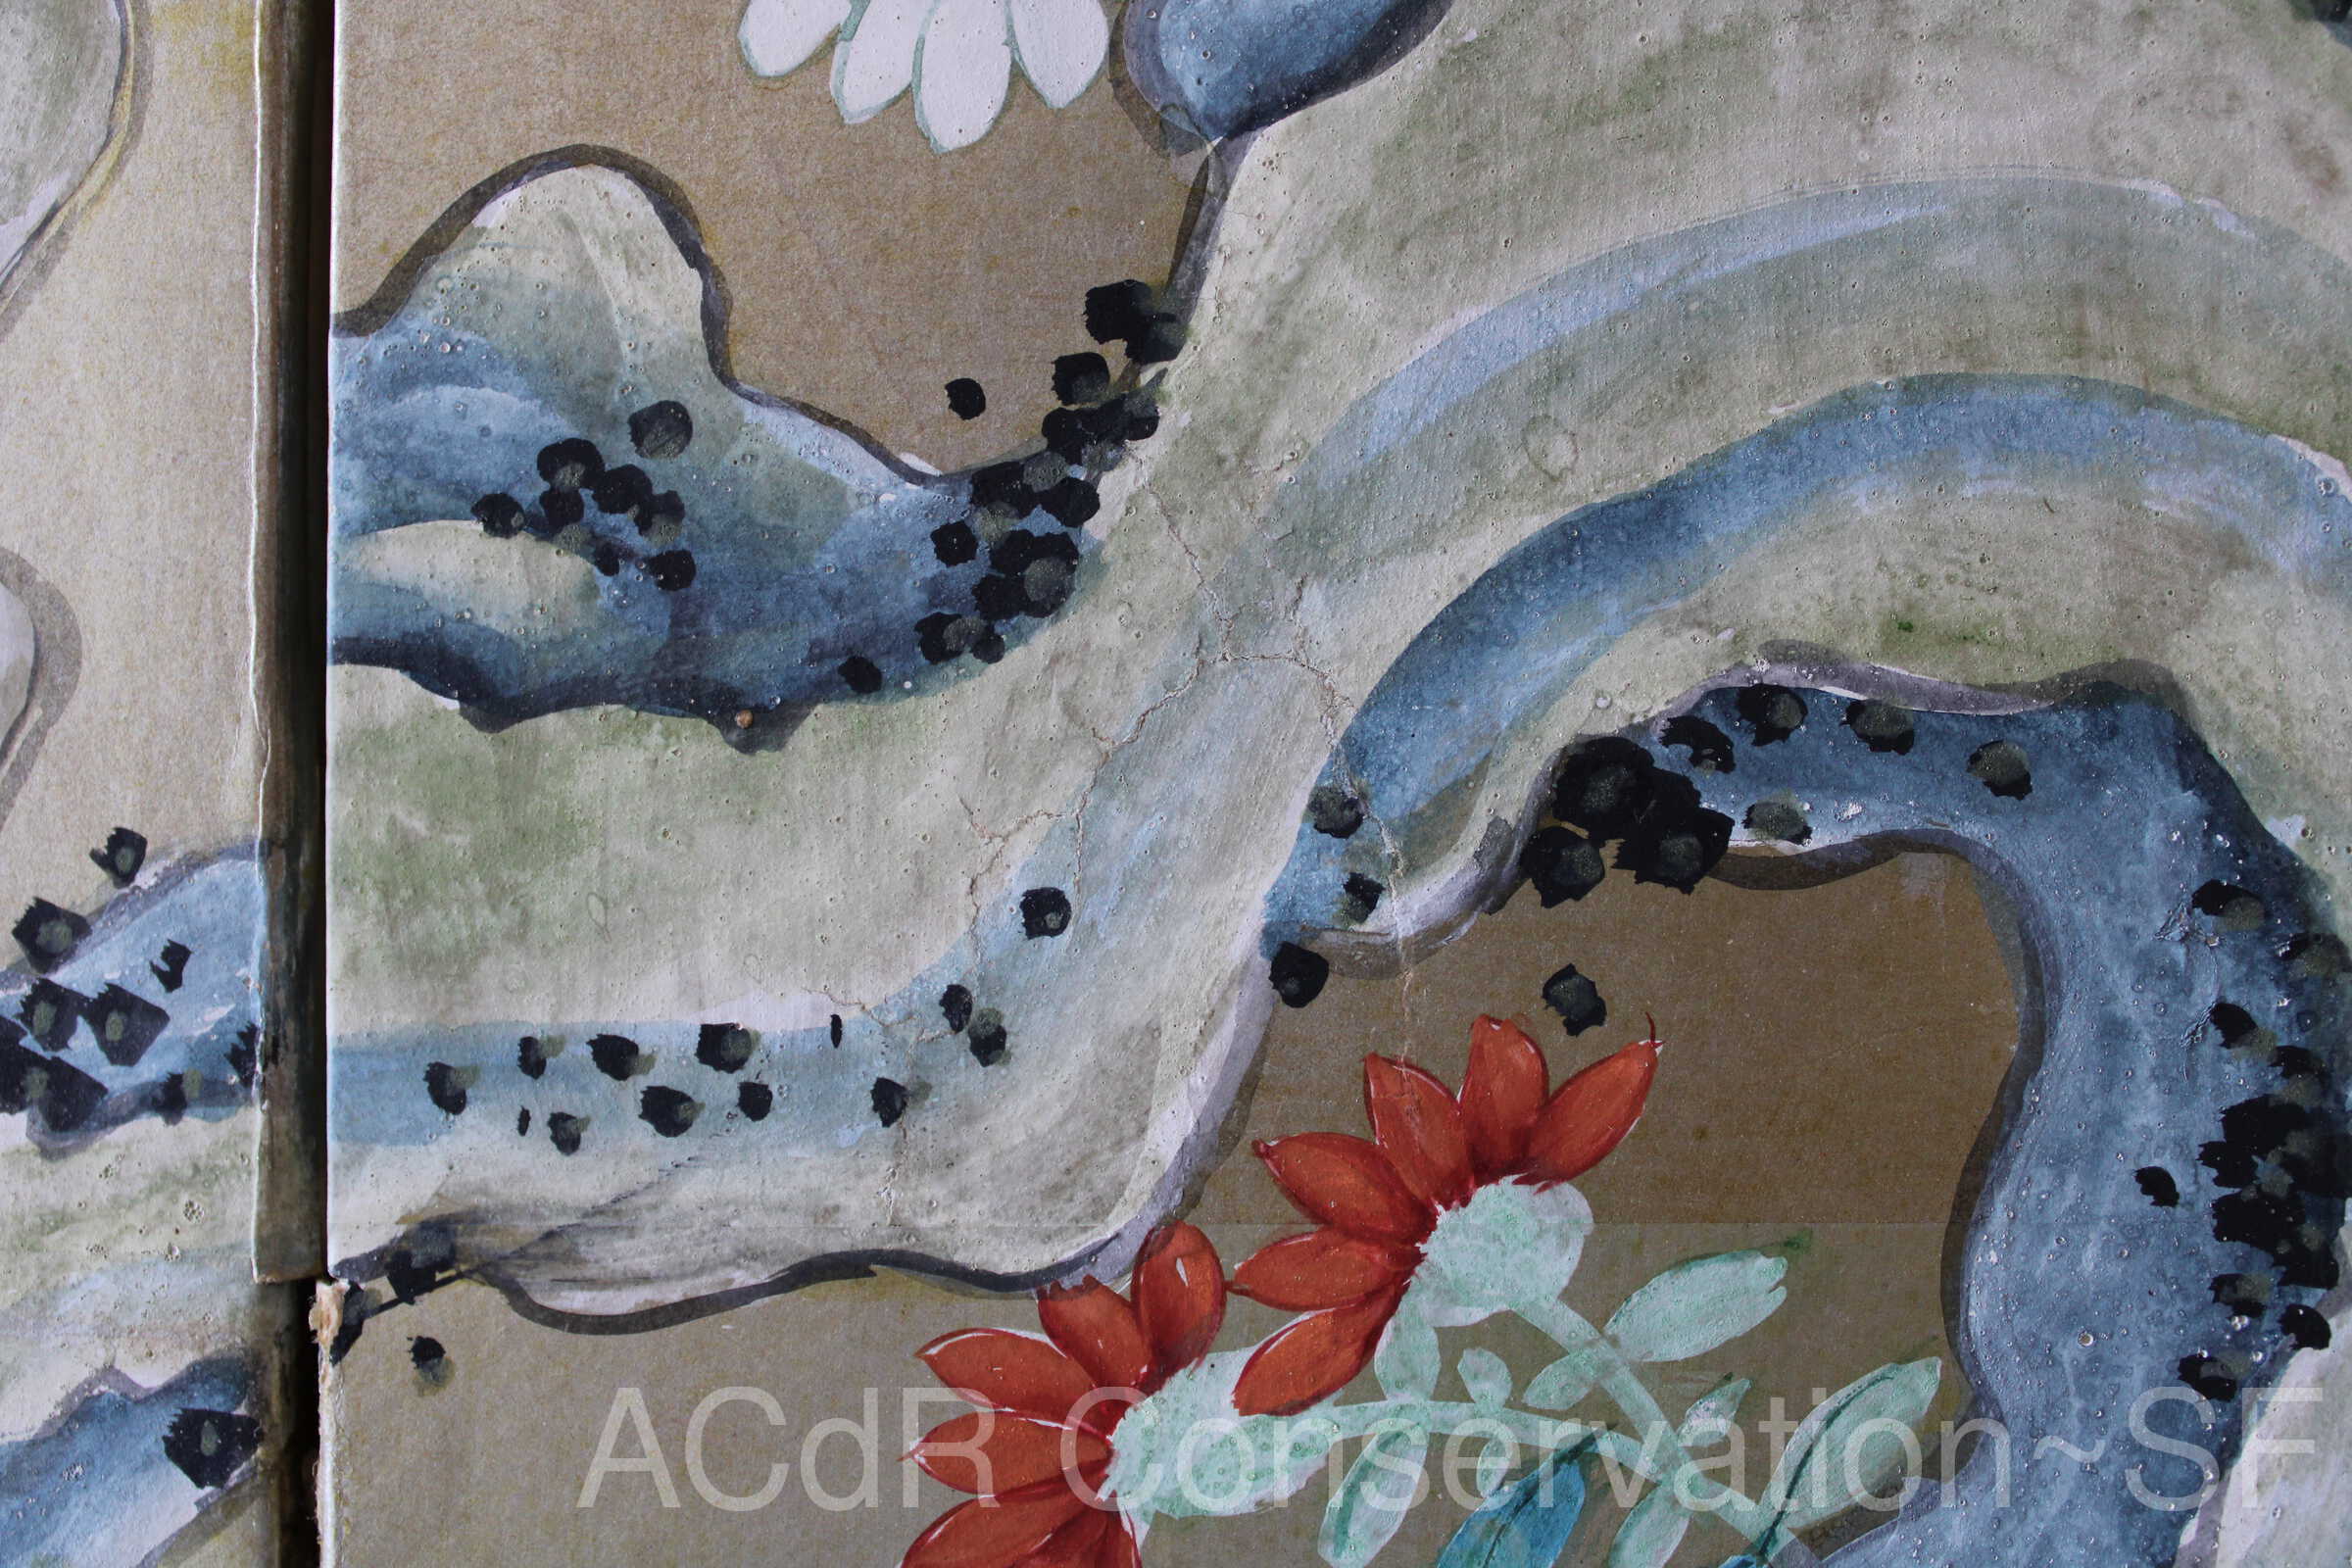
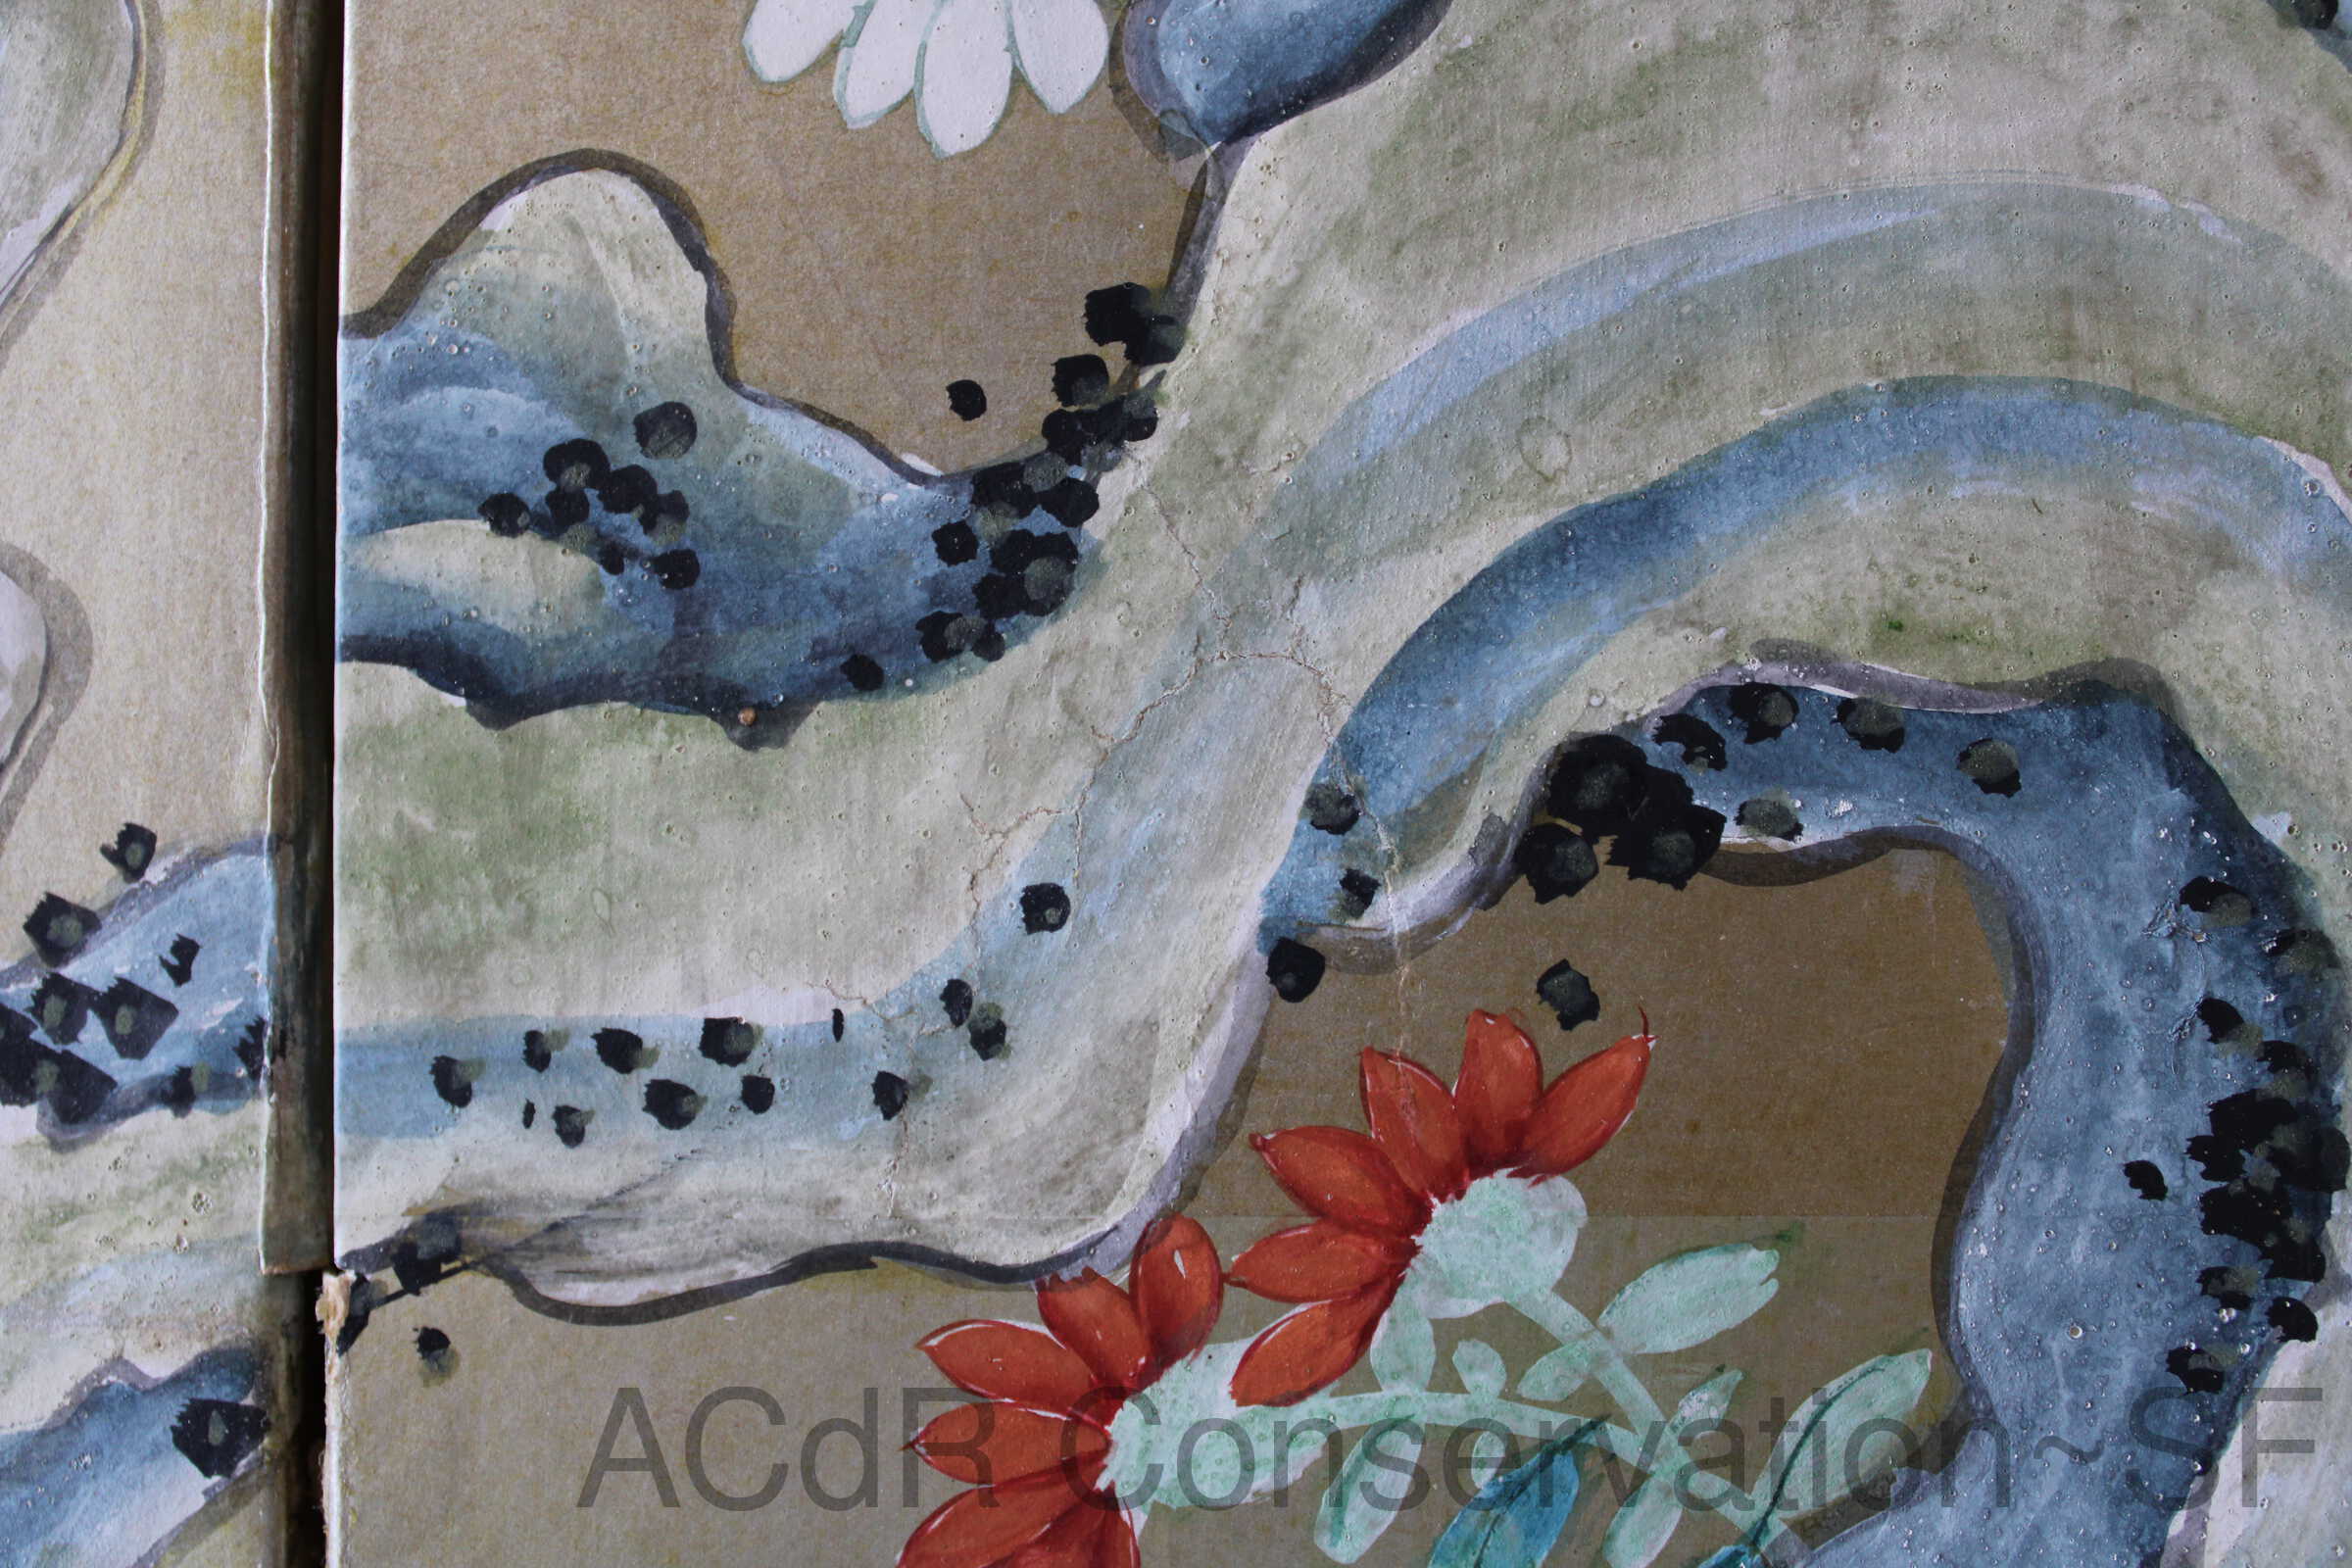
For the smaller hole, measured the size of the hole and filled with Ethafoam, blotter paper, and blue board layers. For the bigger hole, patched the loose piece of the hole and put the edge fibers in order. Mended tears with Japanese paper strips and starch paste. For the smaller hoe, mended the first and second layers of the hole with Japanese paper strips and starch paste. Attached the third and fourth layers together, then attached this to the second layers. Pressed and dried overnight. For the bigger hole, mended the tears with Japanese paper strips. Mended some tears covered by wood with a piece of Japanese paper. For the smaller hole, attached the rest of the broken areas piece by piece with starch paste. For bigger hole, attached the original layers and mended tears with Japanese paper strips. For smaller hole, put the fiber of tears in order and smoothed surface. For bigger hole, attached remaining layers and mended. For smaller hole, retouched the edge gap of tears. Filled uneven surface with Modostuc. Sanded the Modostuc.
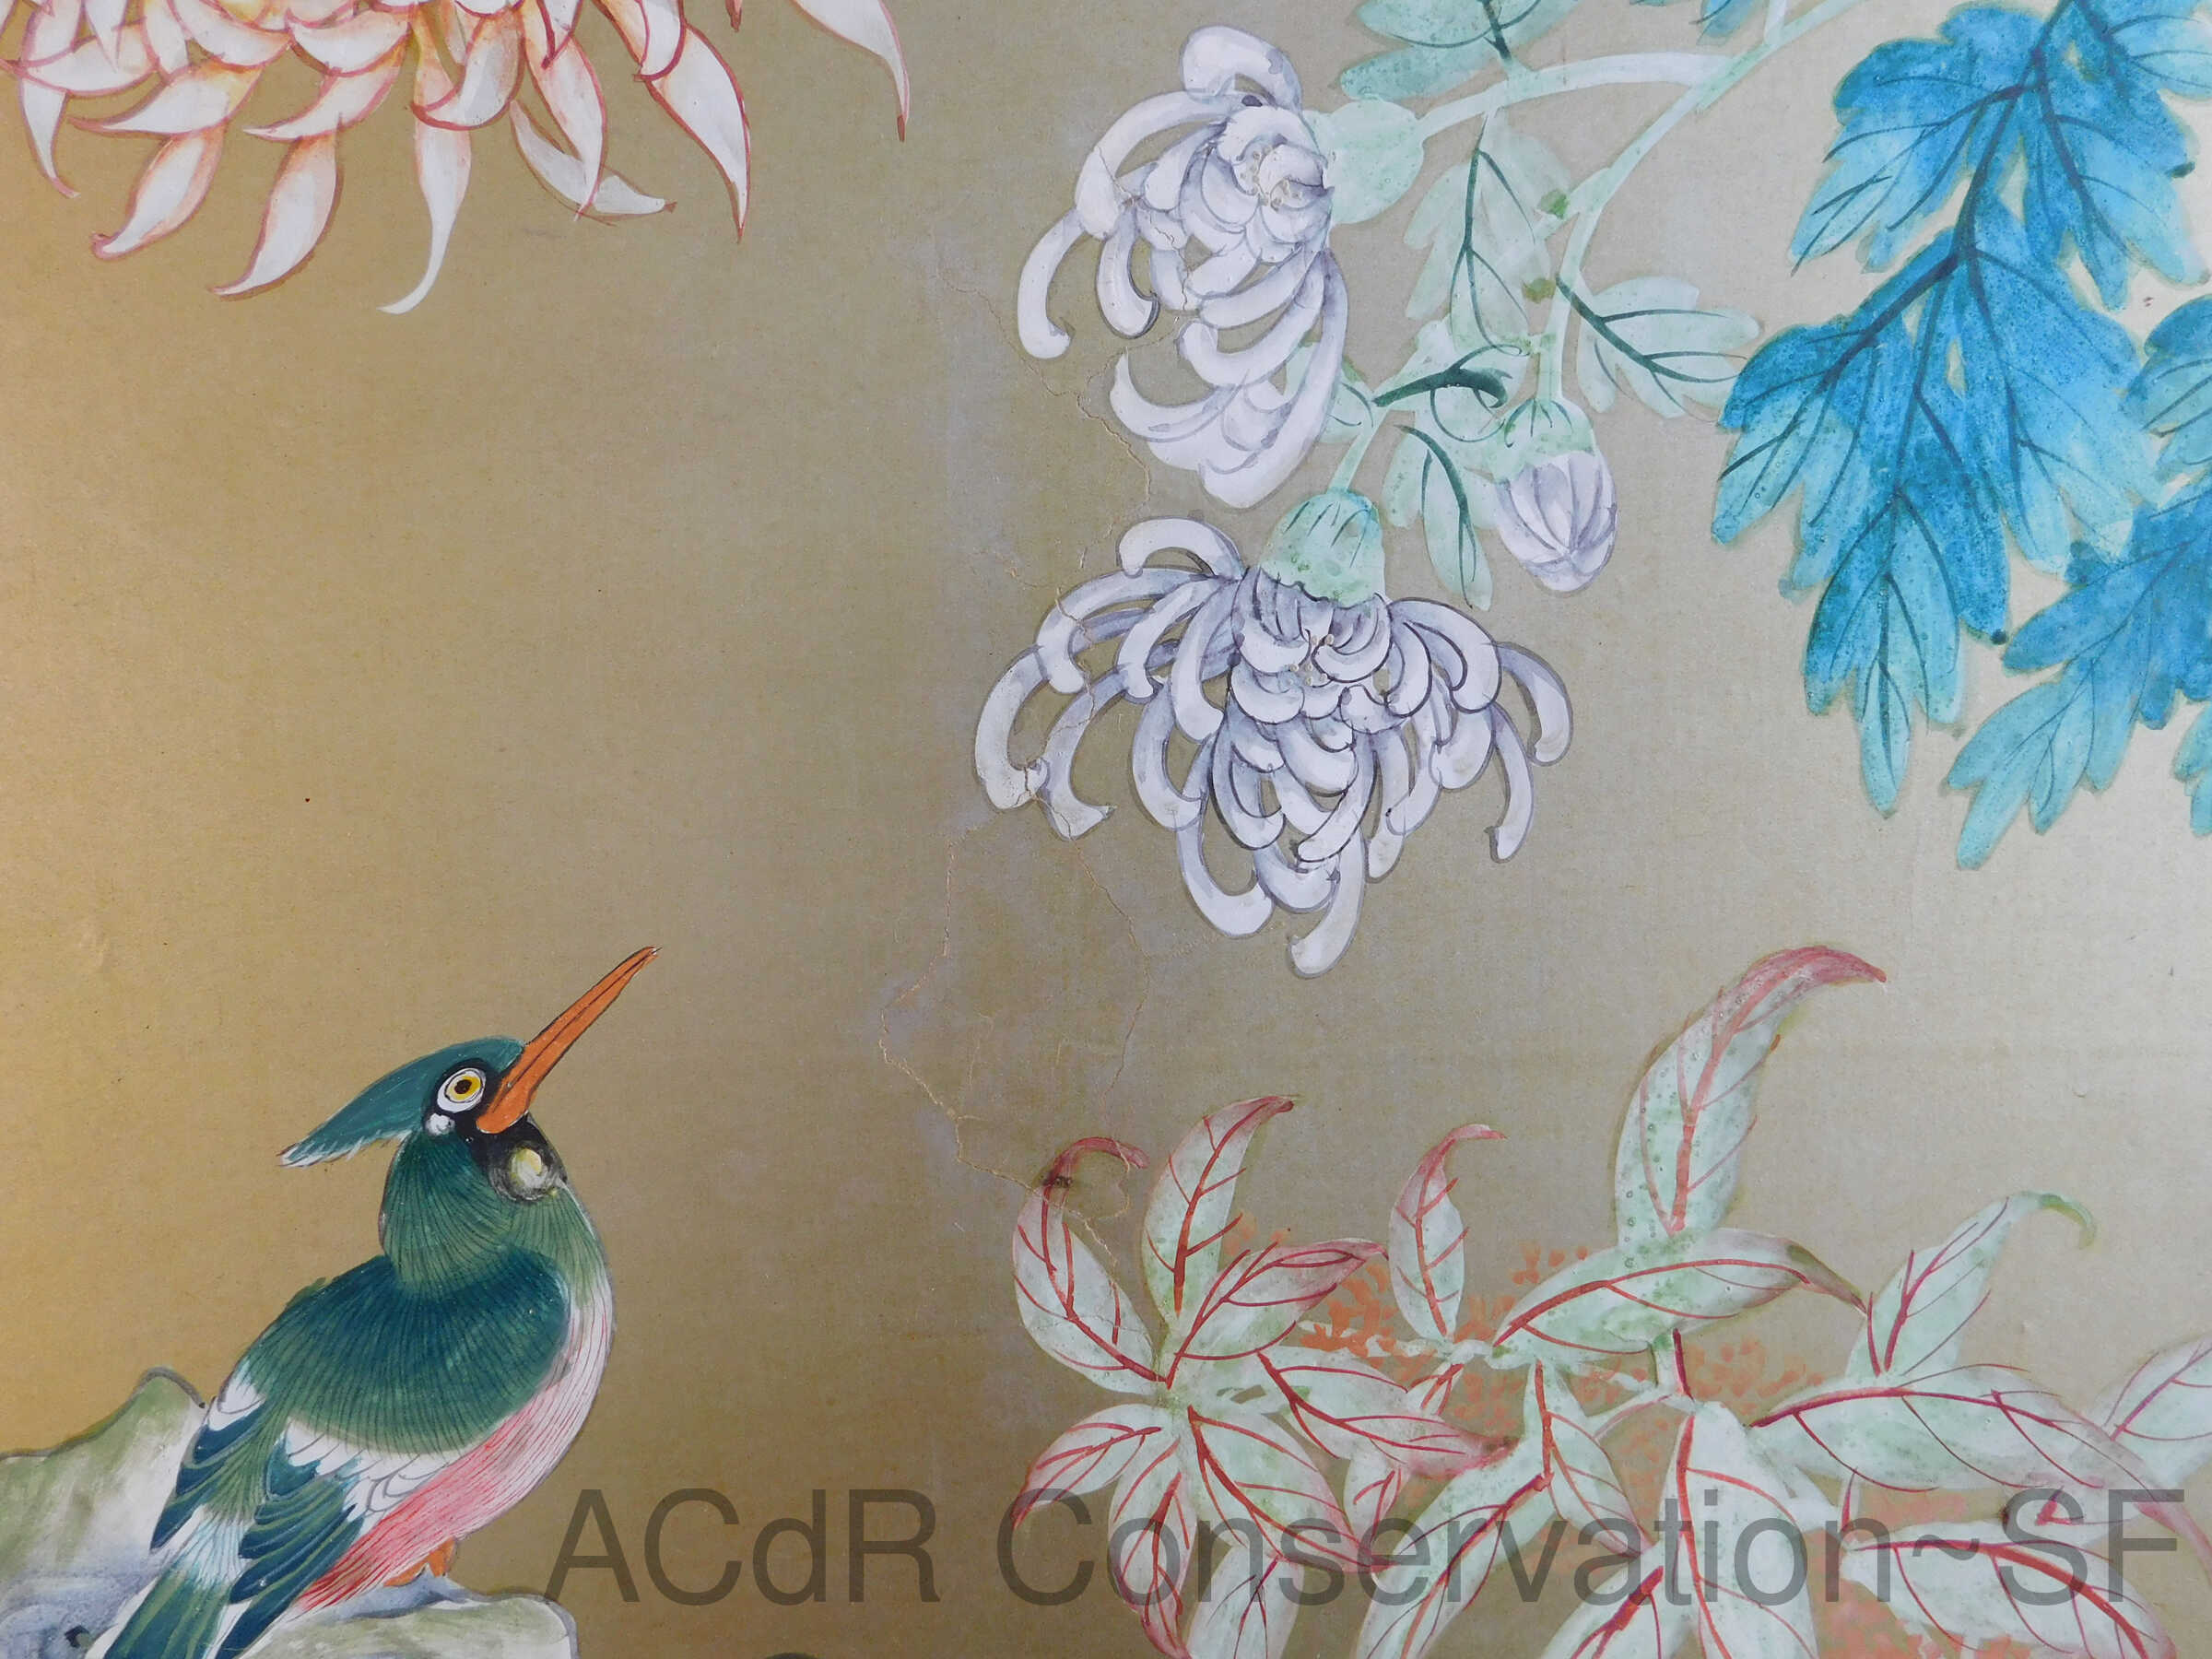
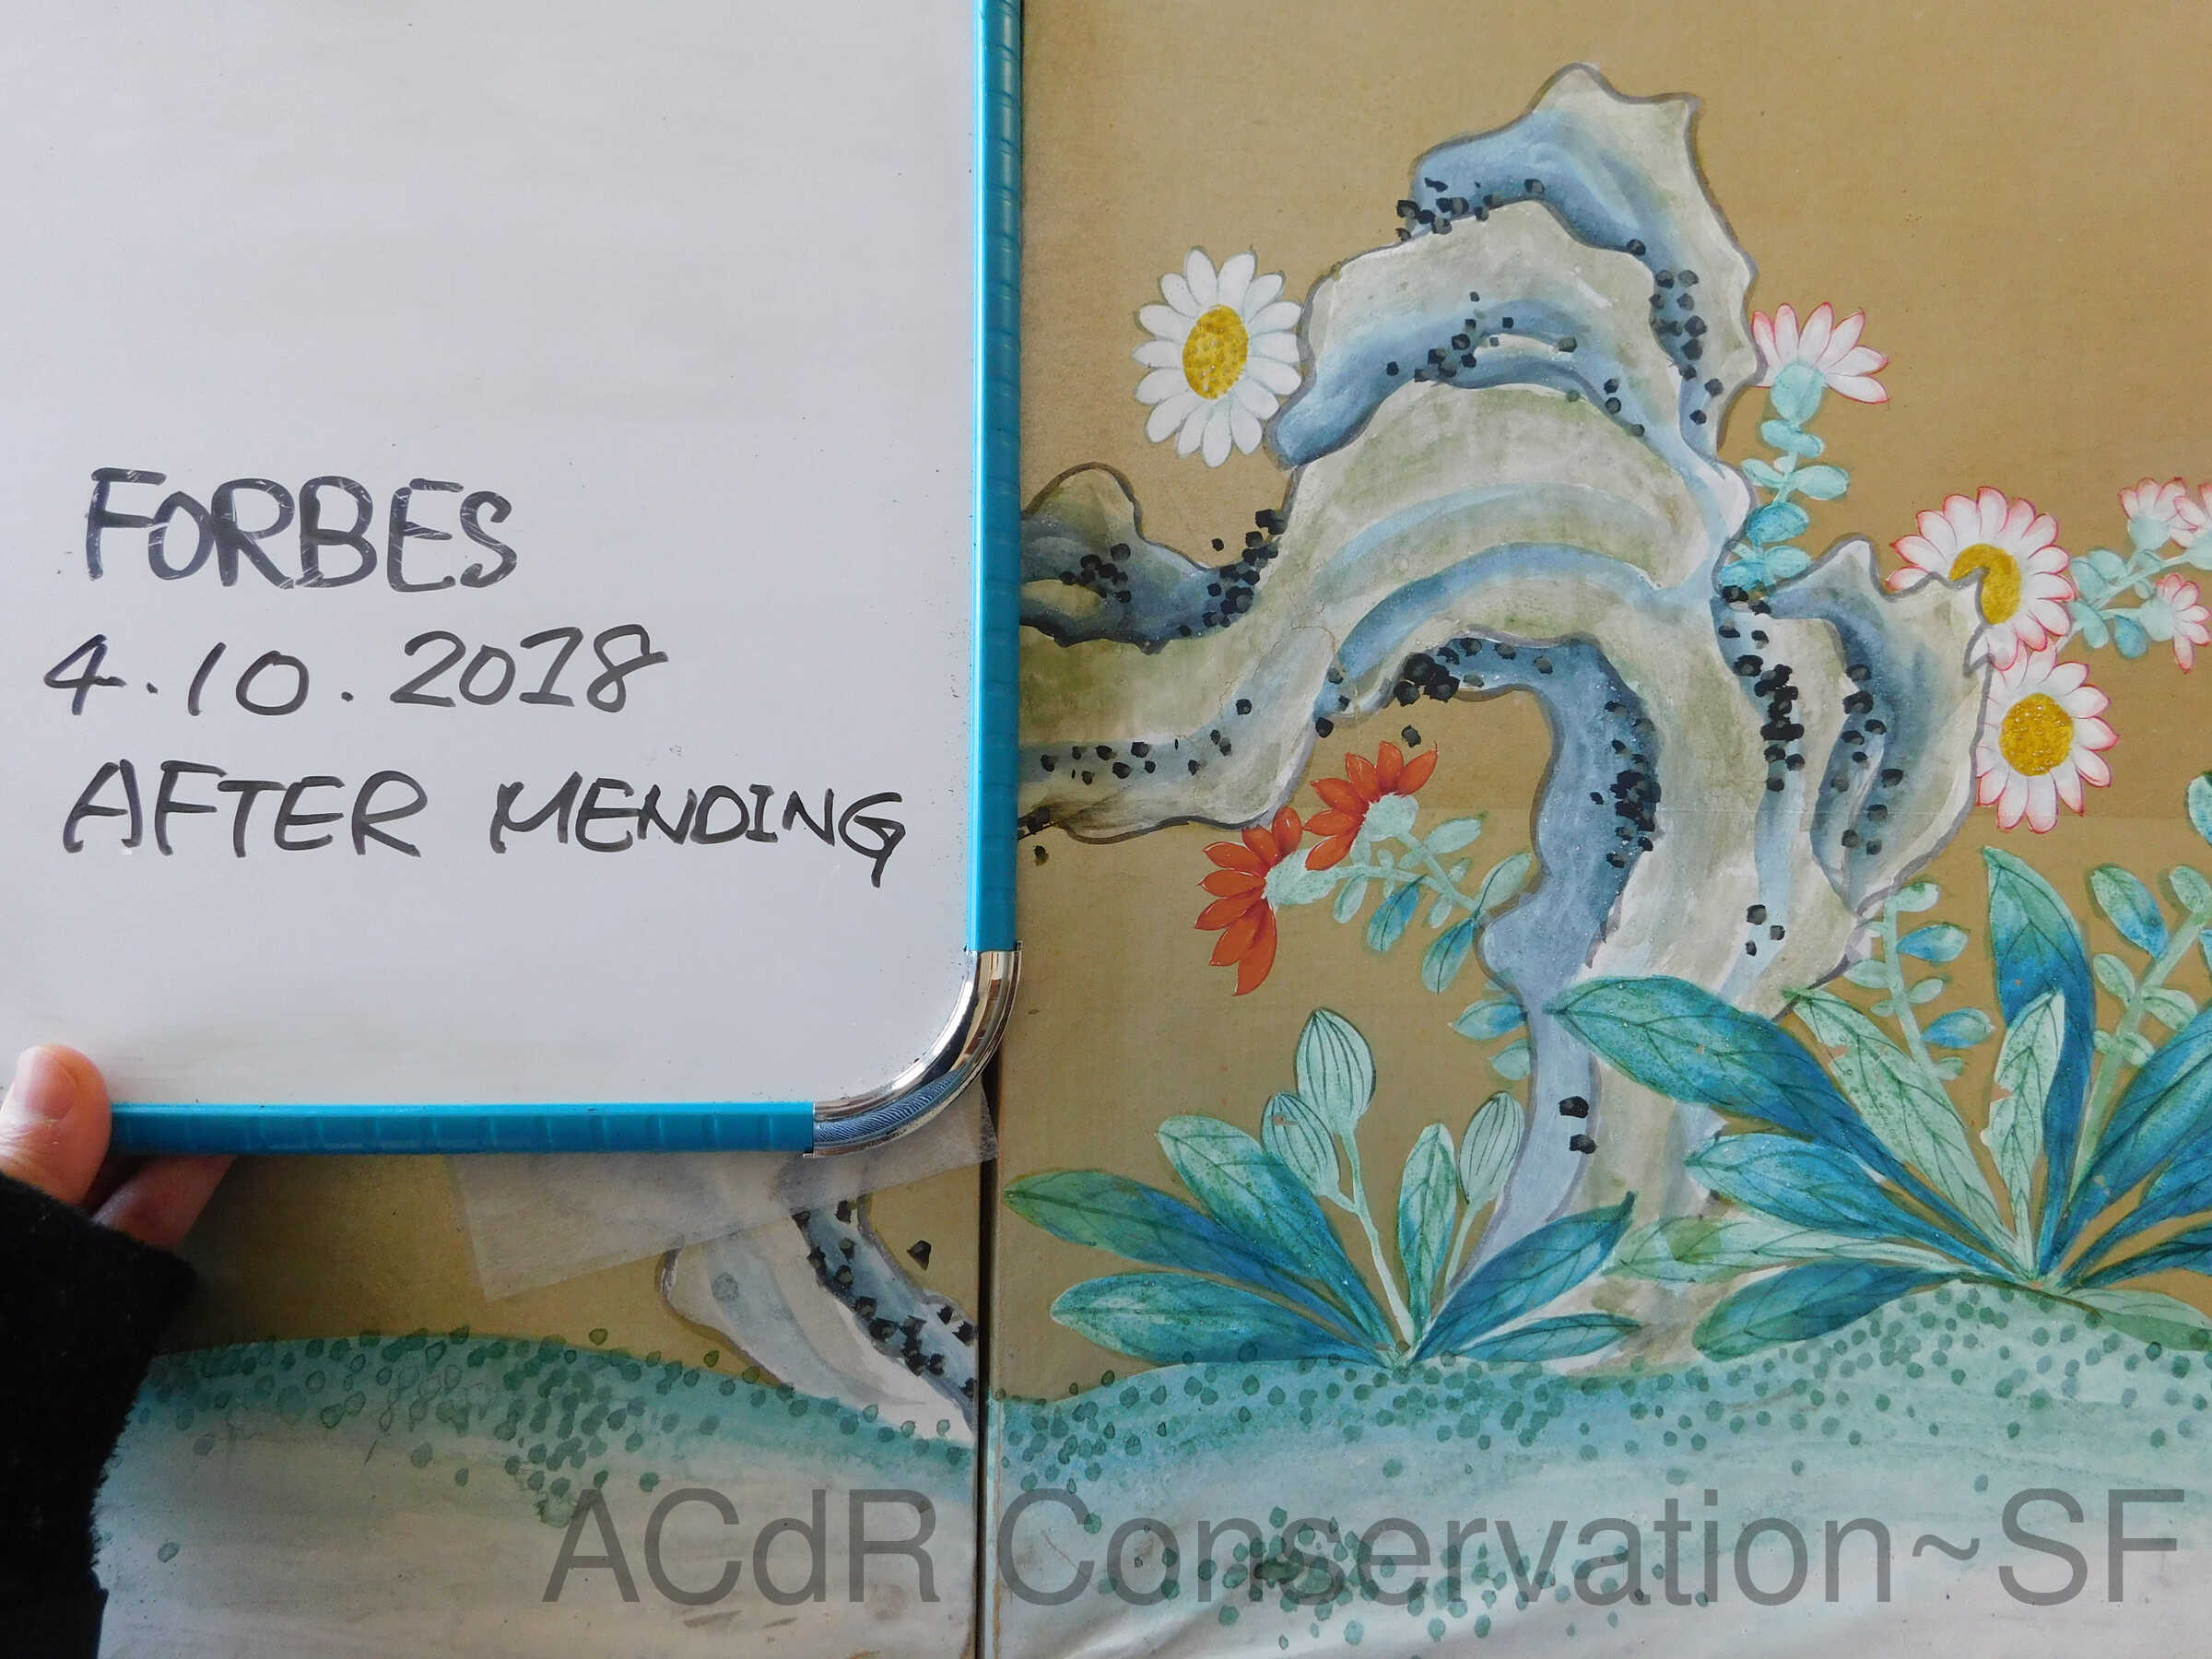
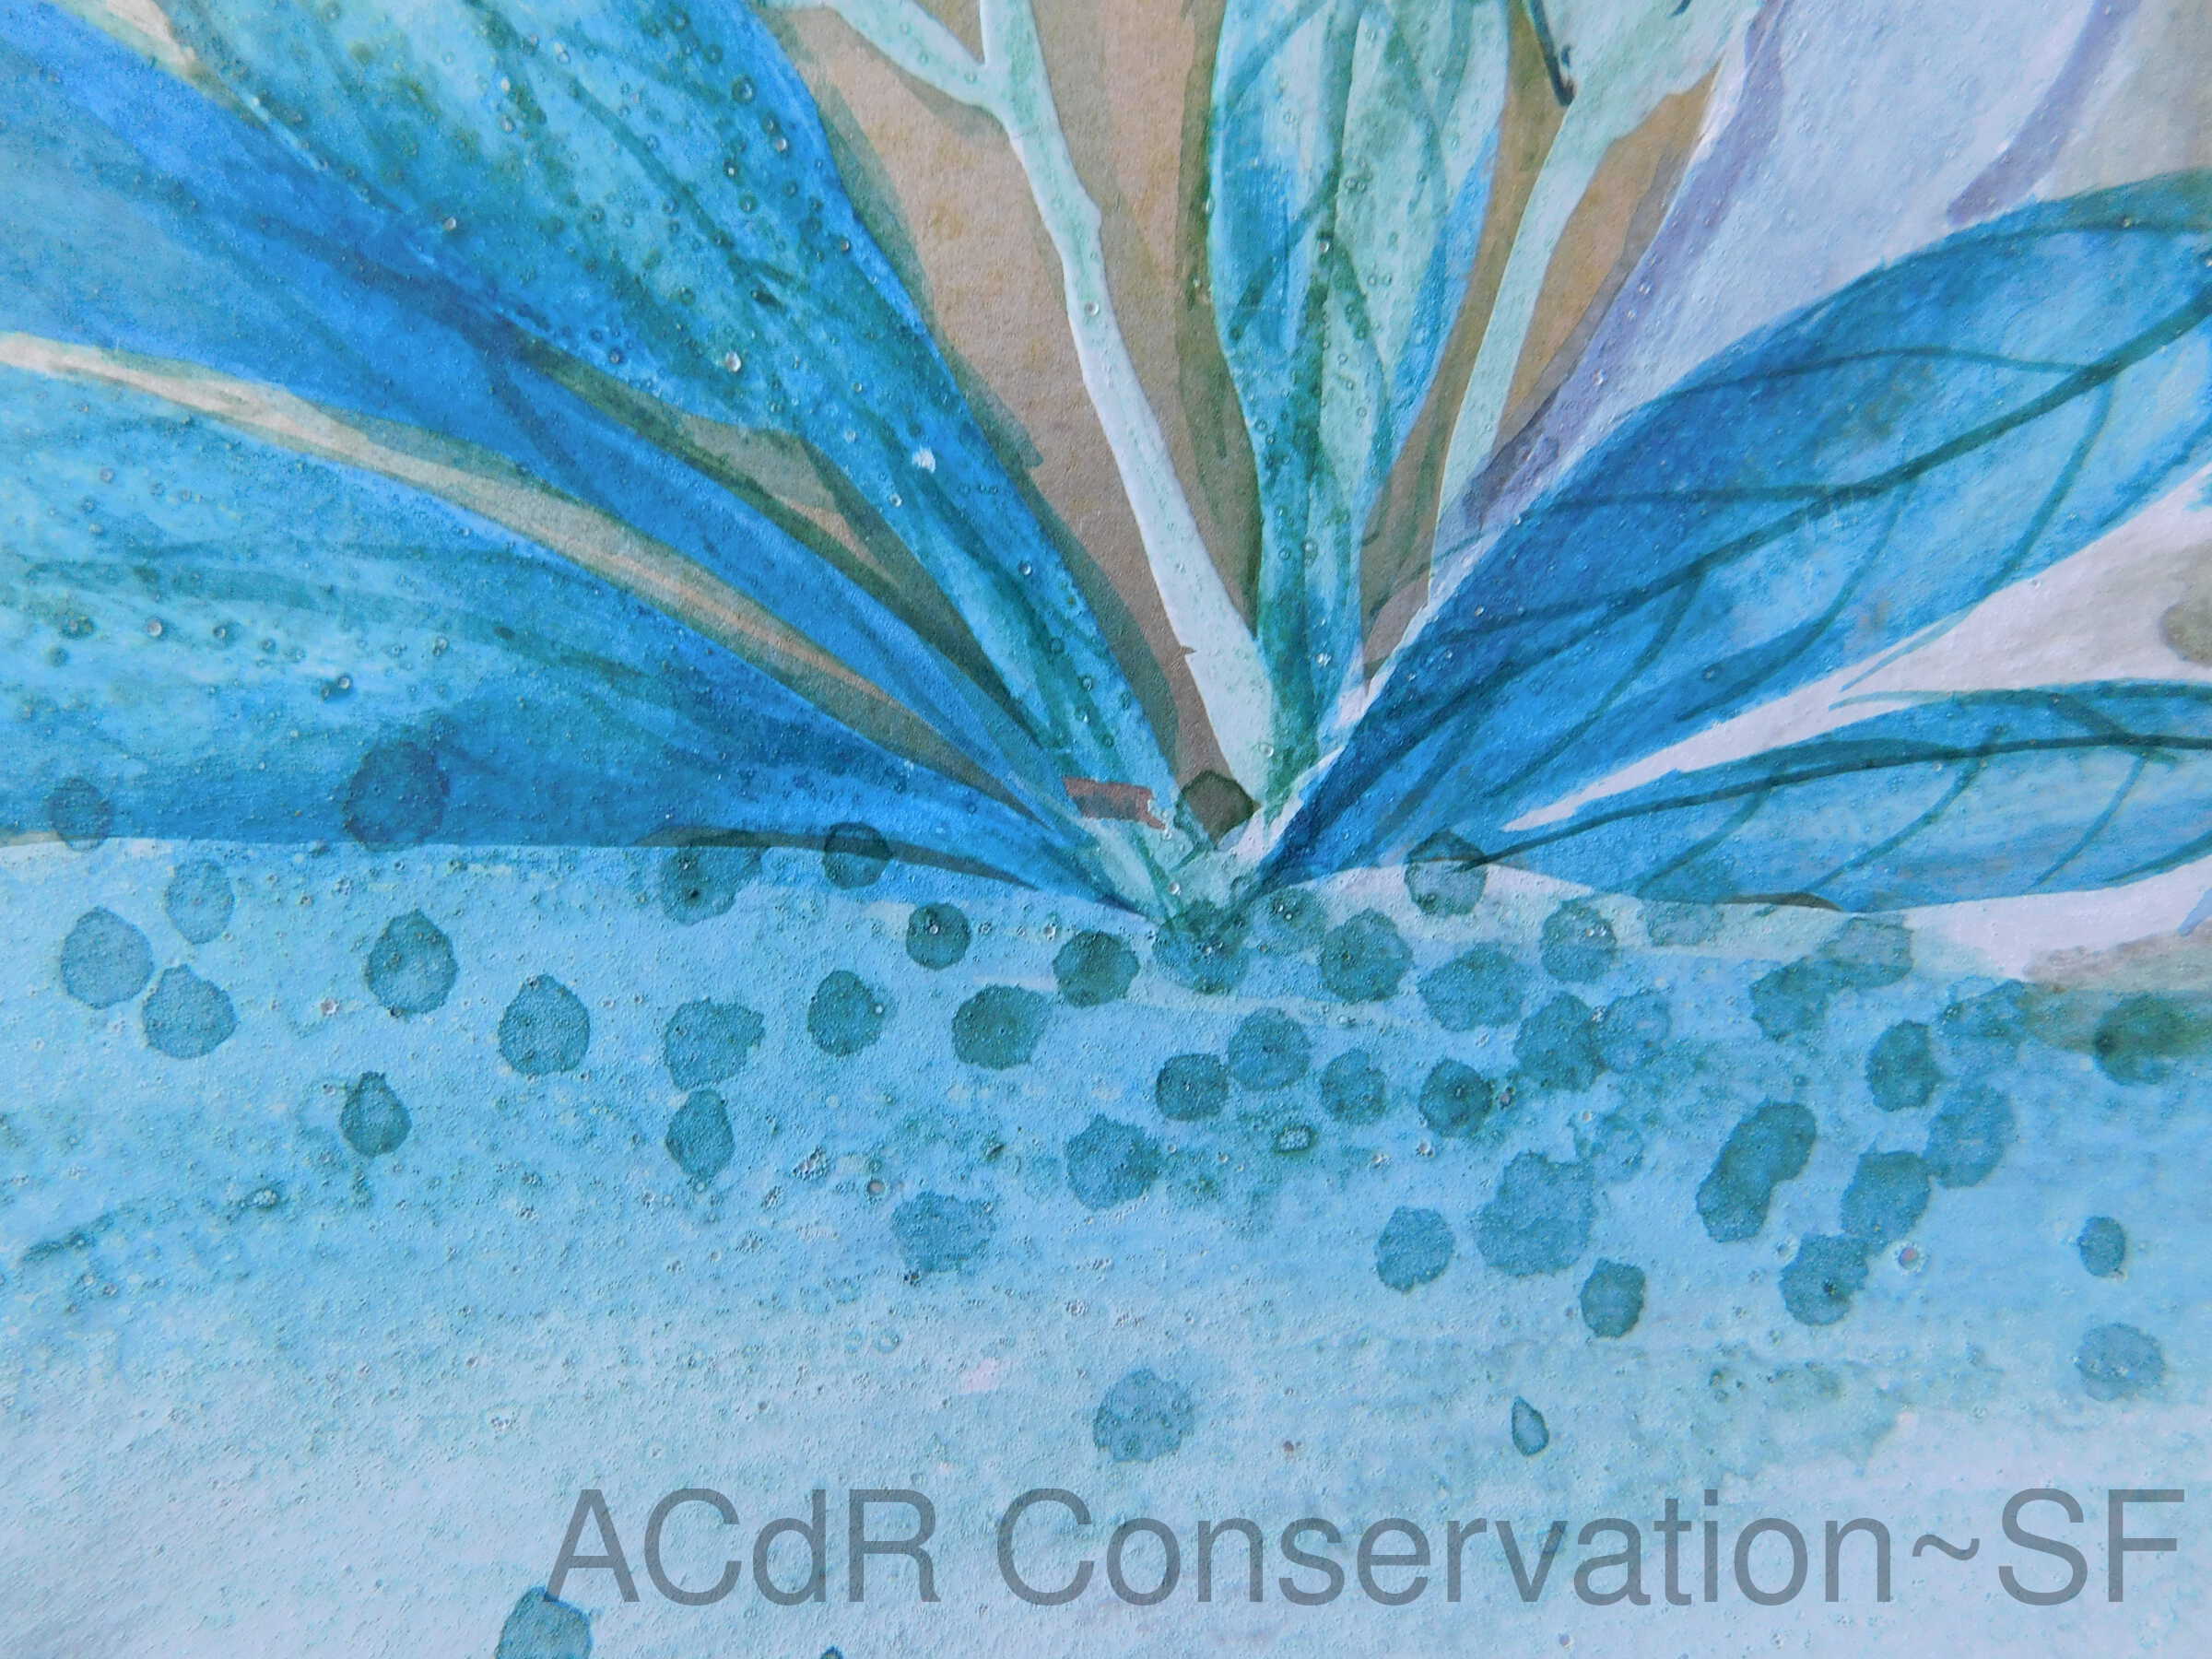
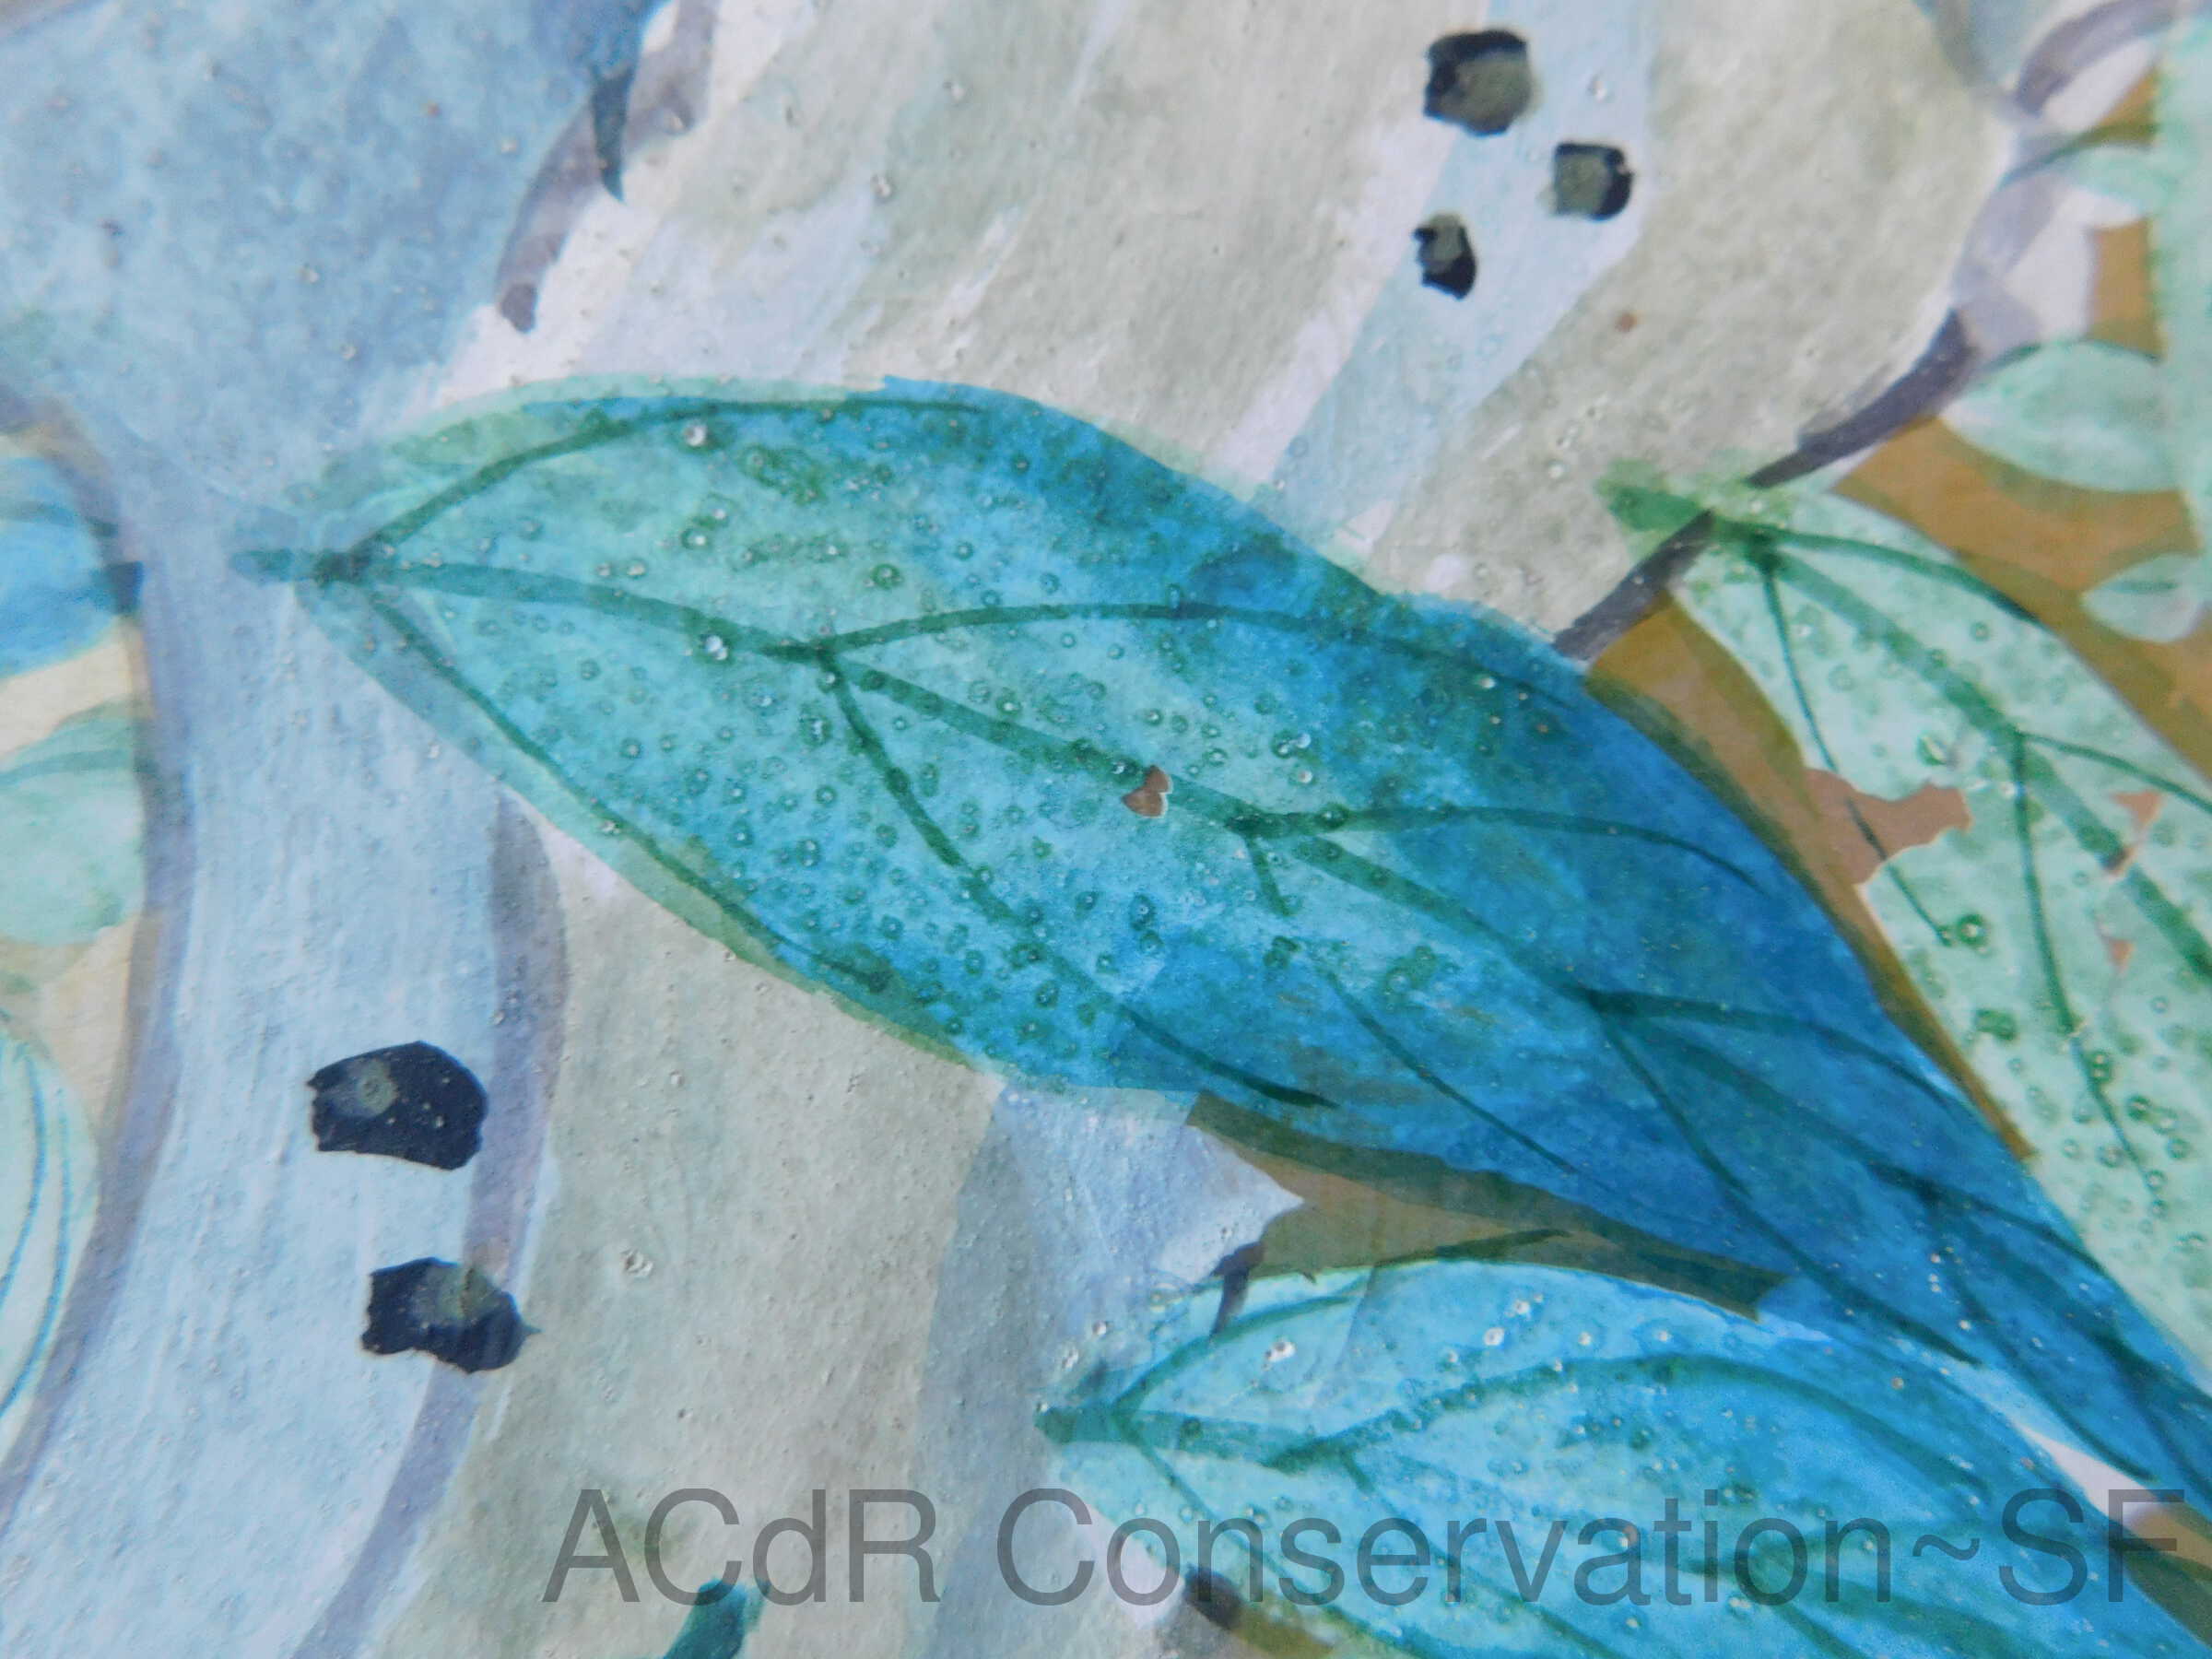
Retouching
Mar 11, 2019 - Mar 29, 2019
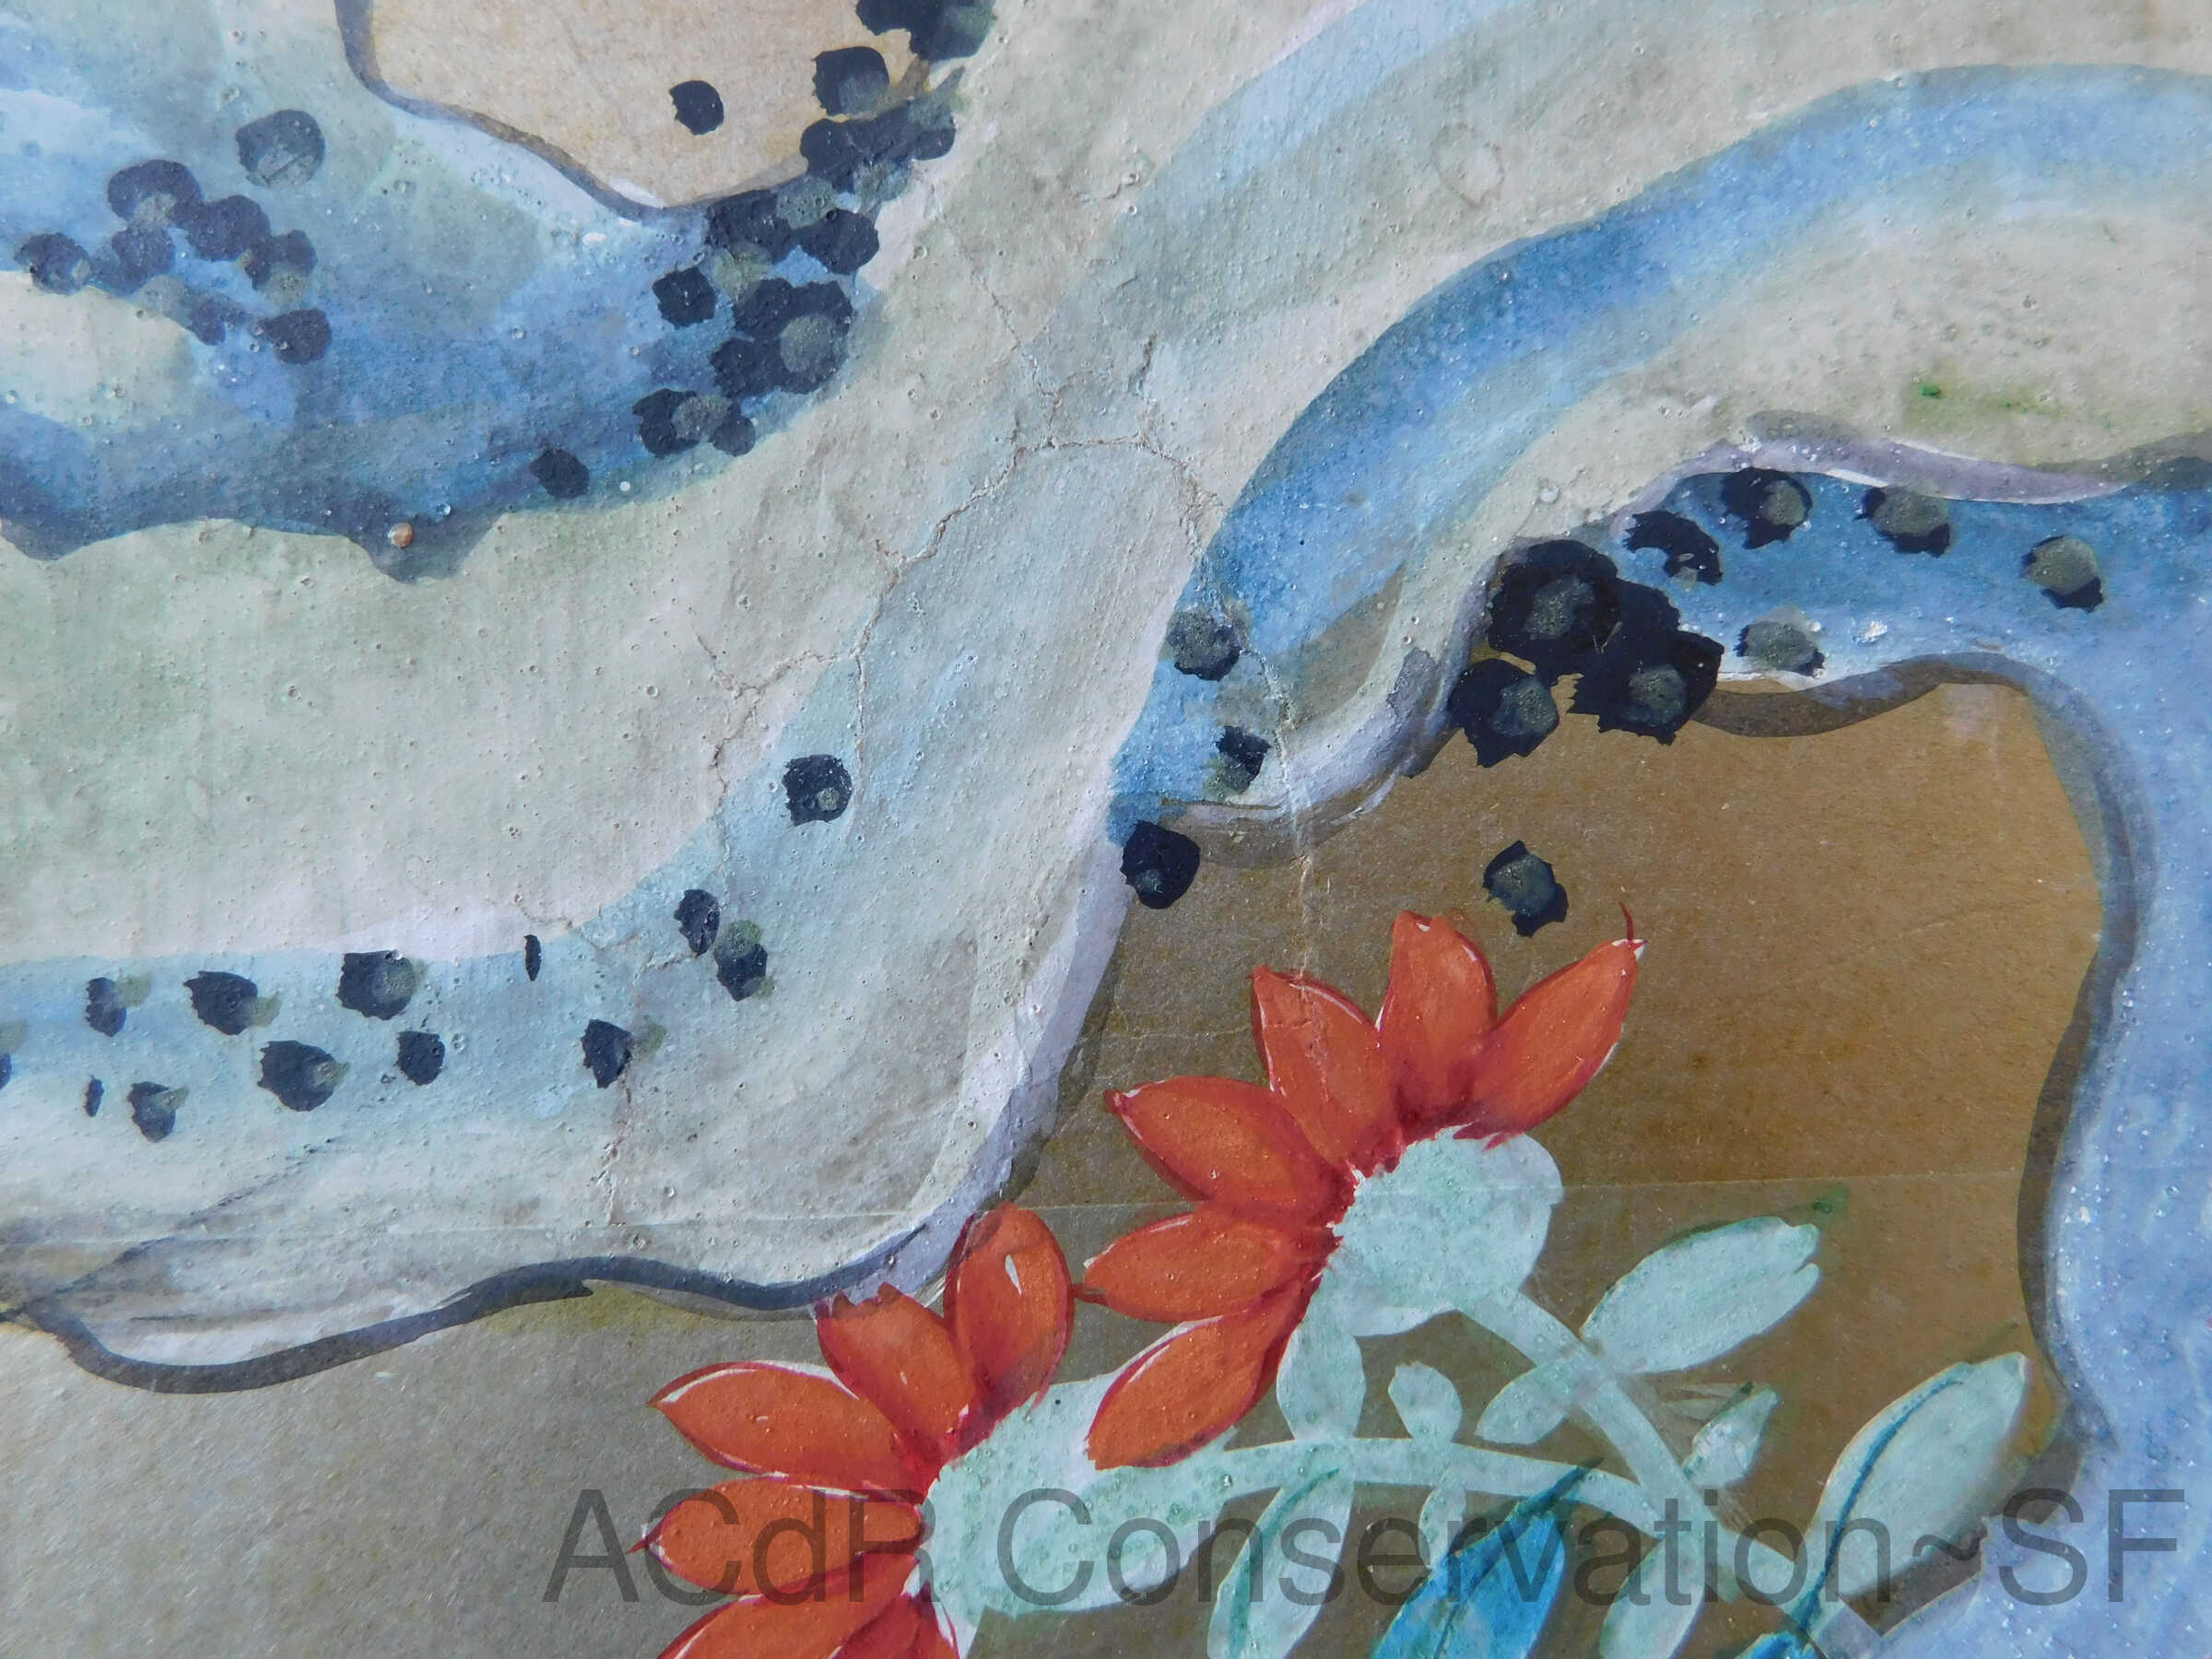
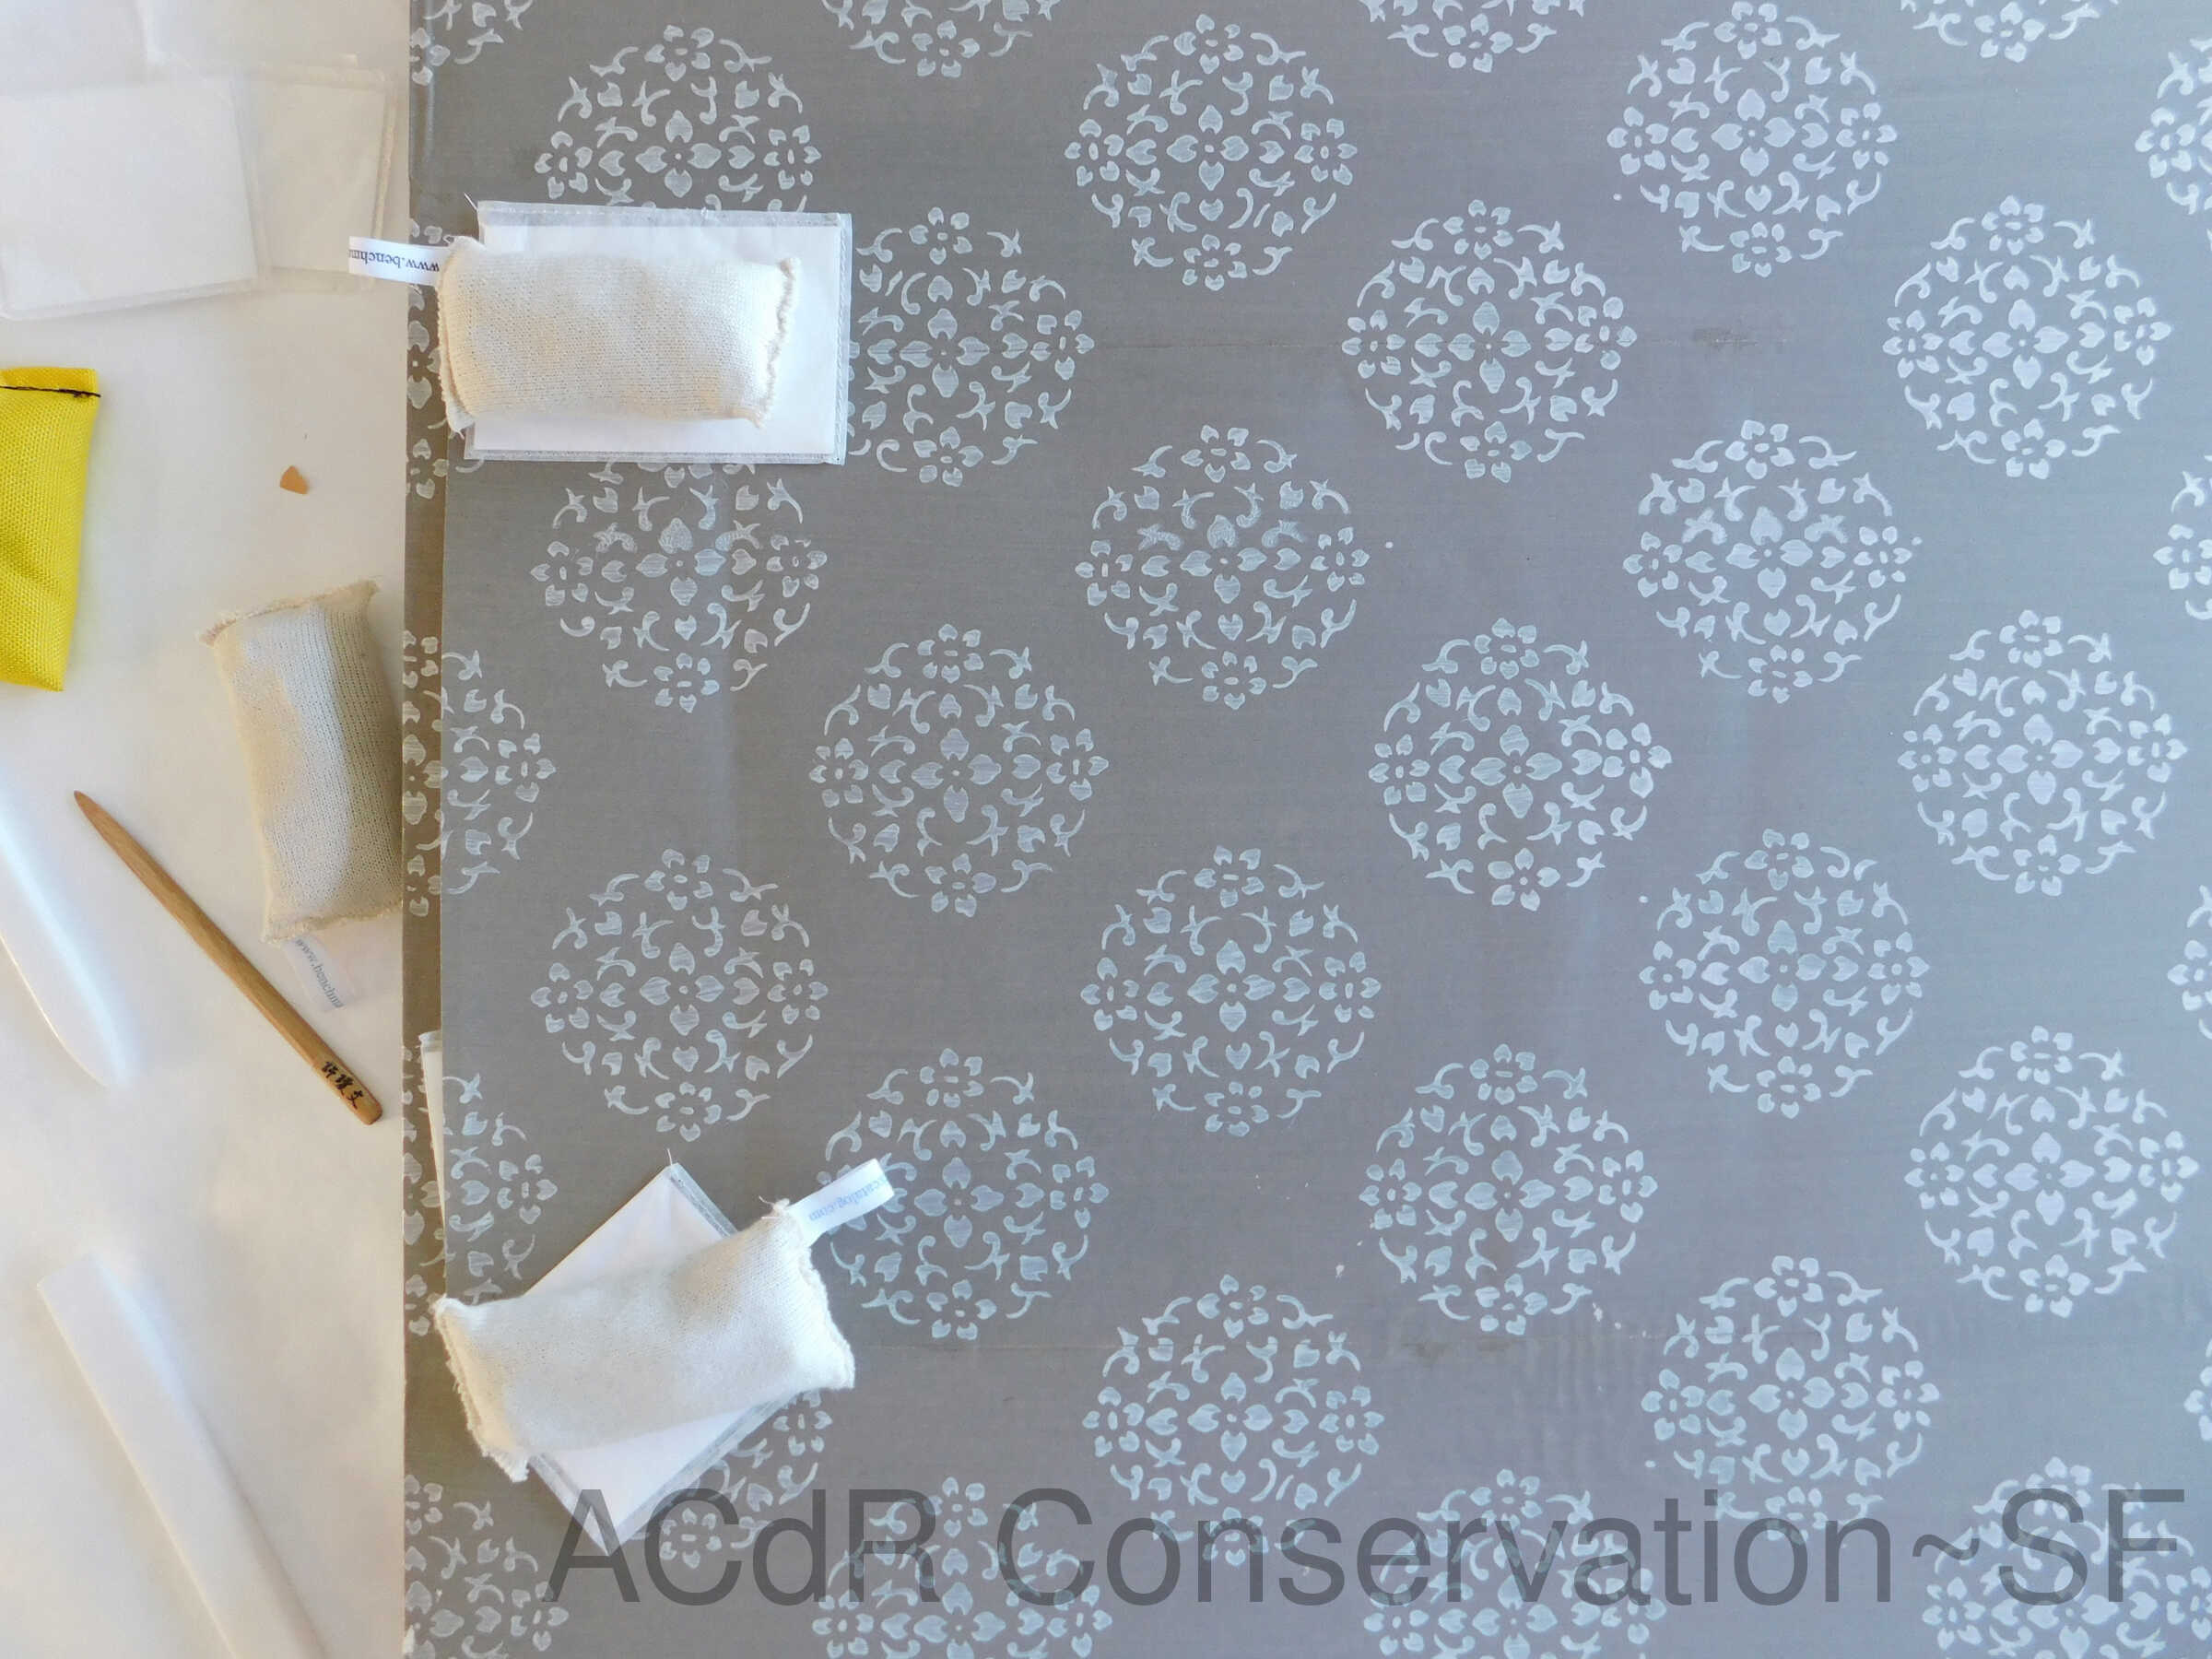
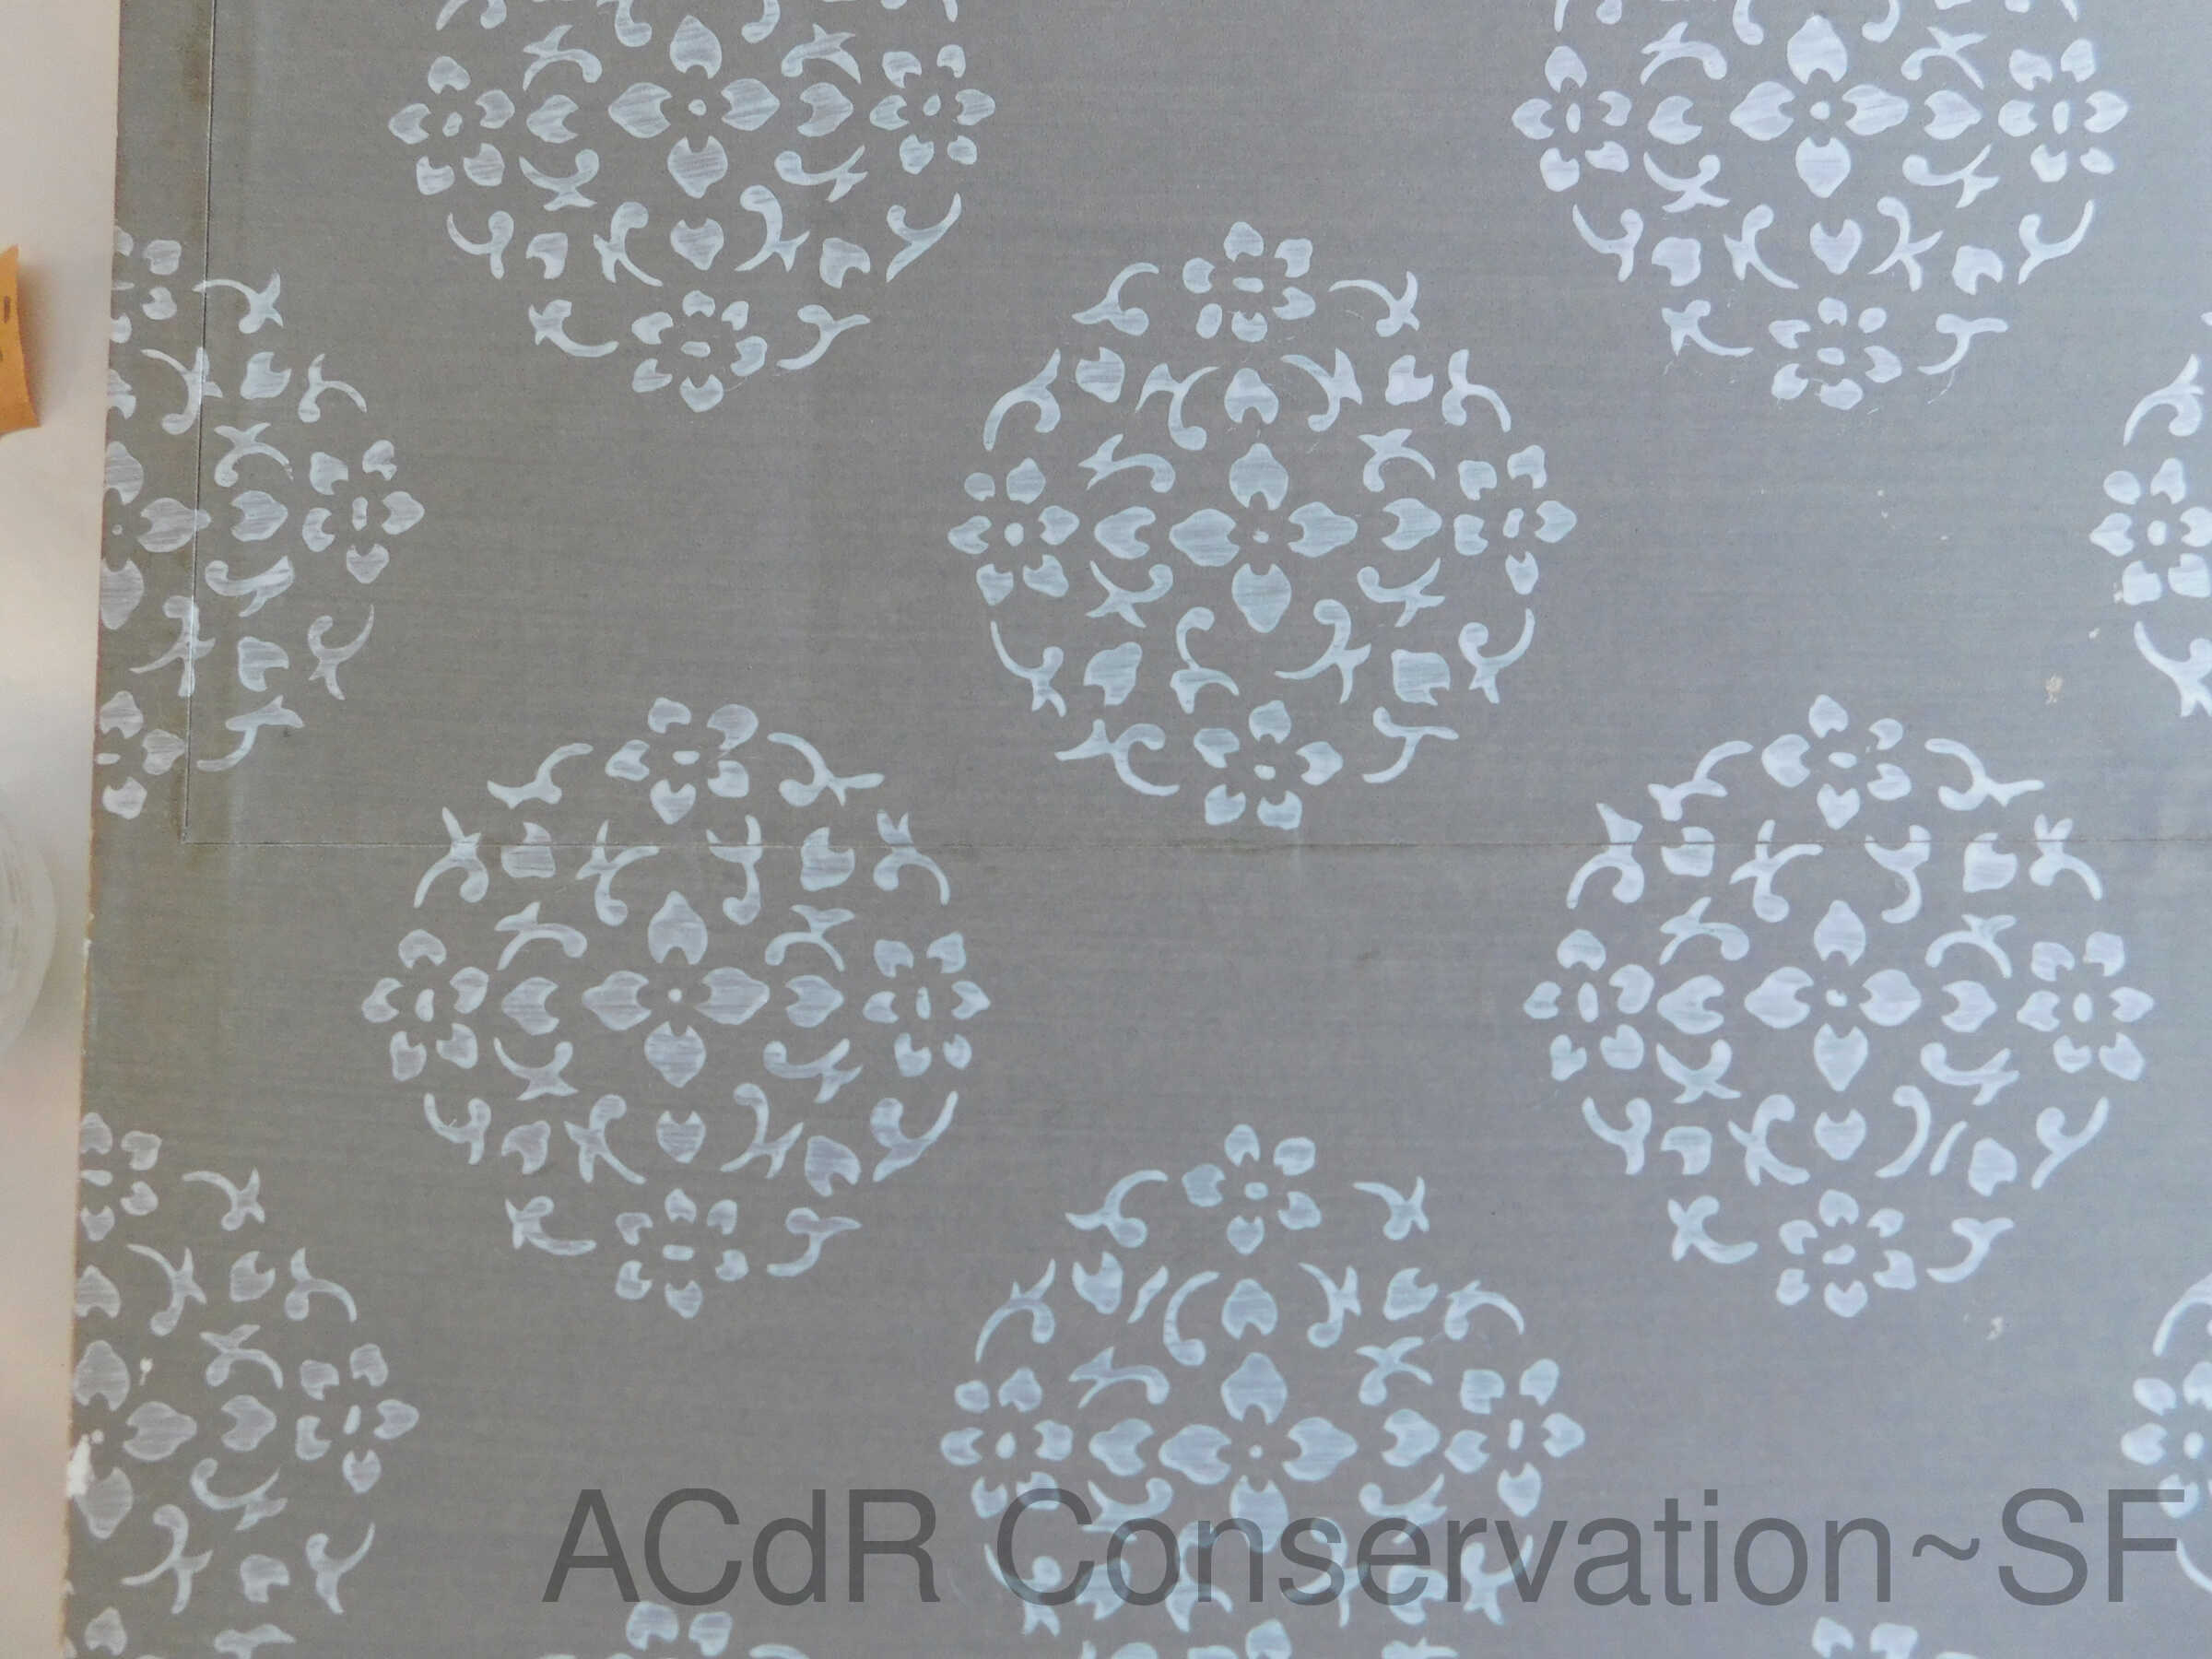
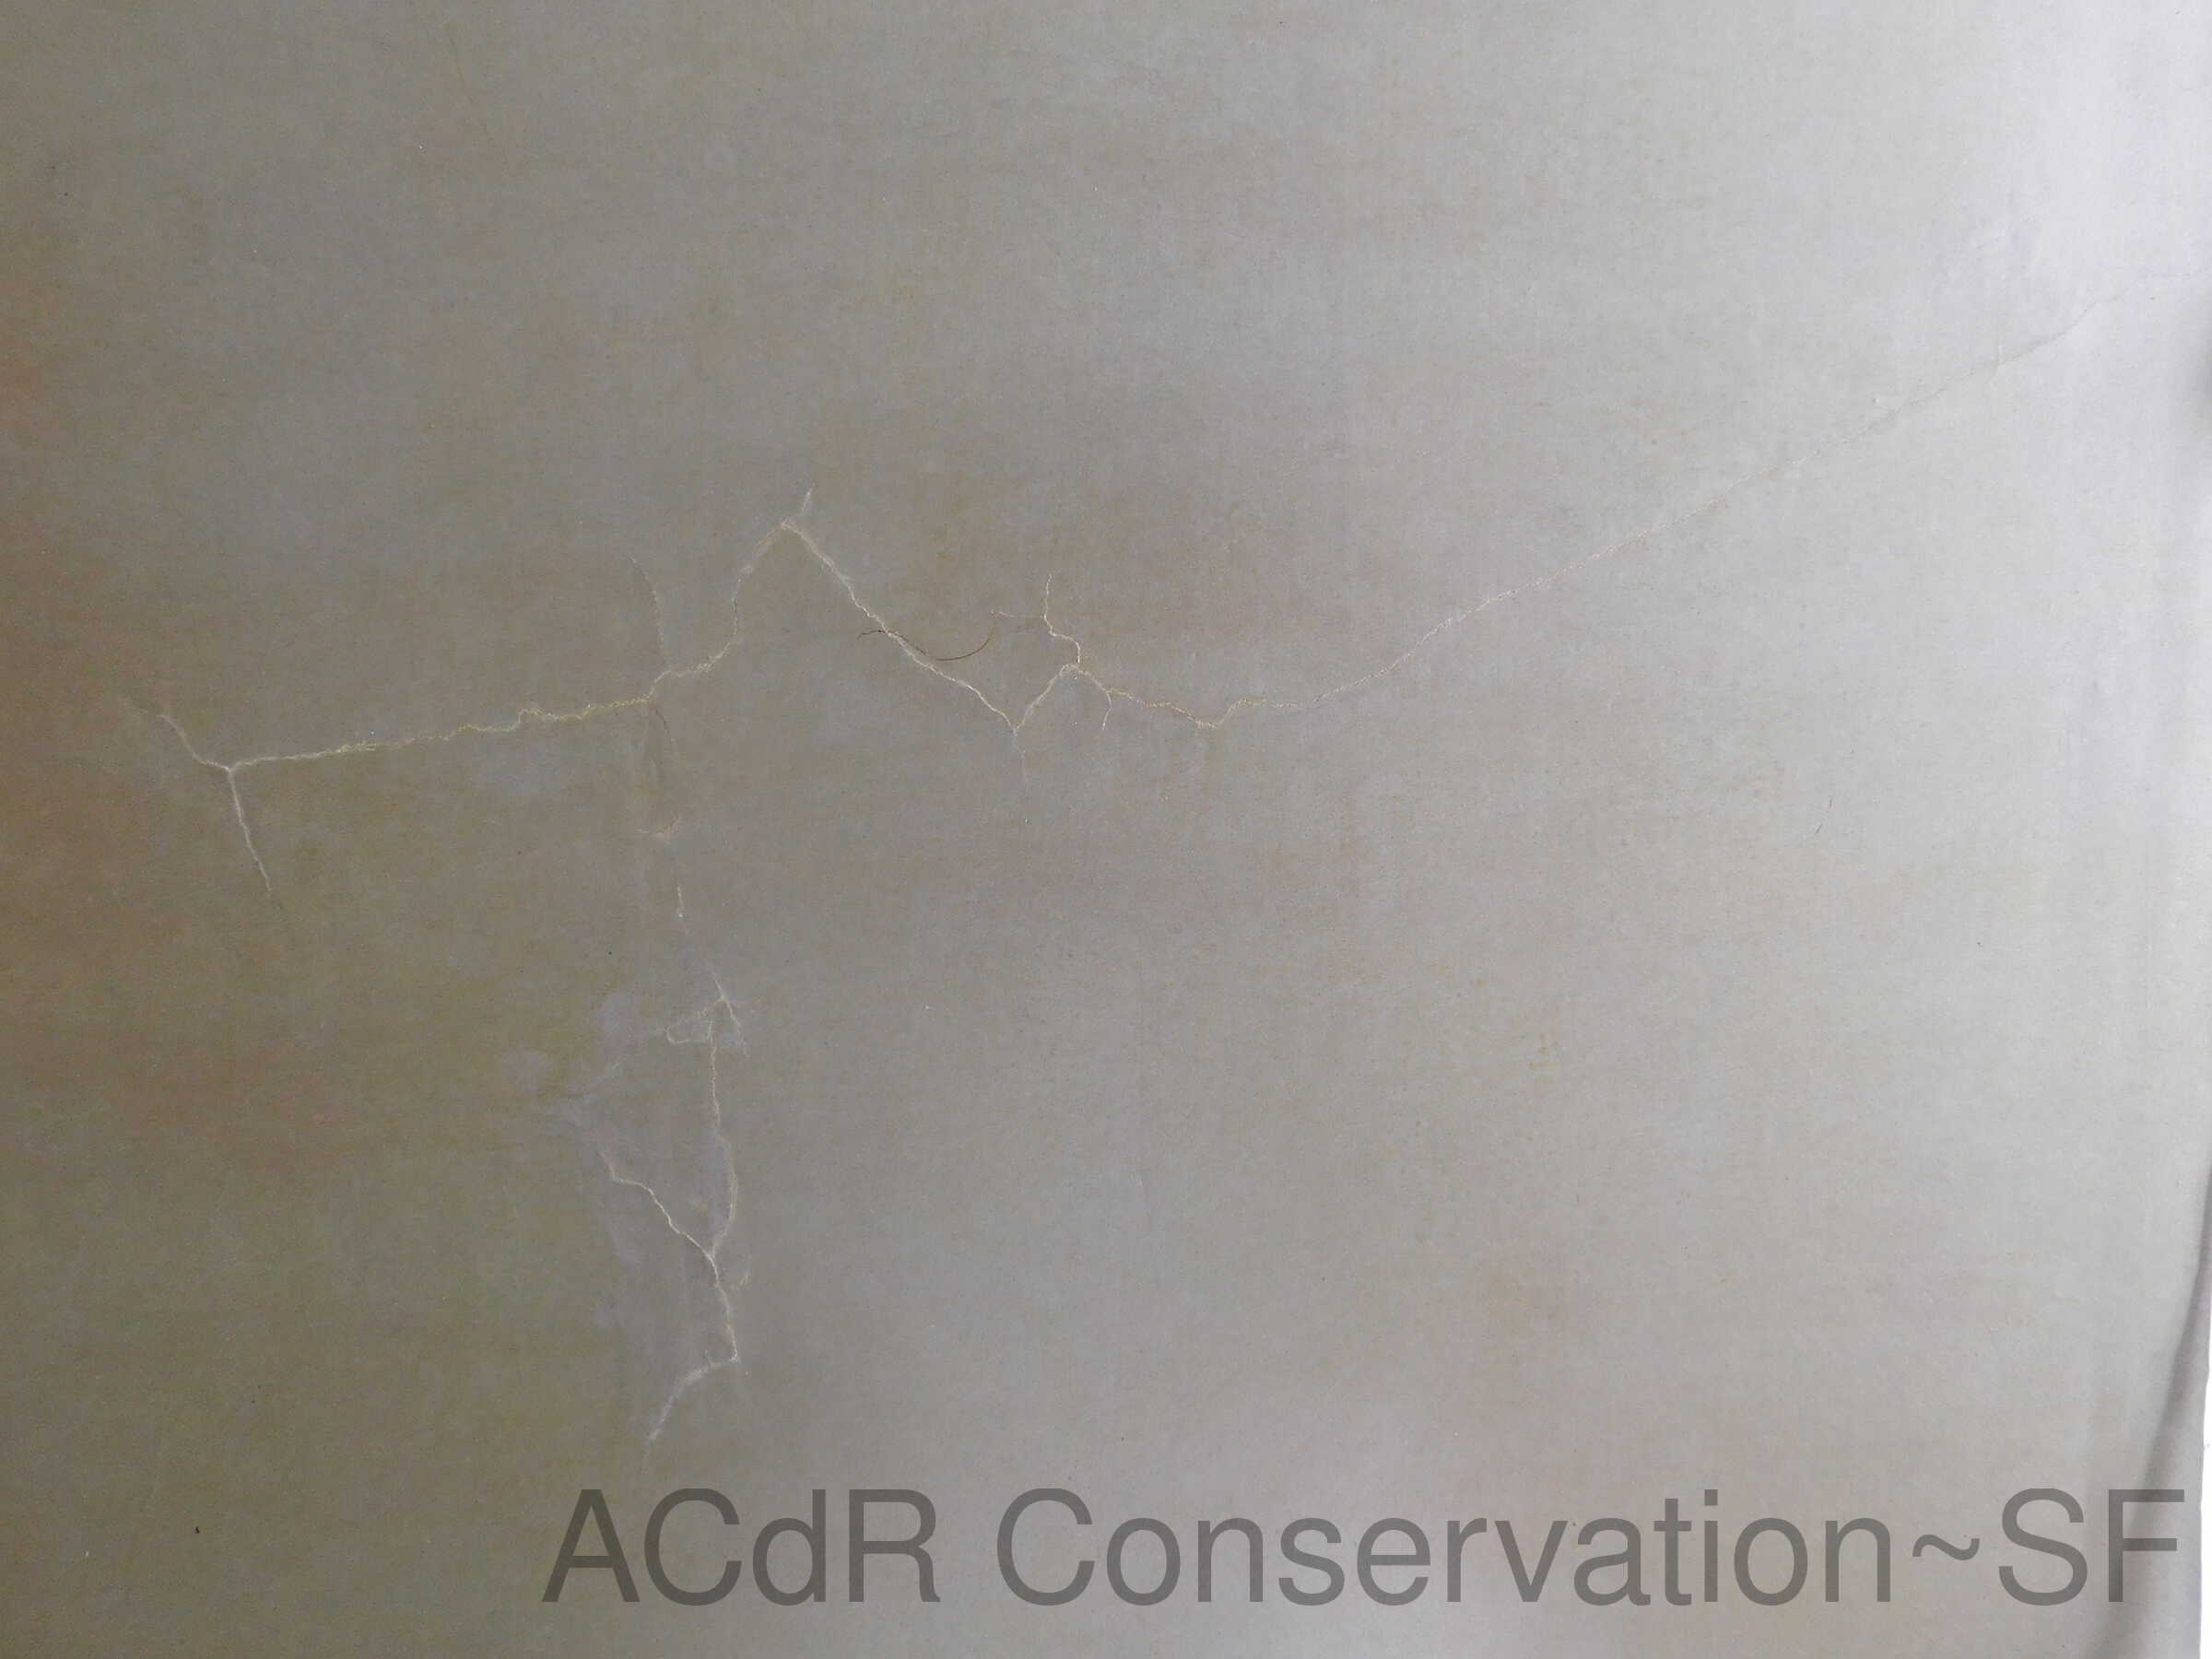
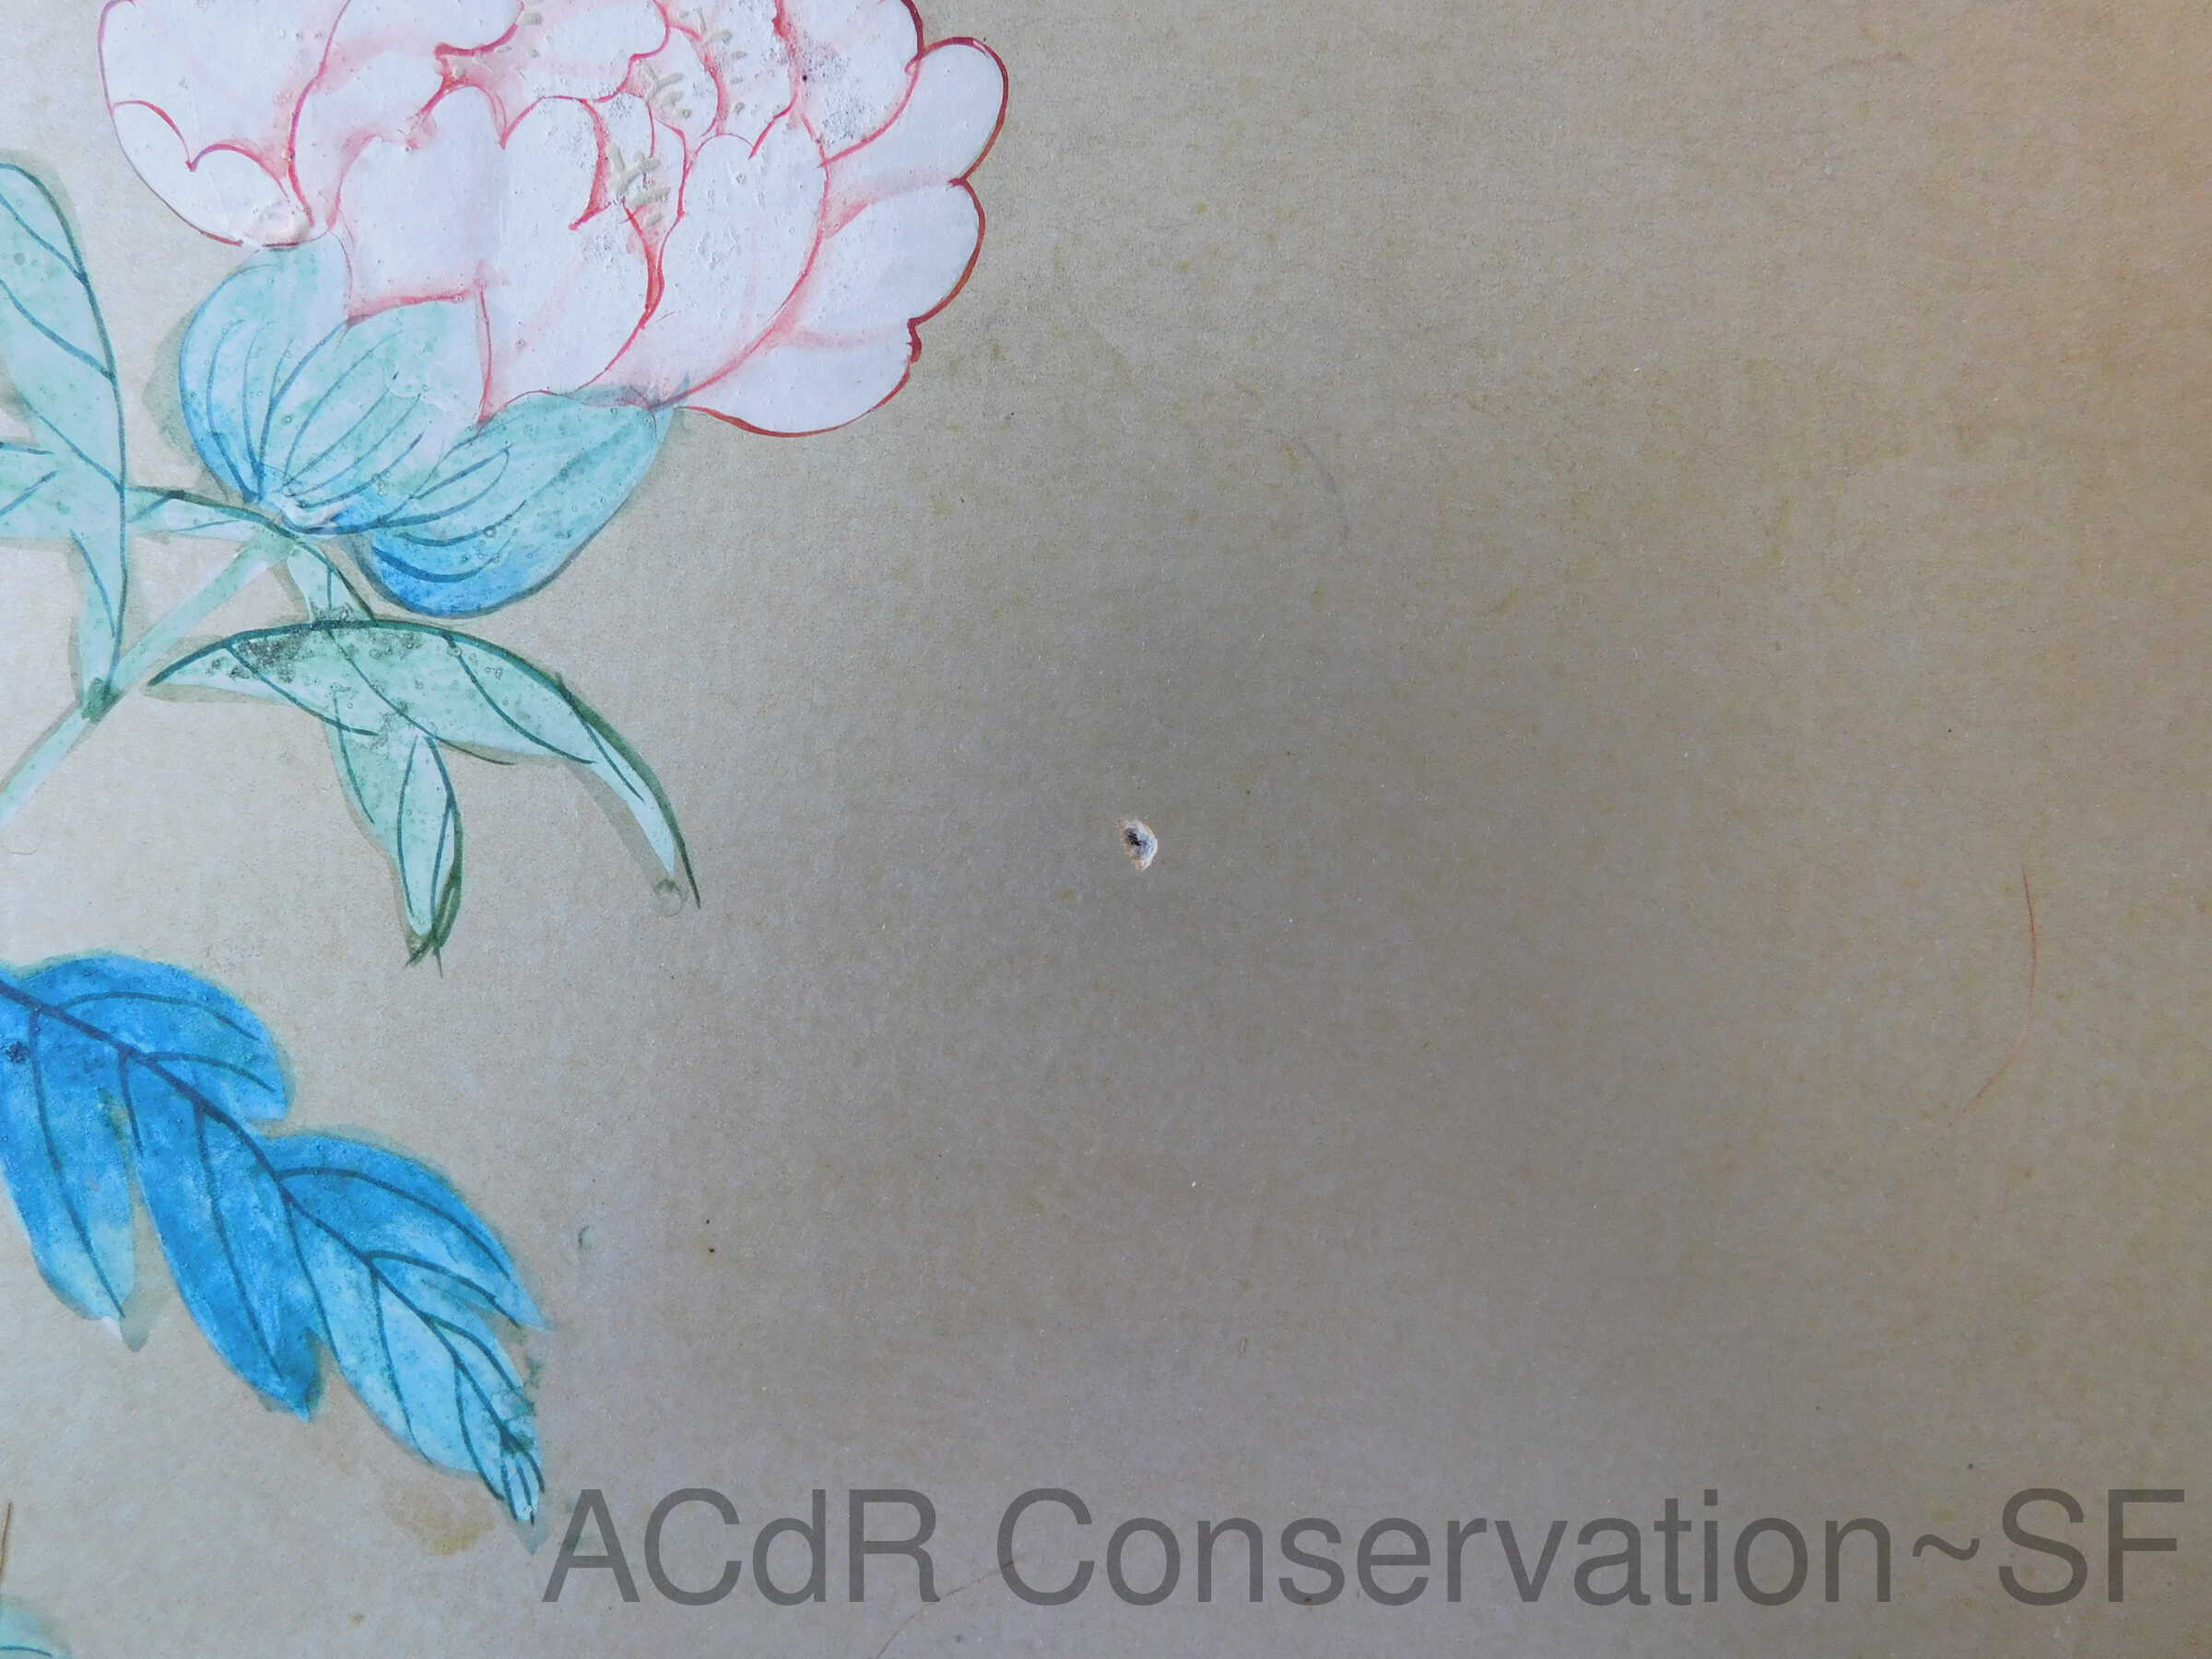
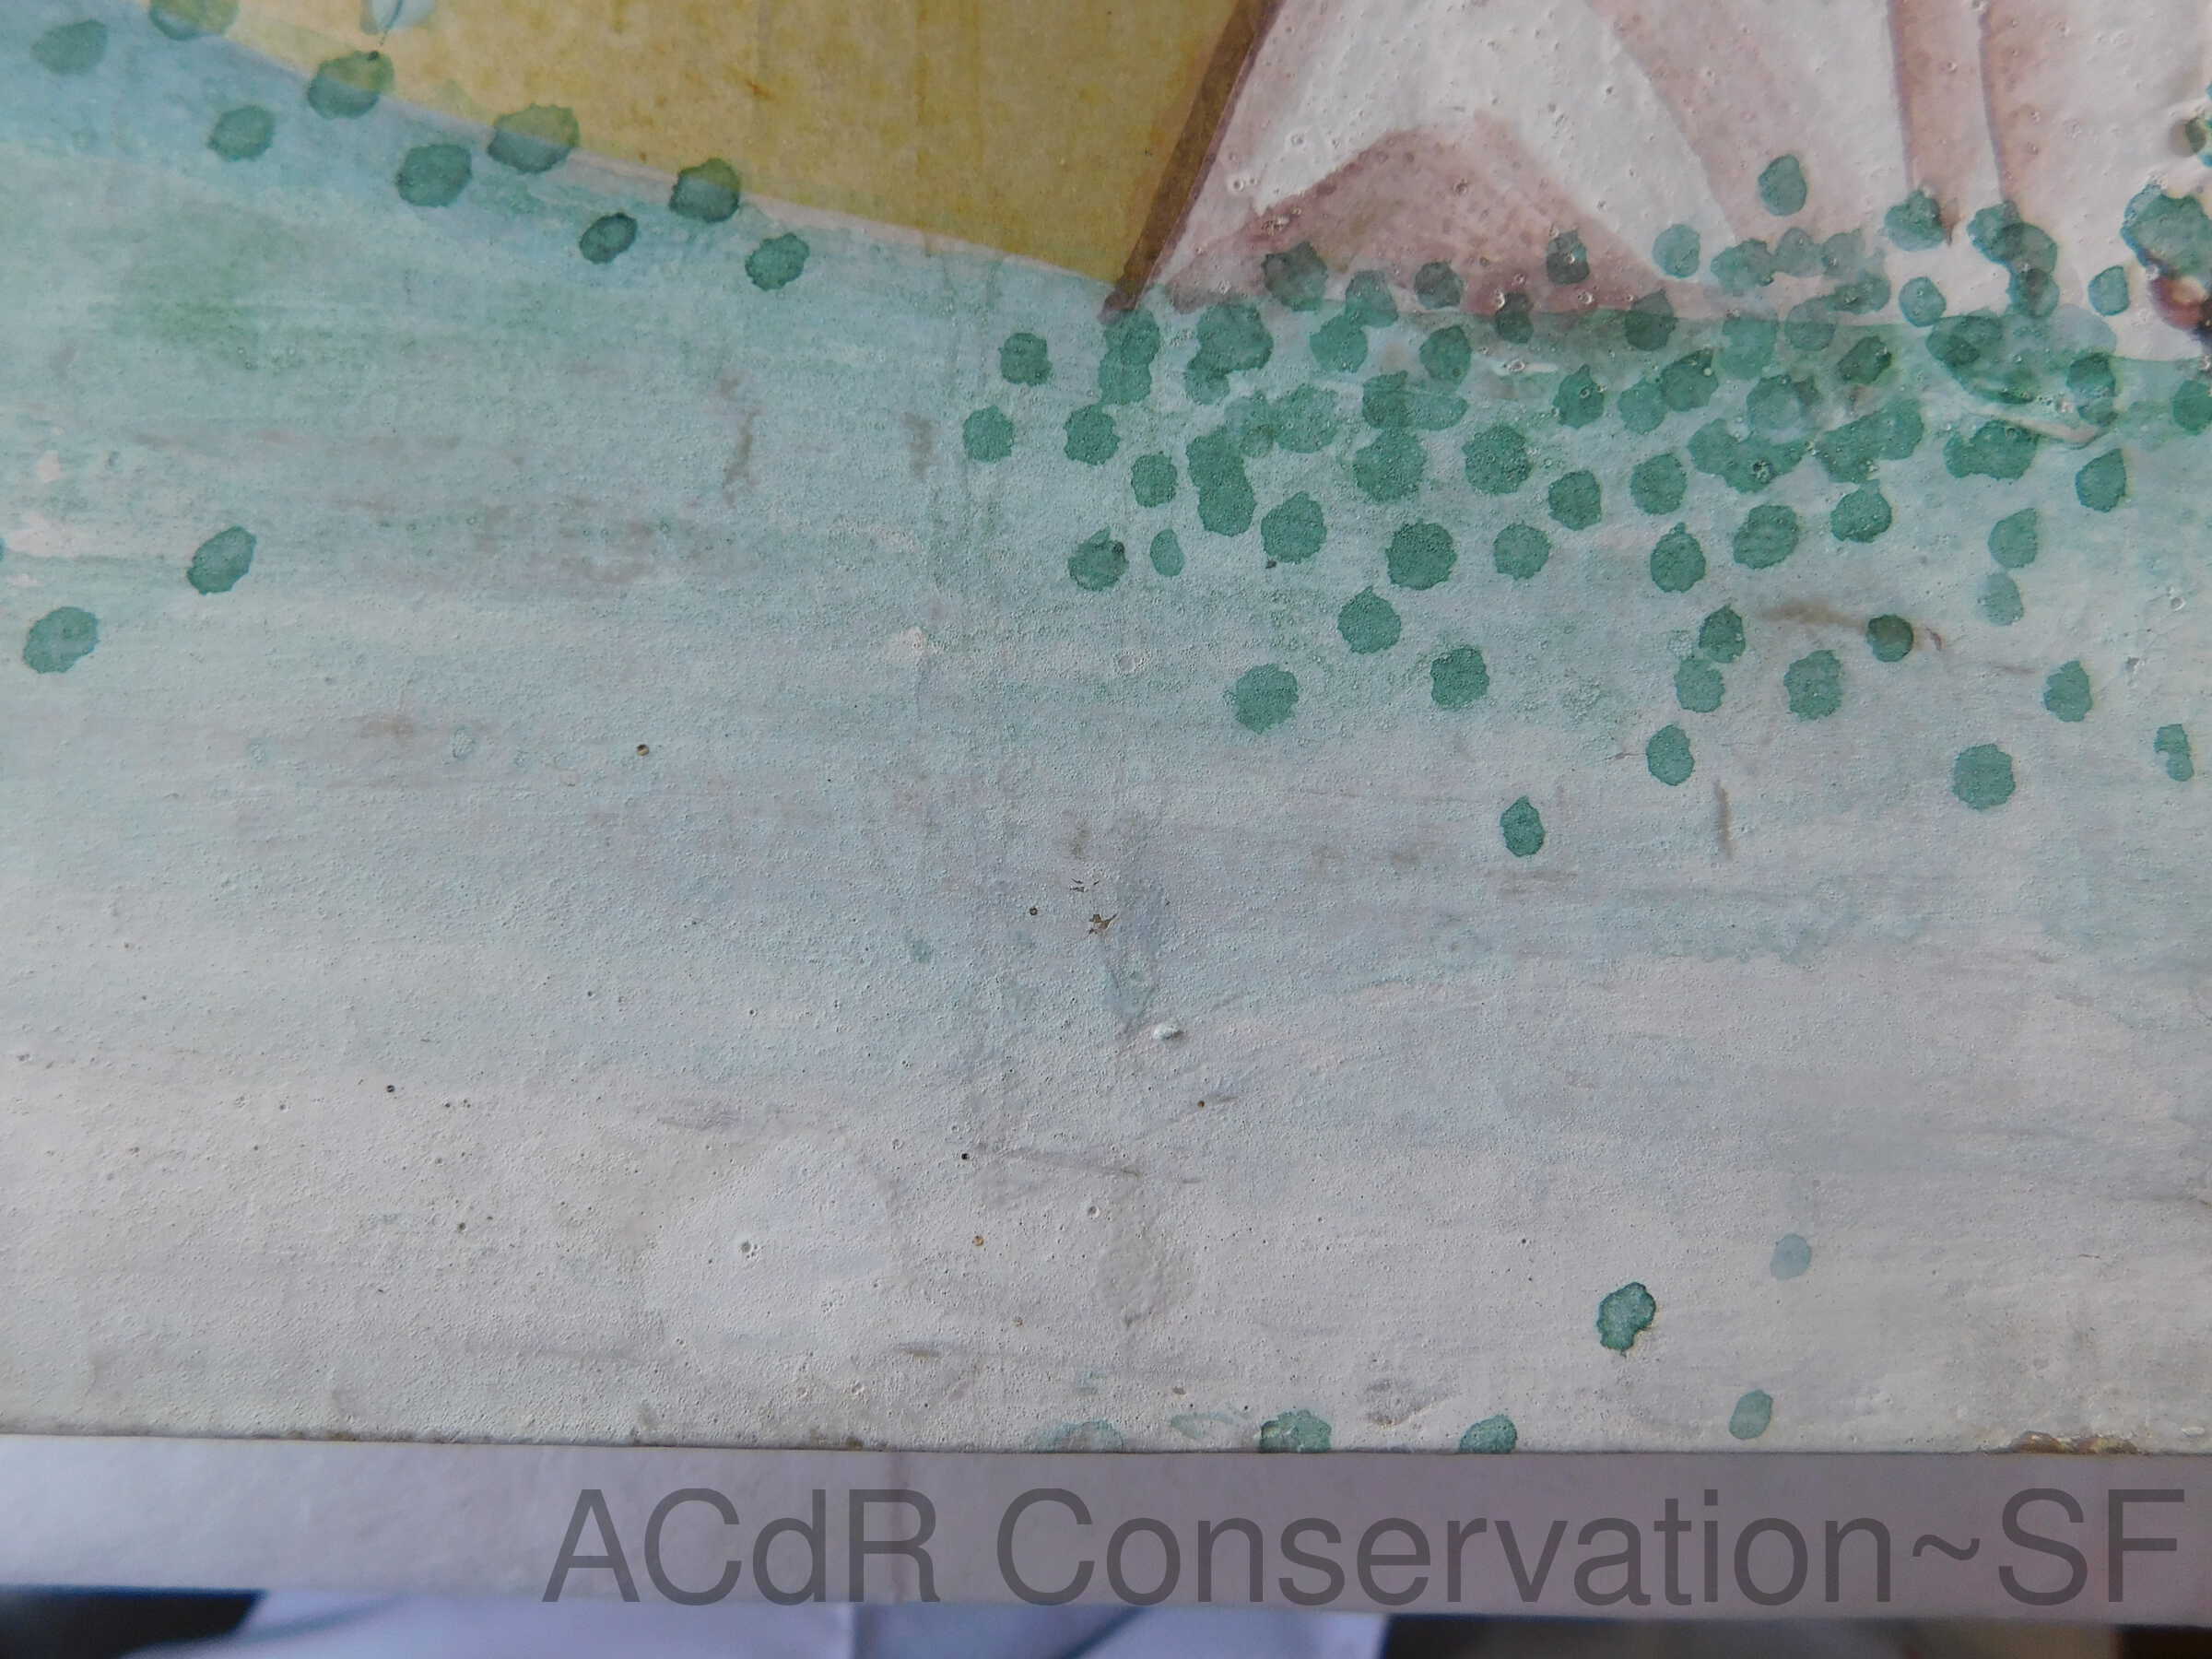
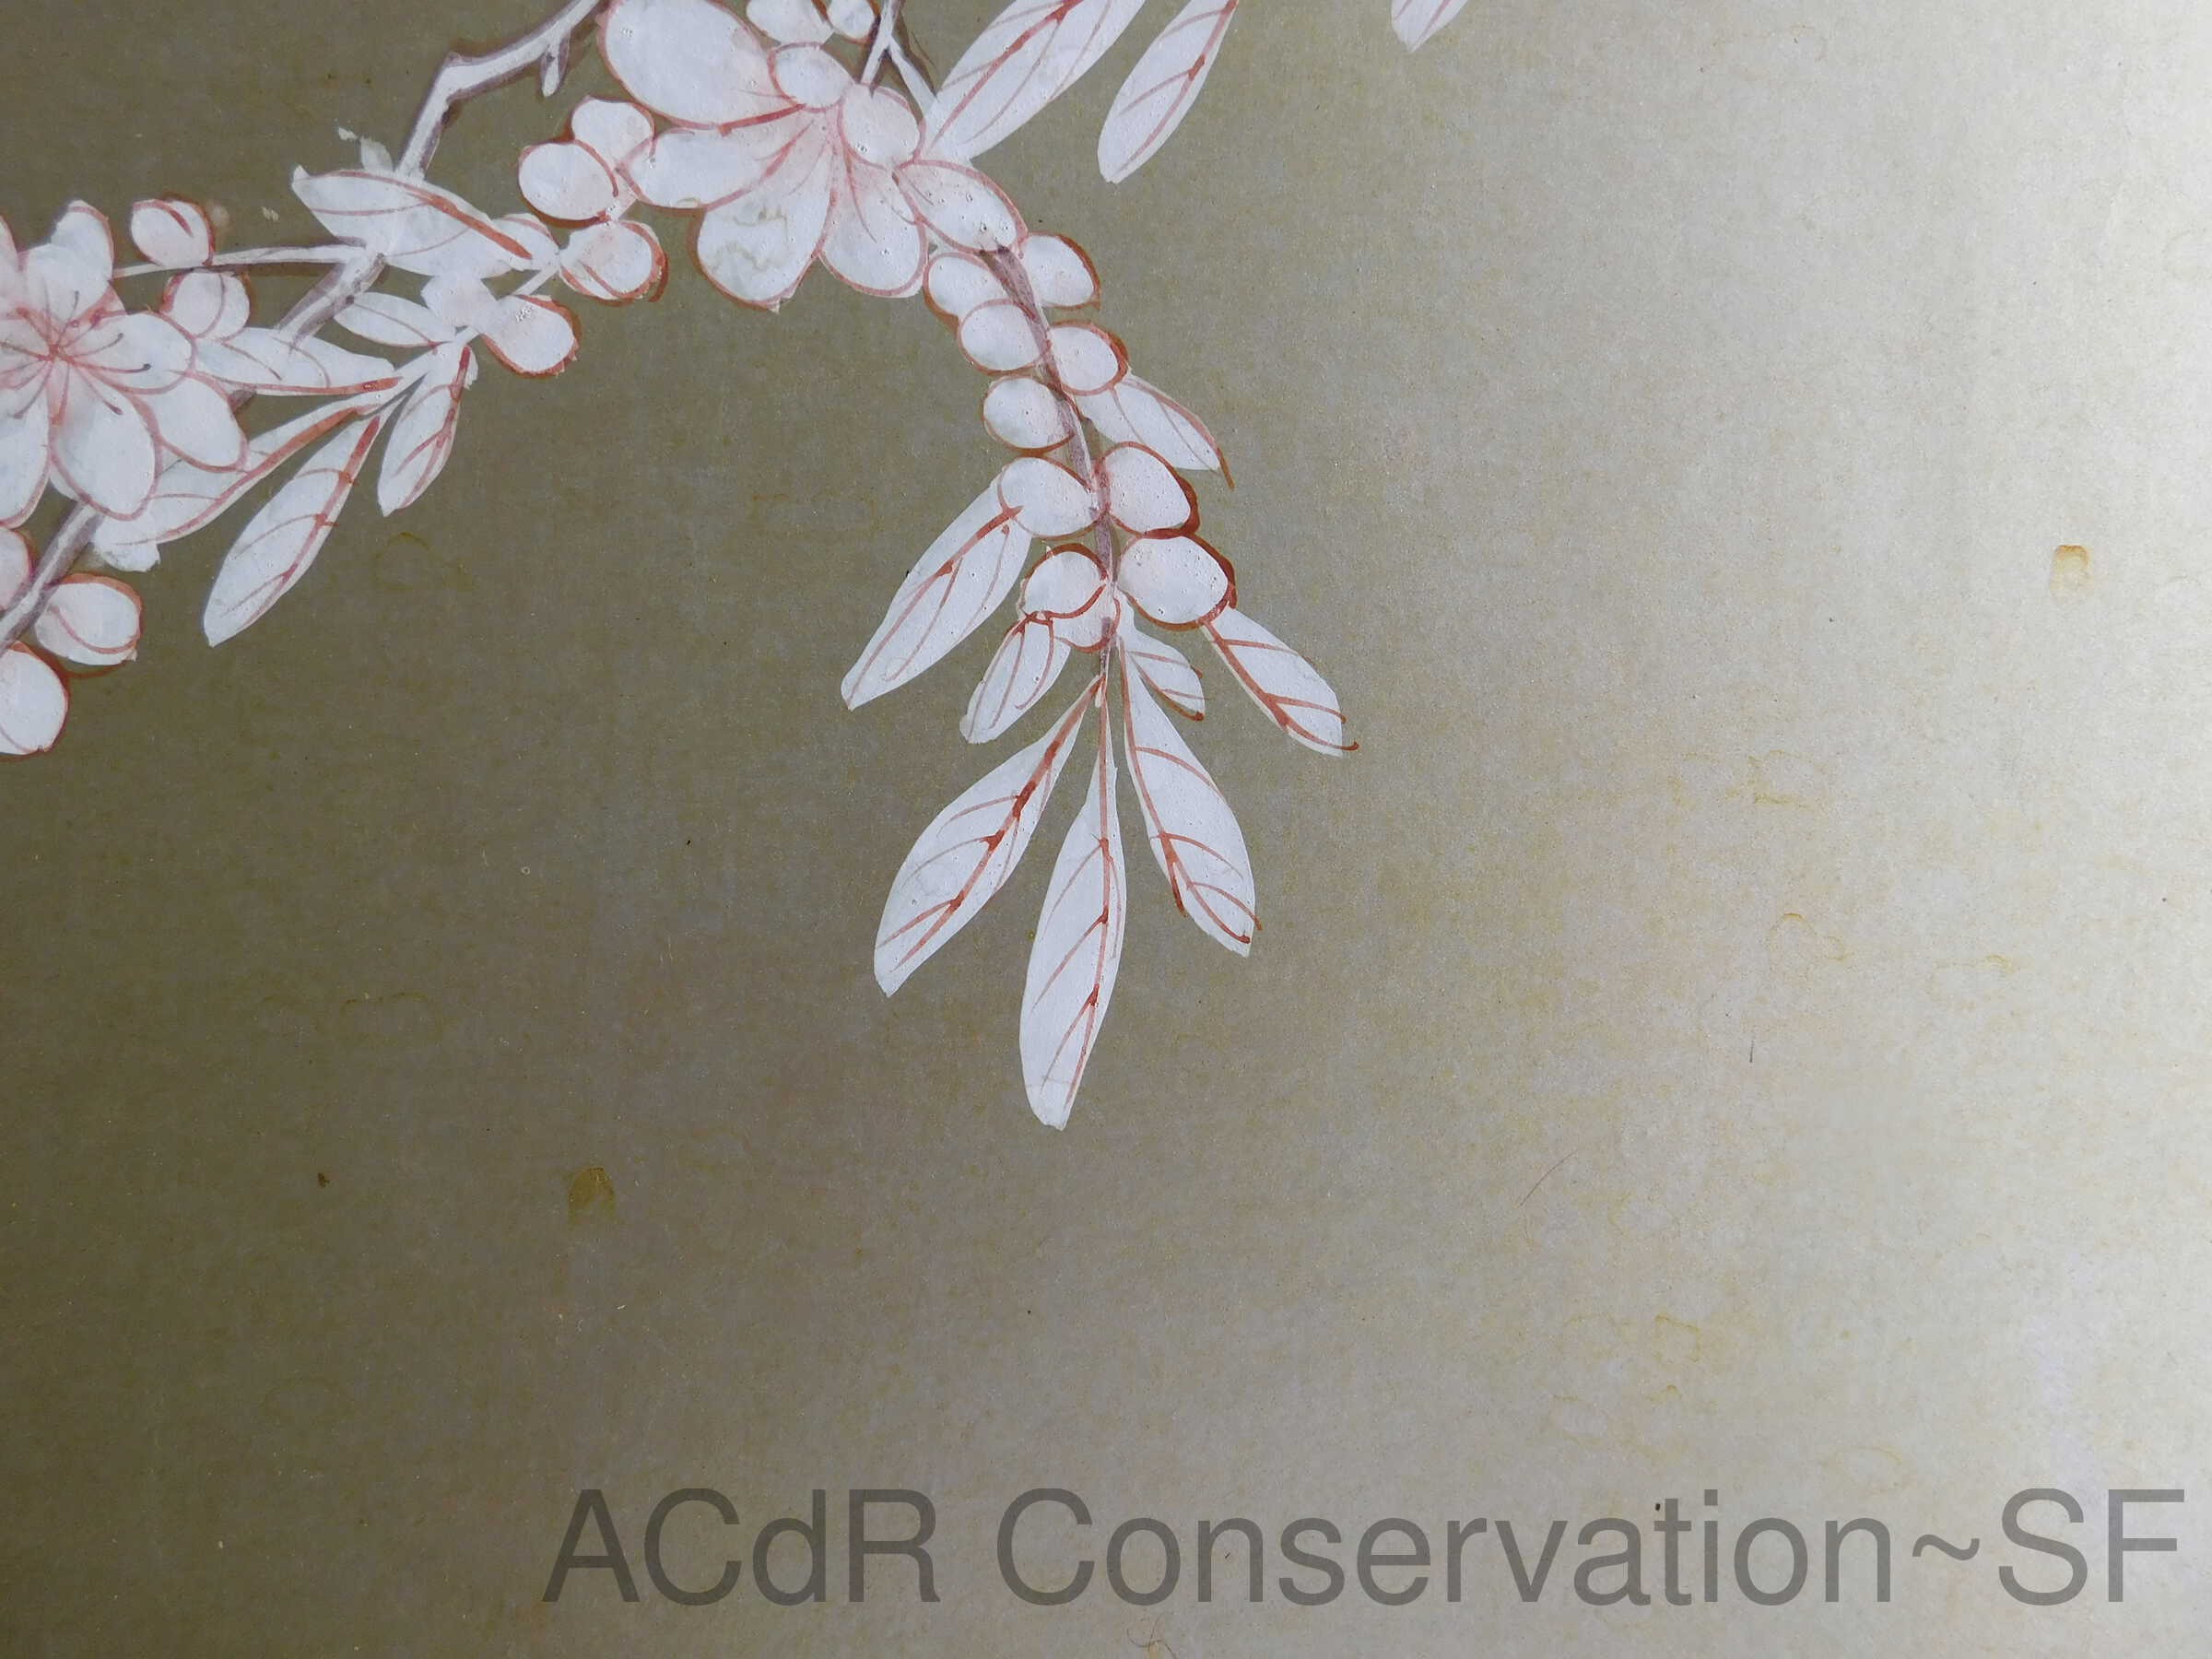
Traced the pattern of the screen (back side). Mixed watercolor to tone the paper for loss filling. Filled the hole with a pice of Japanese paper. Attached the edge of the original screen paper. Mixed watercolor to tone the insert paper. Toned four pieces of paper with watercolor. Used Manila folder to make a stamp seal. Mixed watercolor to draw the pattern. Toned two pieces of paper and drew the pattern on the insert paper. Made a mold of the hole and used it to cut the insert paper. Attached insert paper with starch paste. Filled gap between mended broken pieces with cellulose powder. Retouched the gap and faded out the area. Retouched tears with watercolor.
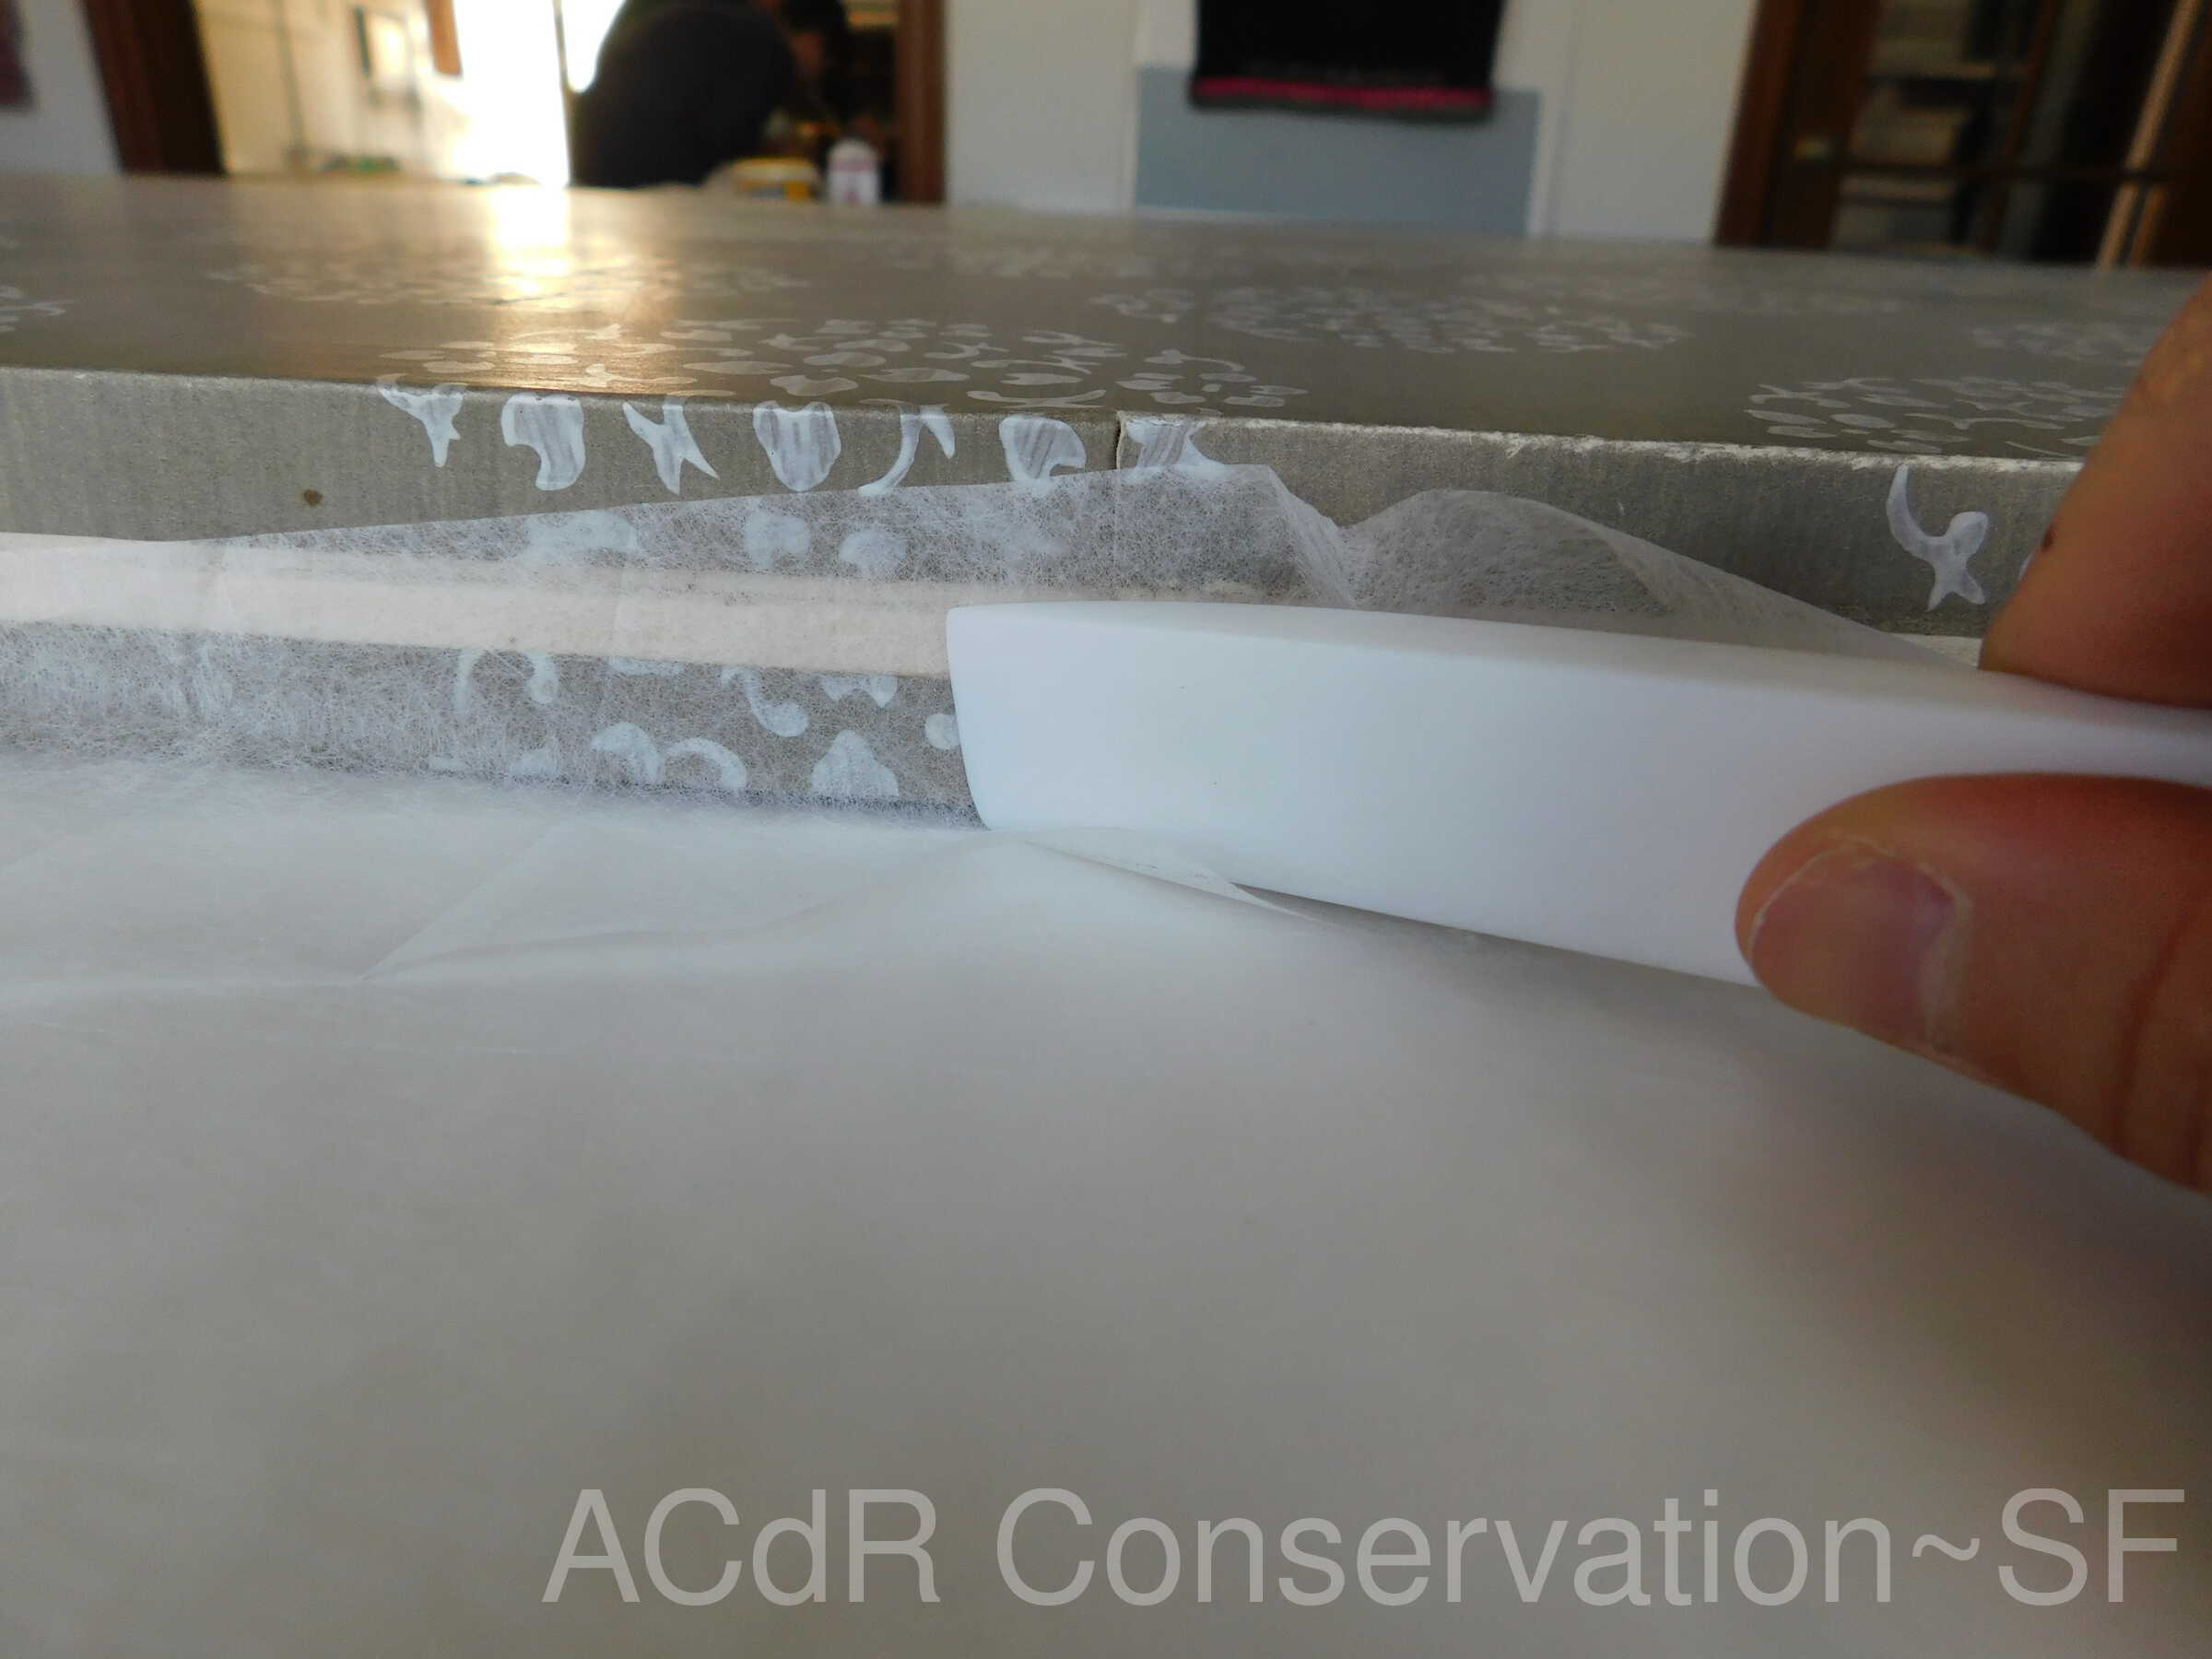
Humidification
Mar 29, 2019 - Apr 5, 2019
Humidified the previous mending and opened to re-mend with starch paste. Humidified the small puncture.
General Repair
Apr 5, 2019
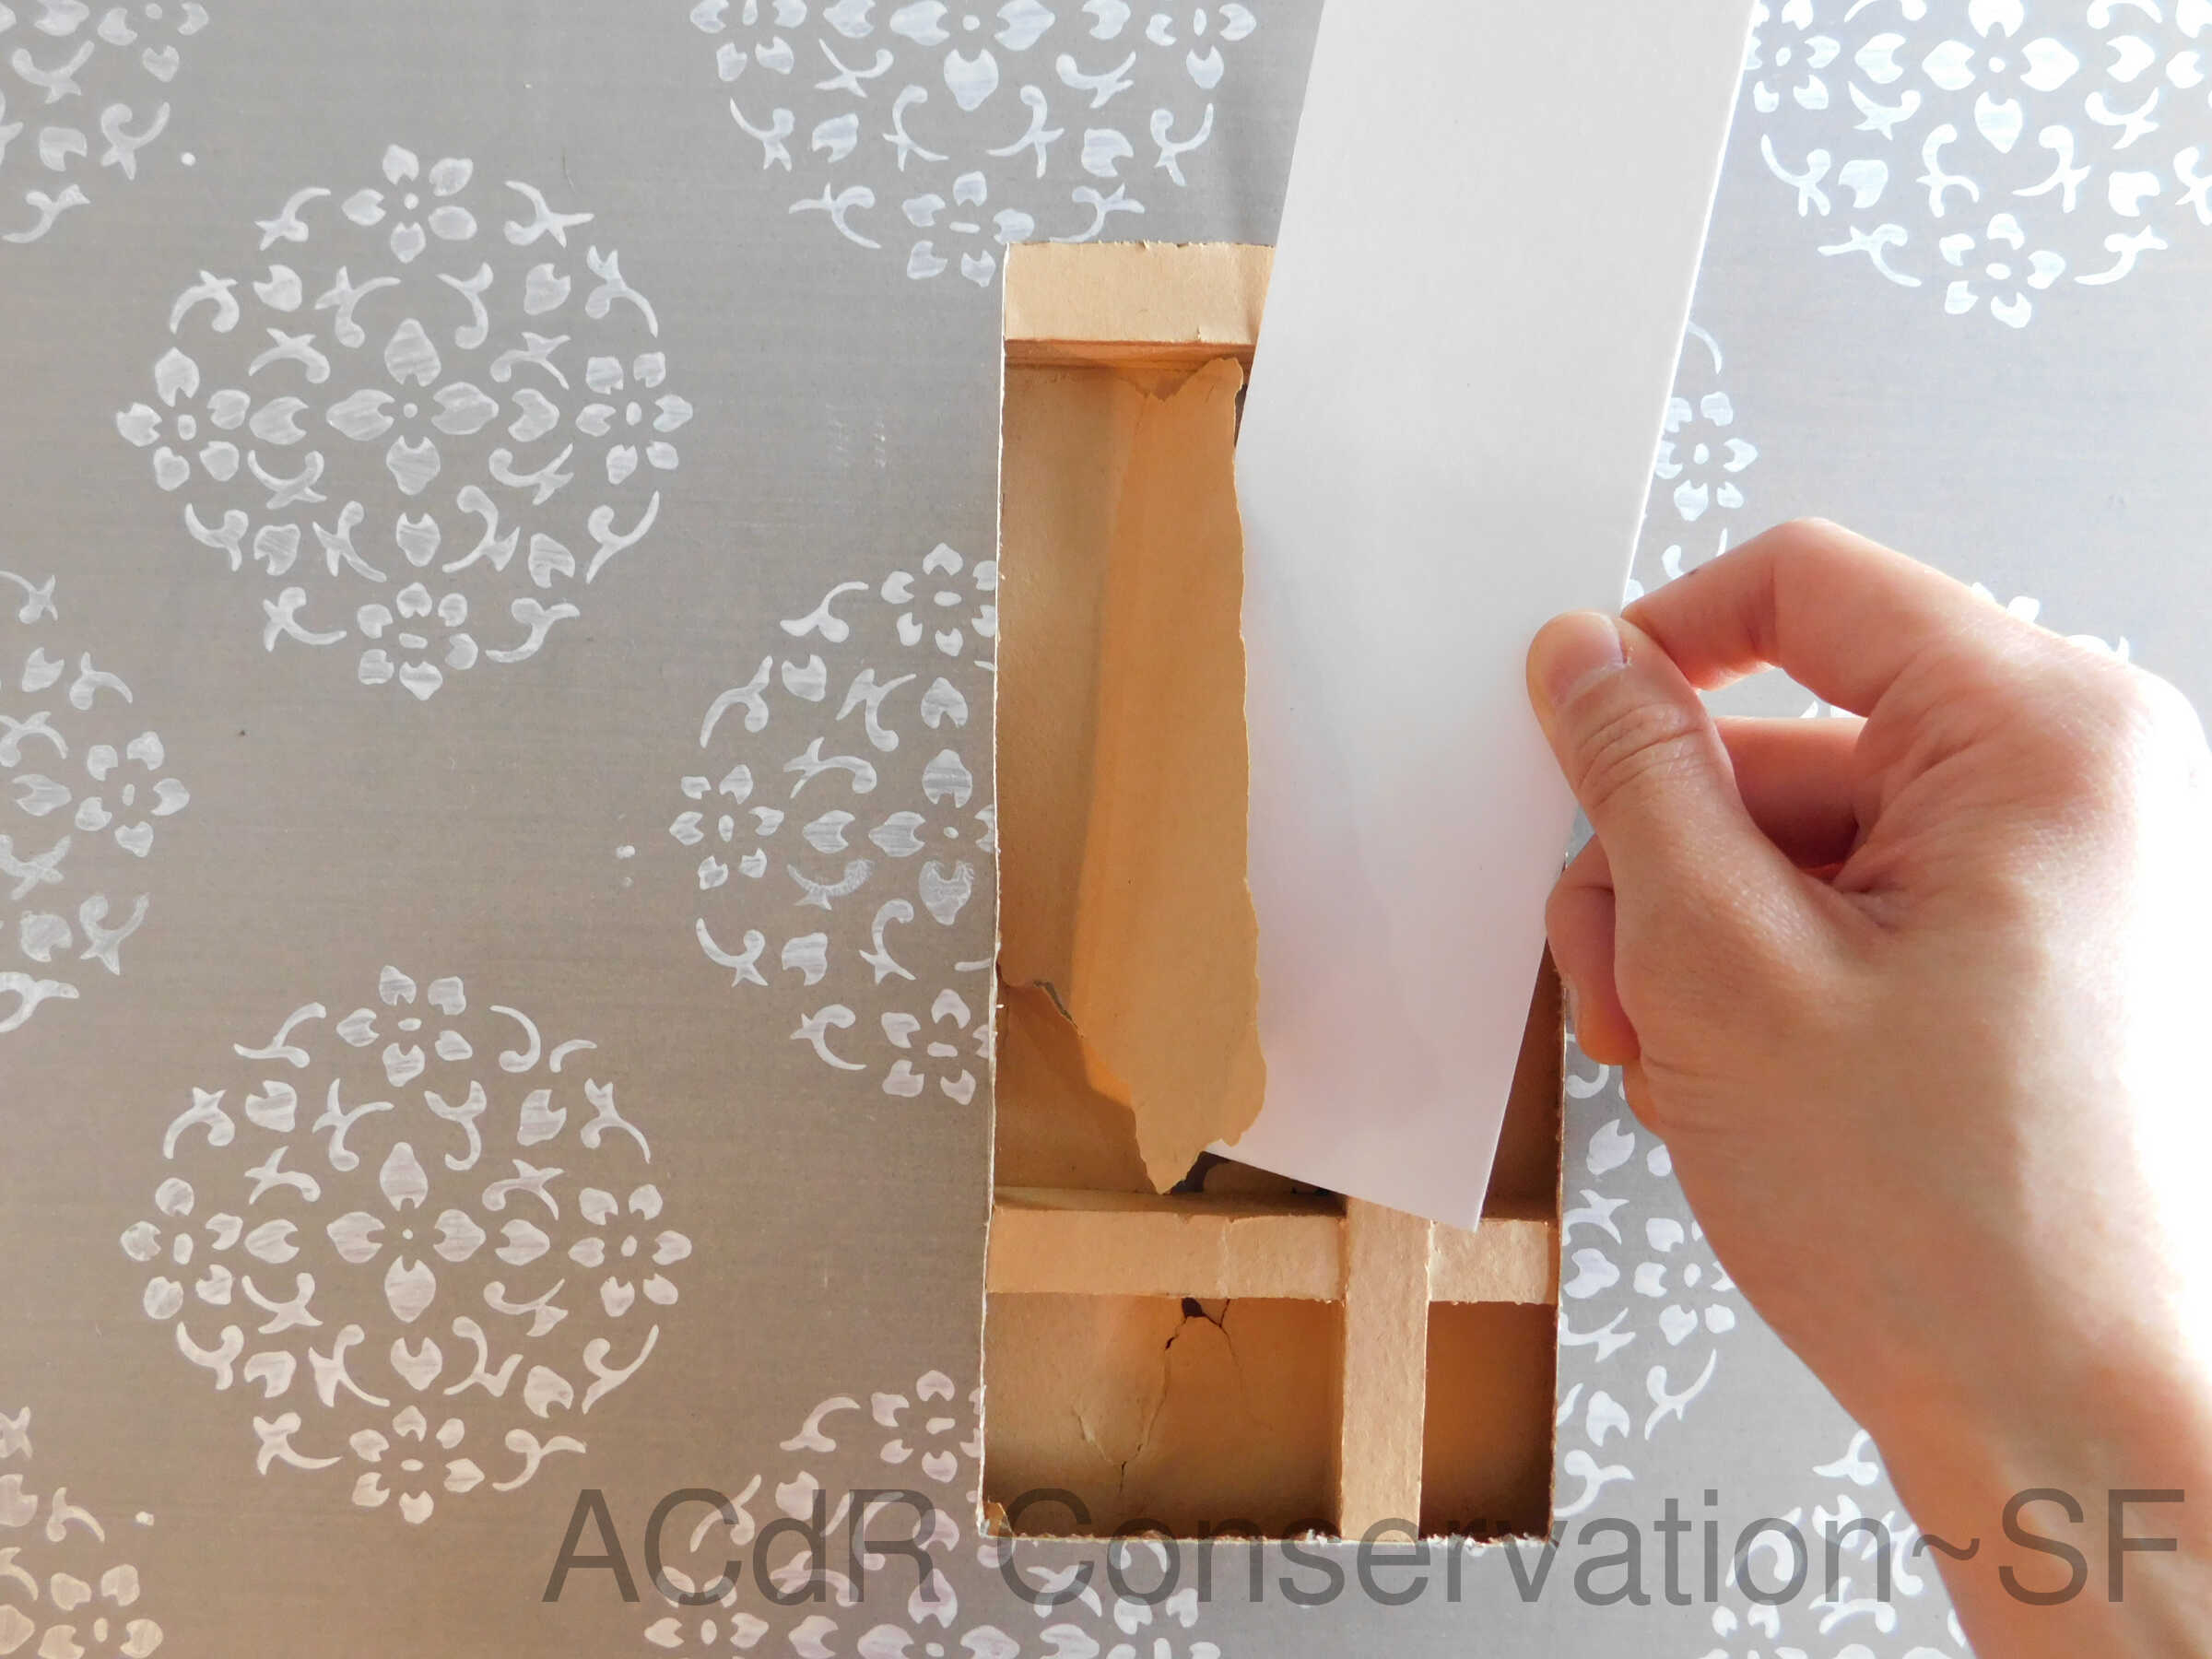
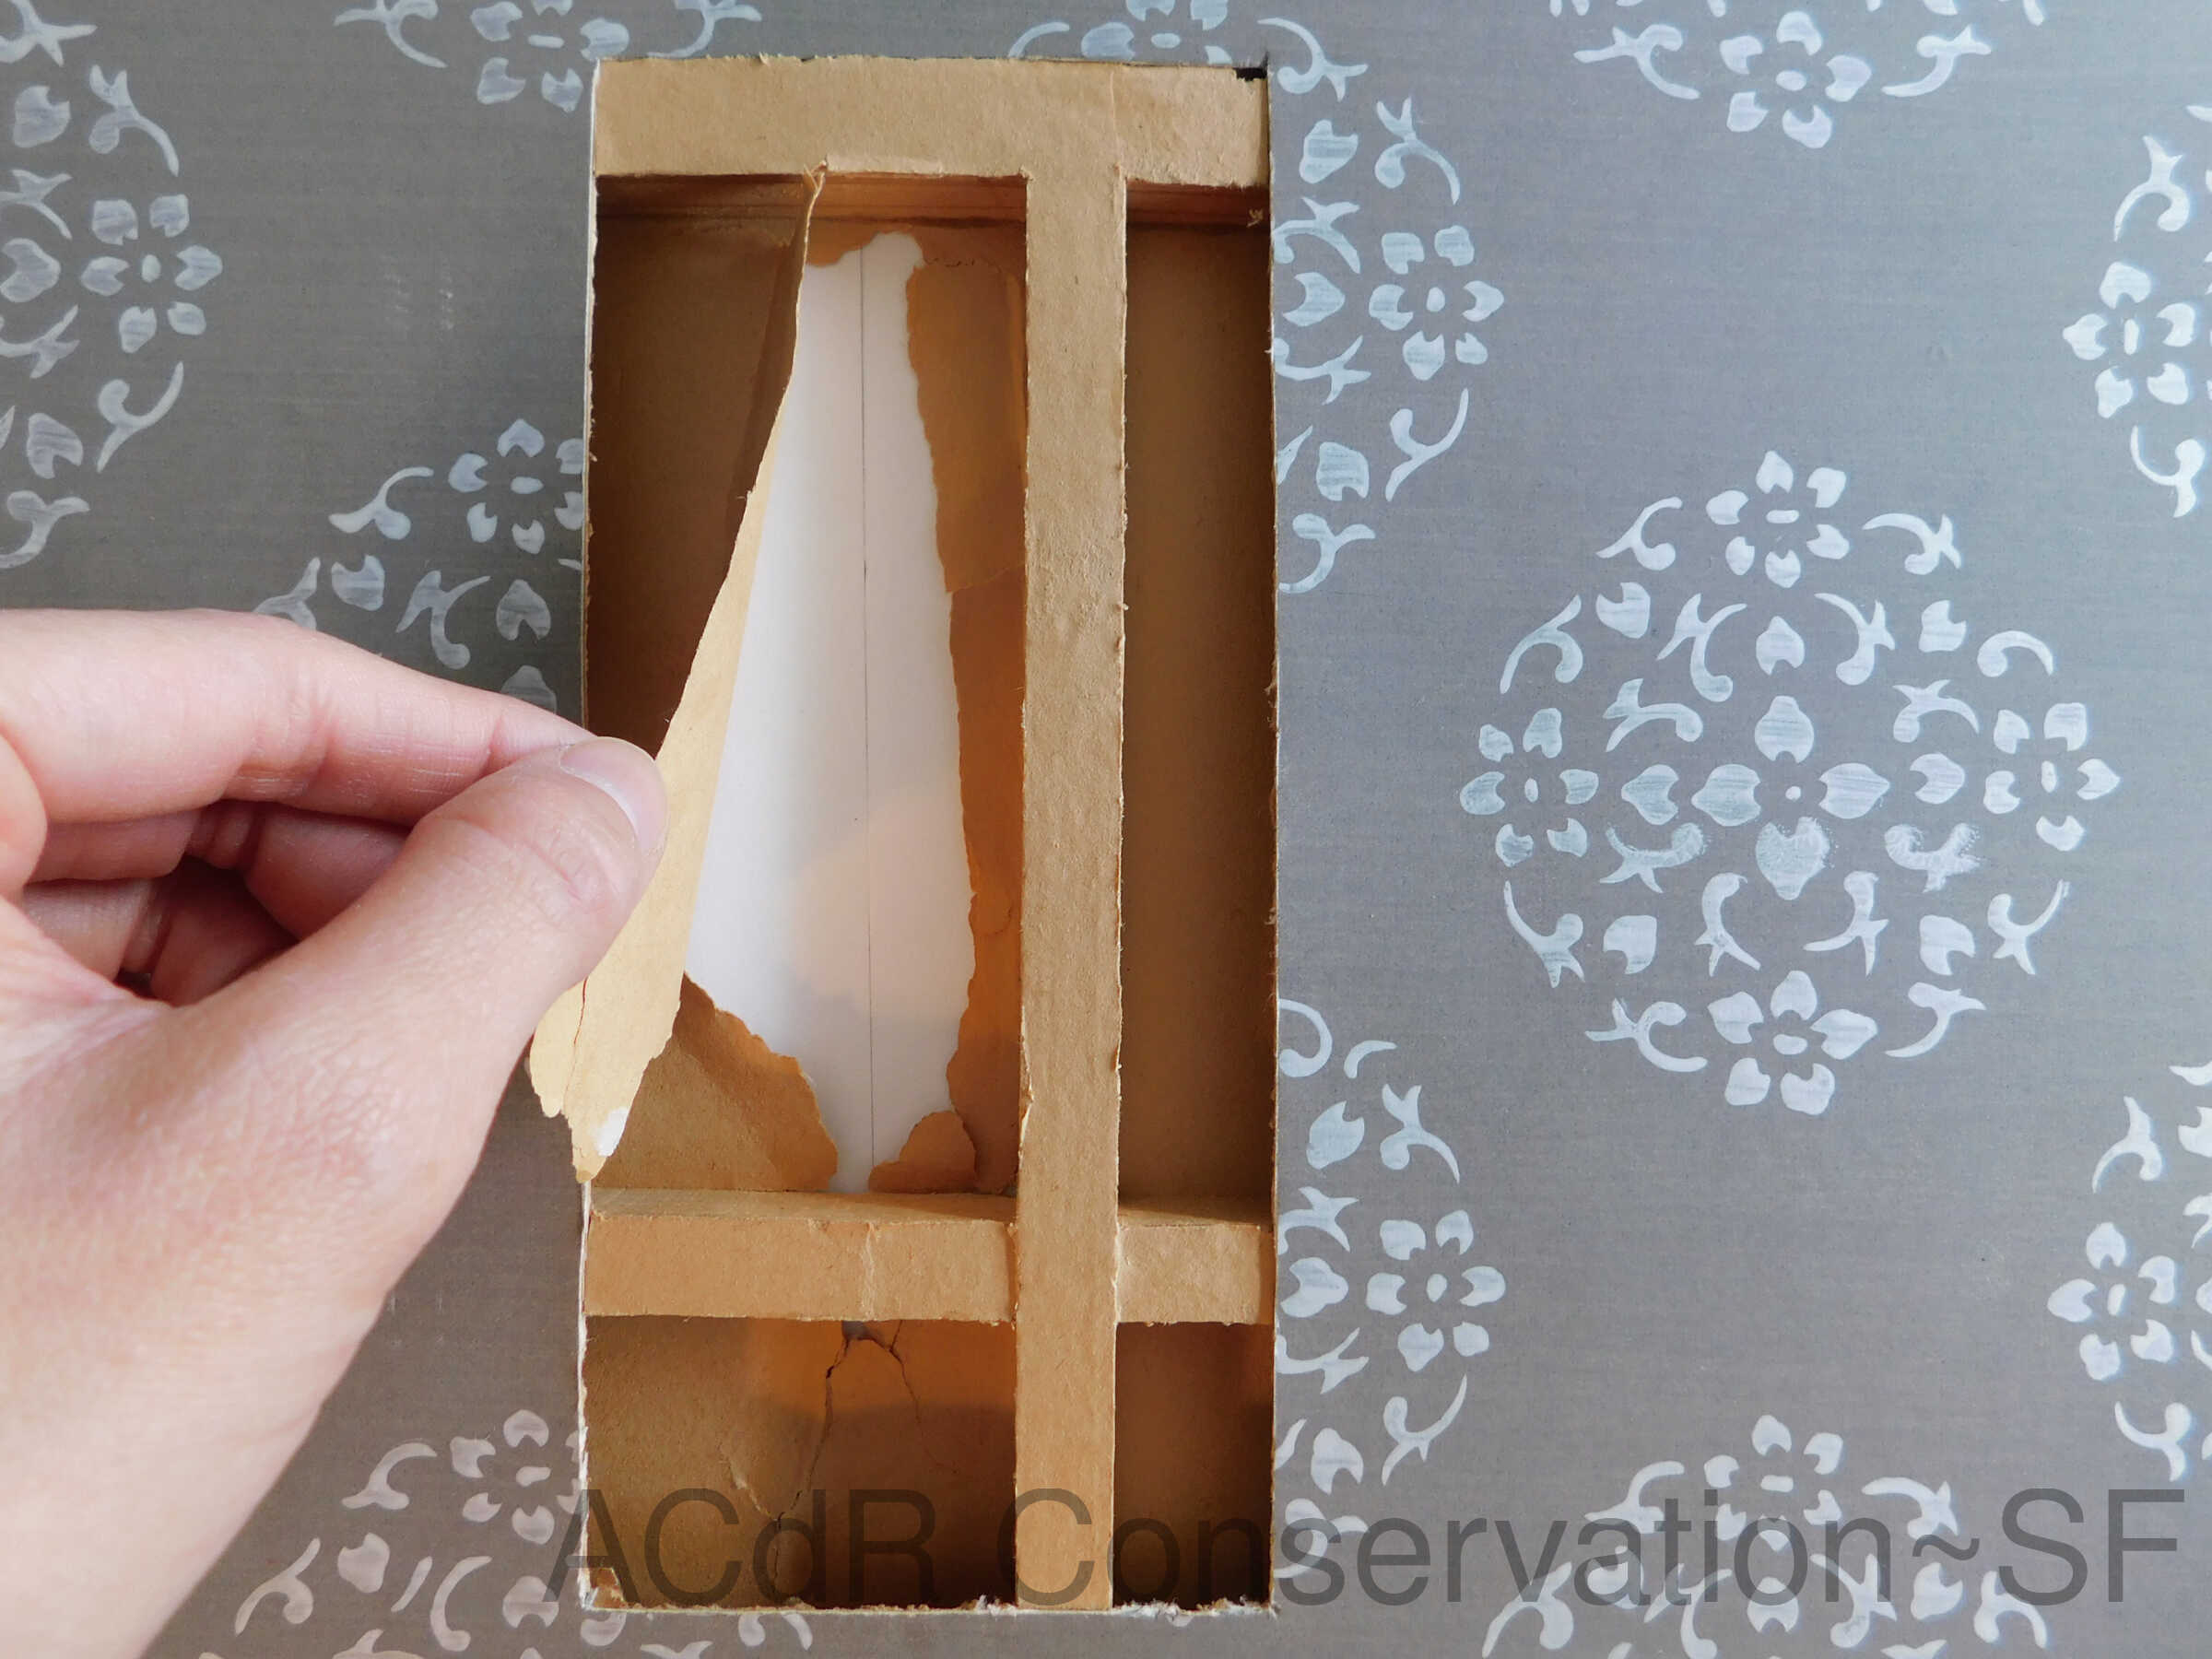
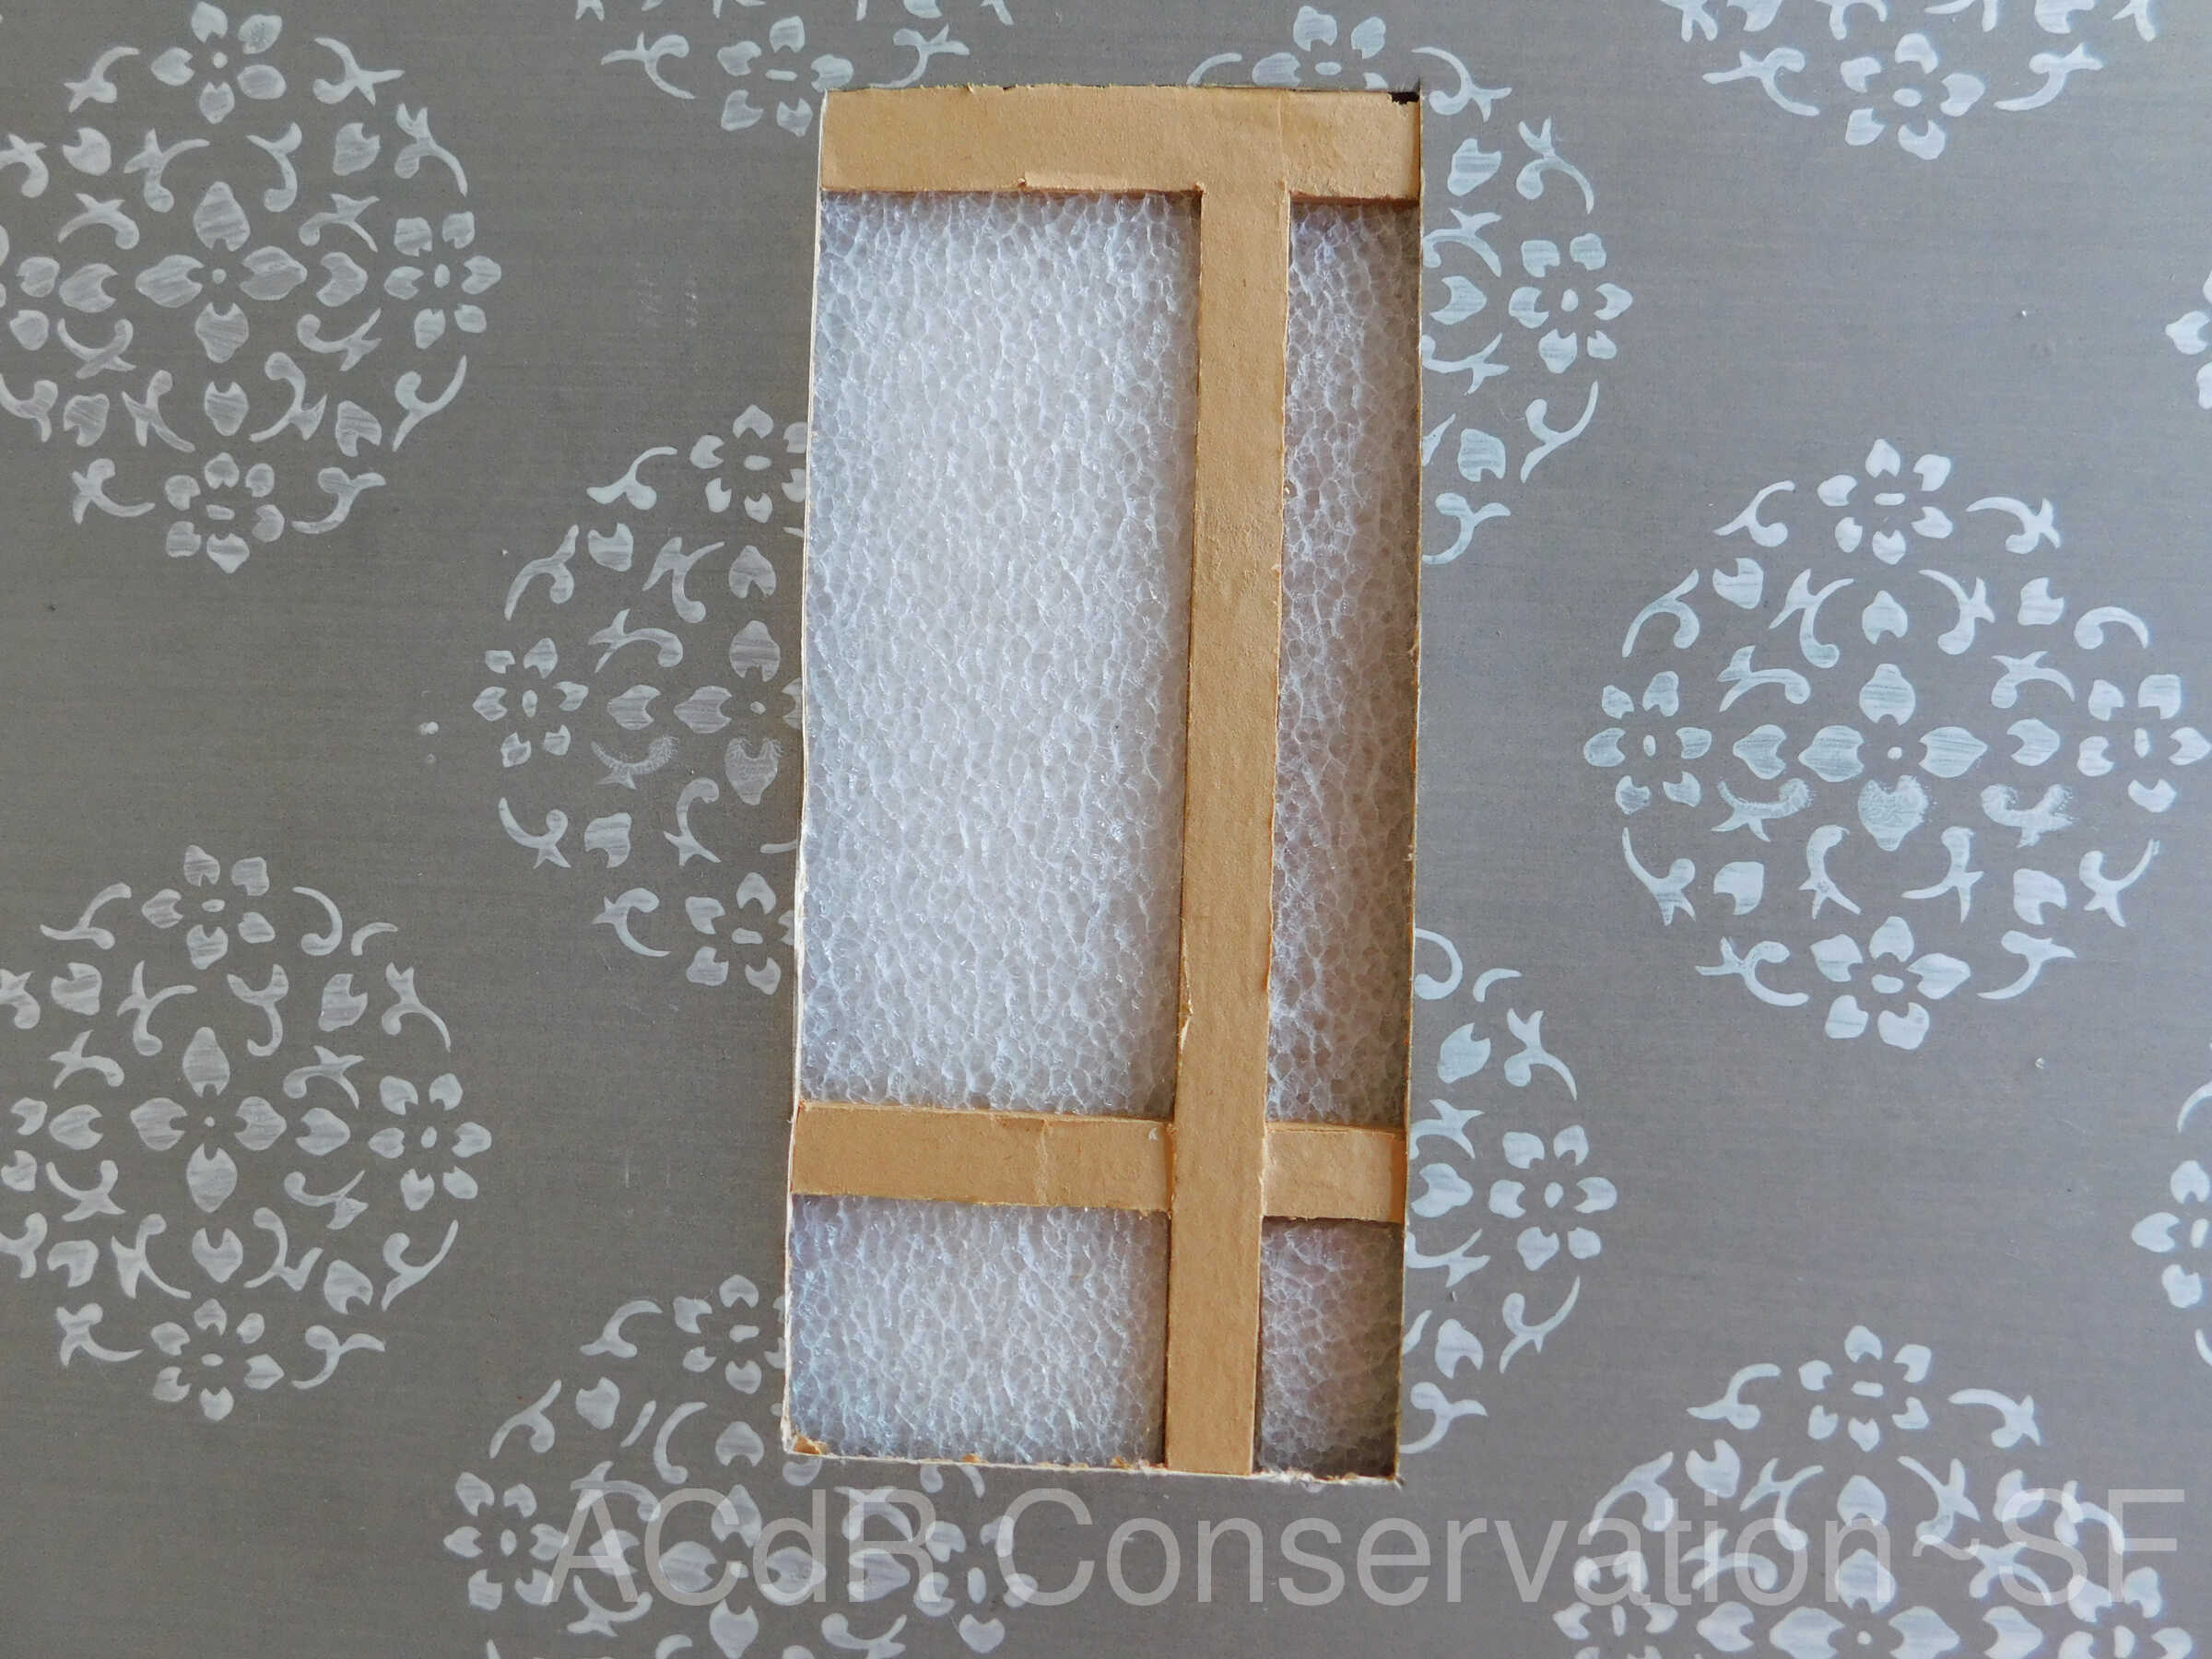
Measured the size of the small puncture and cut foam to fill the space under the painted layer.
Structural Support
Apr 8, 2019
Filled the small puncture with foam
Adhesive Repair/Removal
Apr 10, 2019
Mended the small puncture from front side with starch paste
Retouching
Apr 10, 2019
Retouched small puncture from front side
Registration
Apr 12, 2019
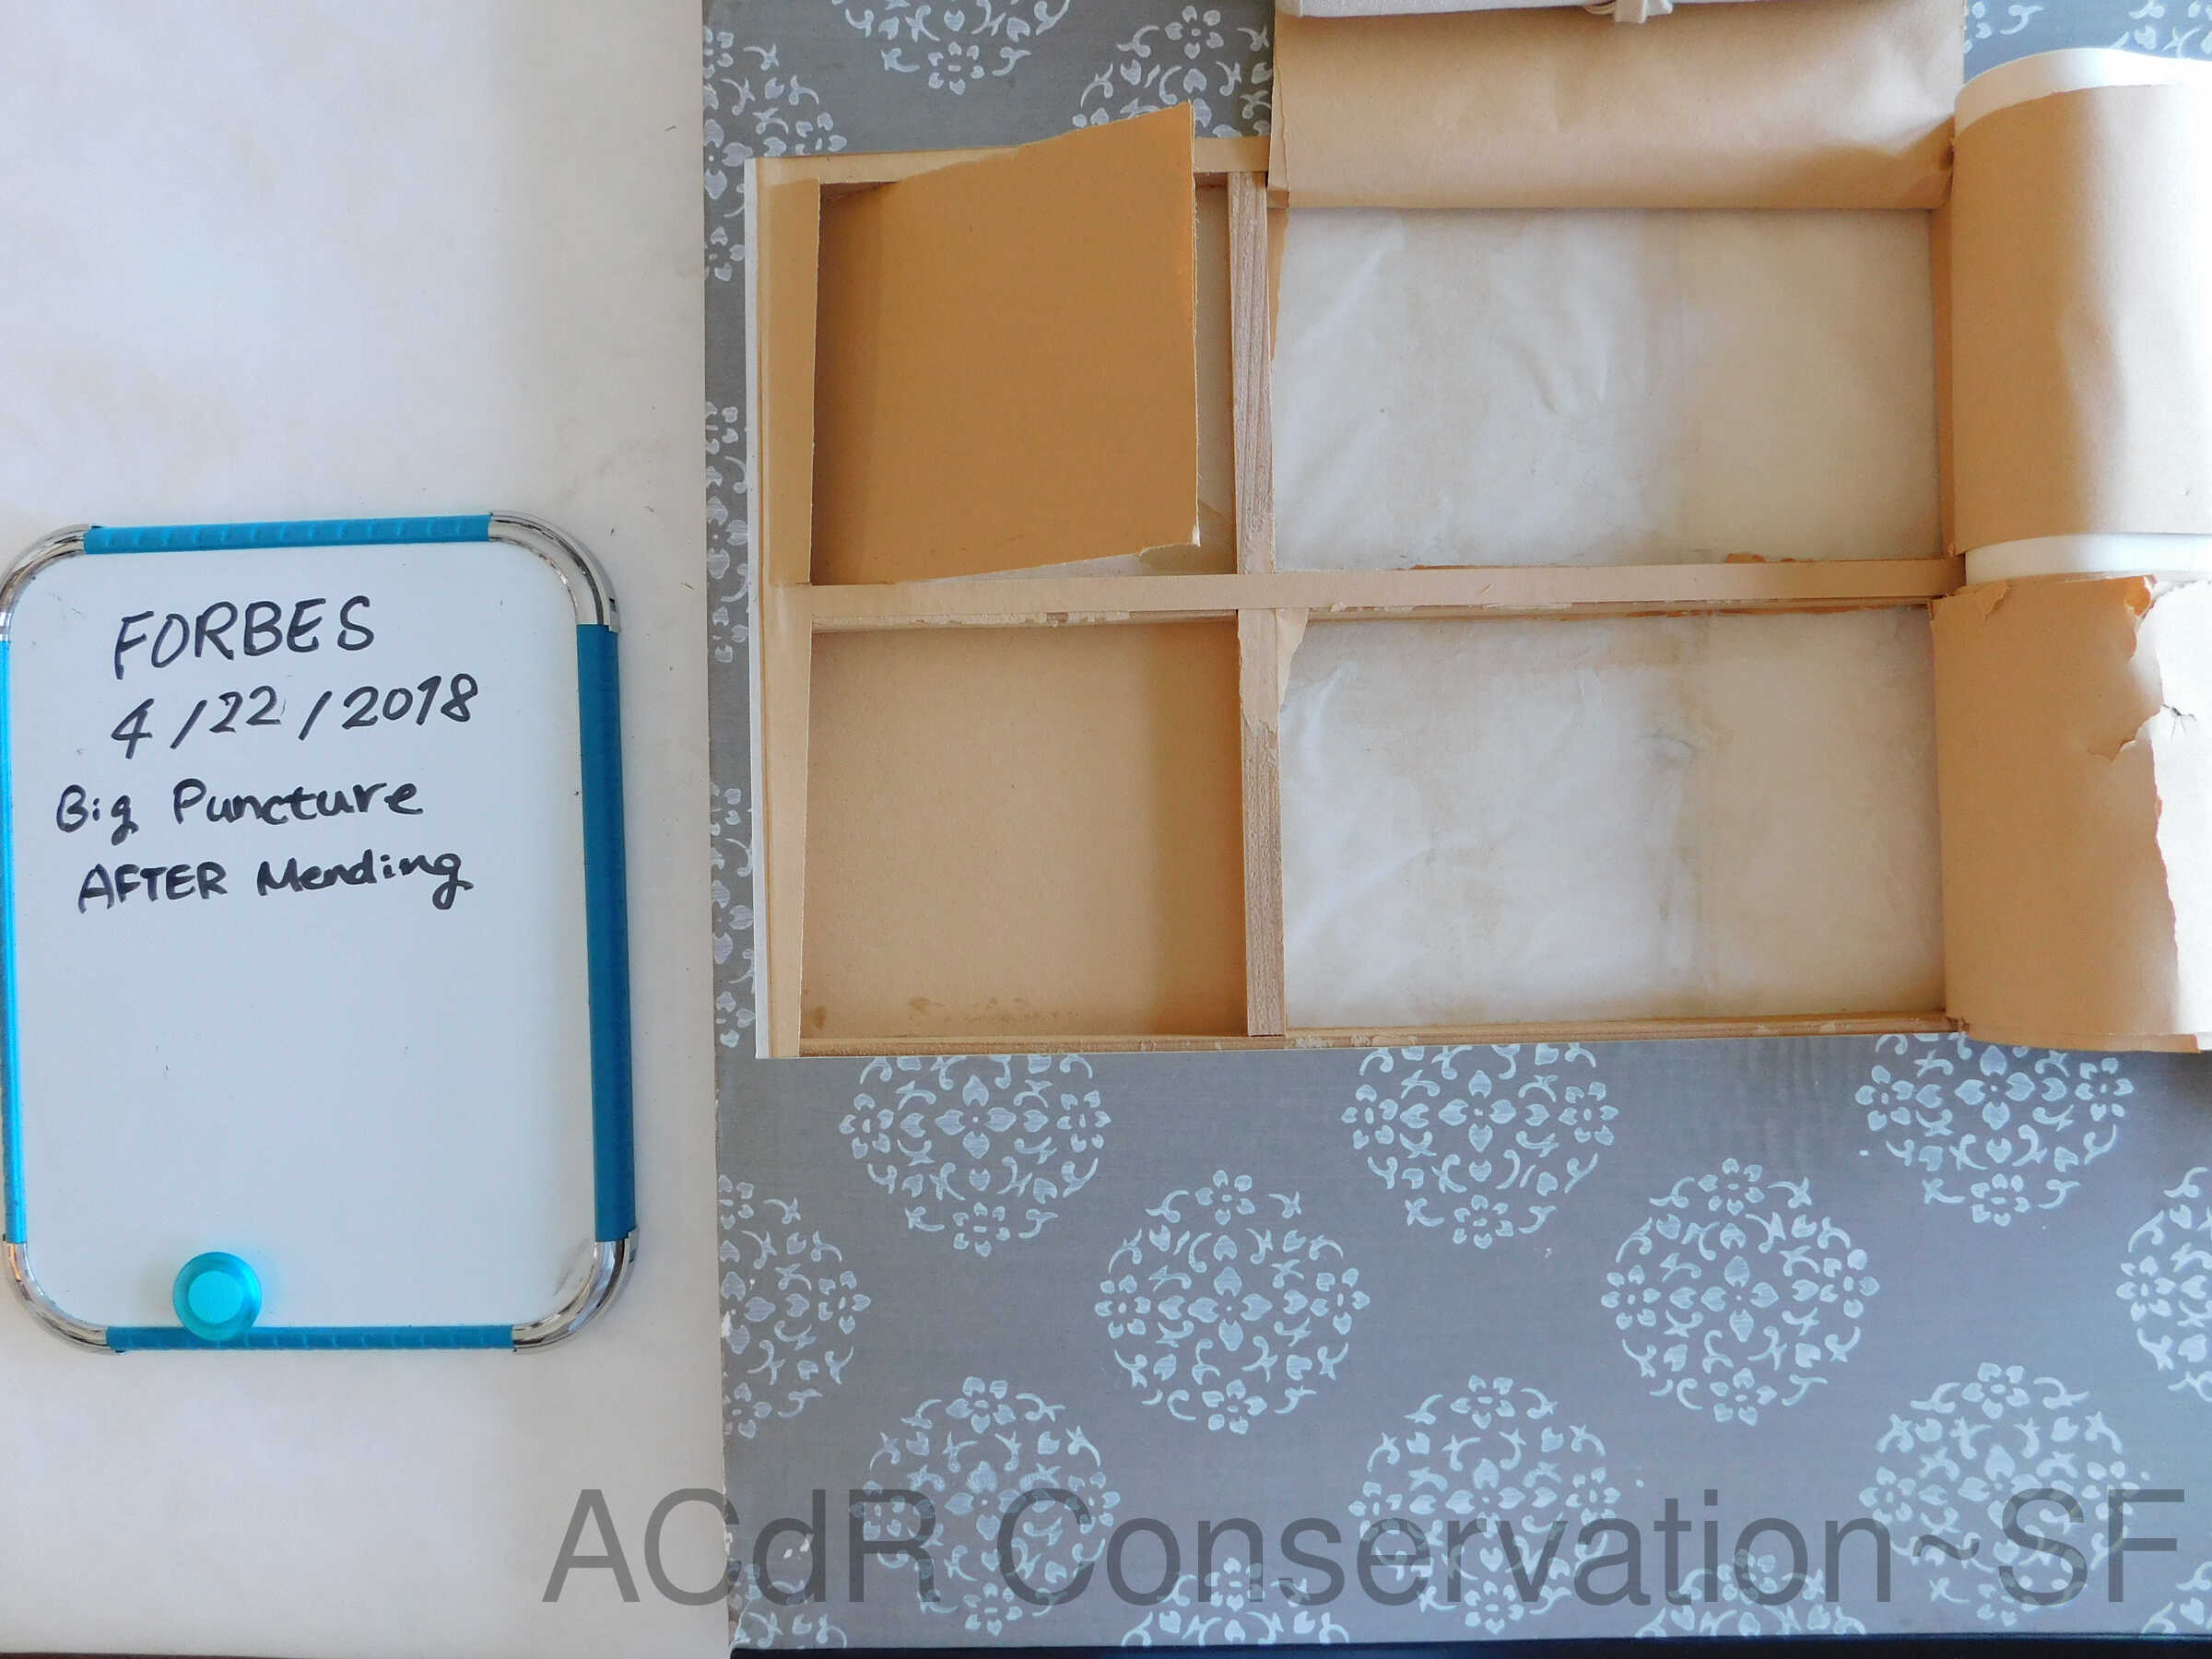
Mapped condition of the big puncture from back side and made cutting decision.
Disassemble
Apr 12, 2019
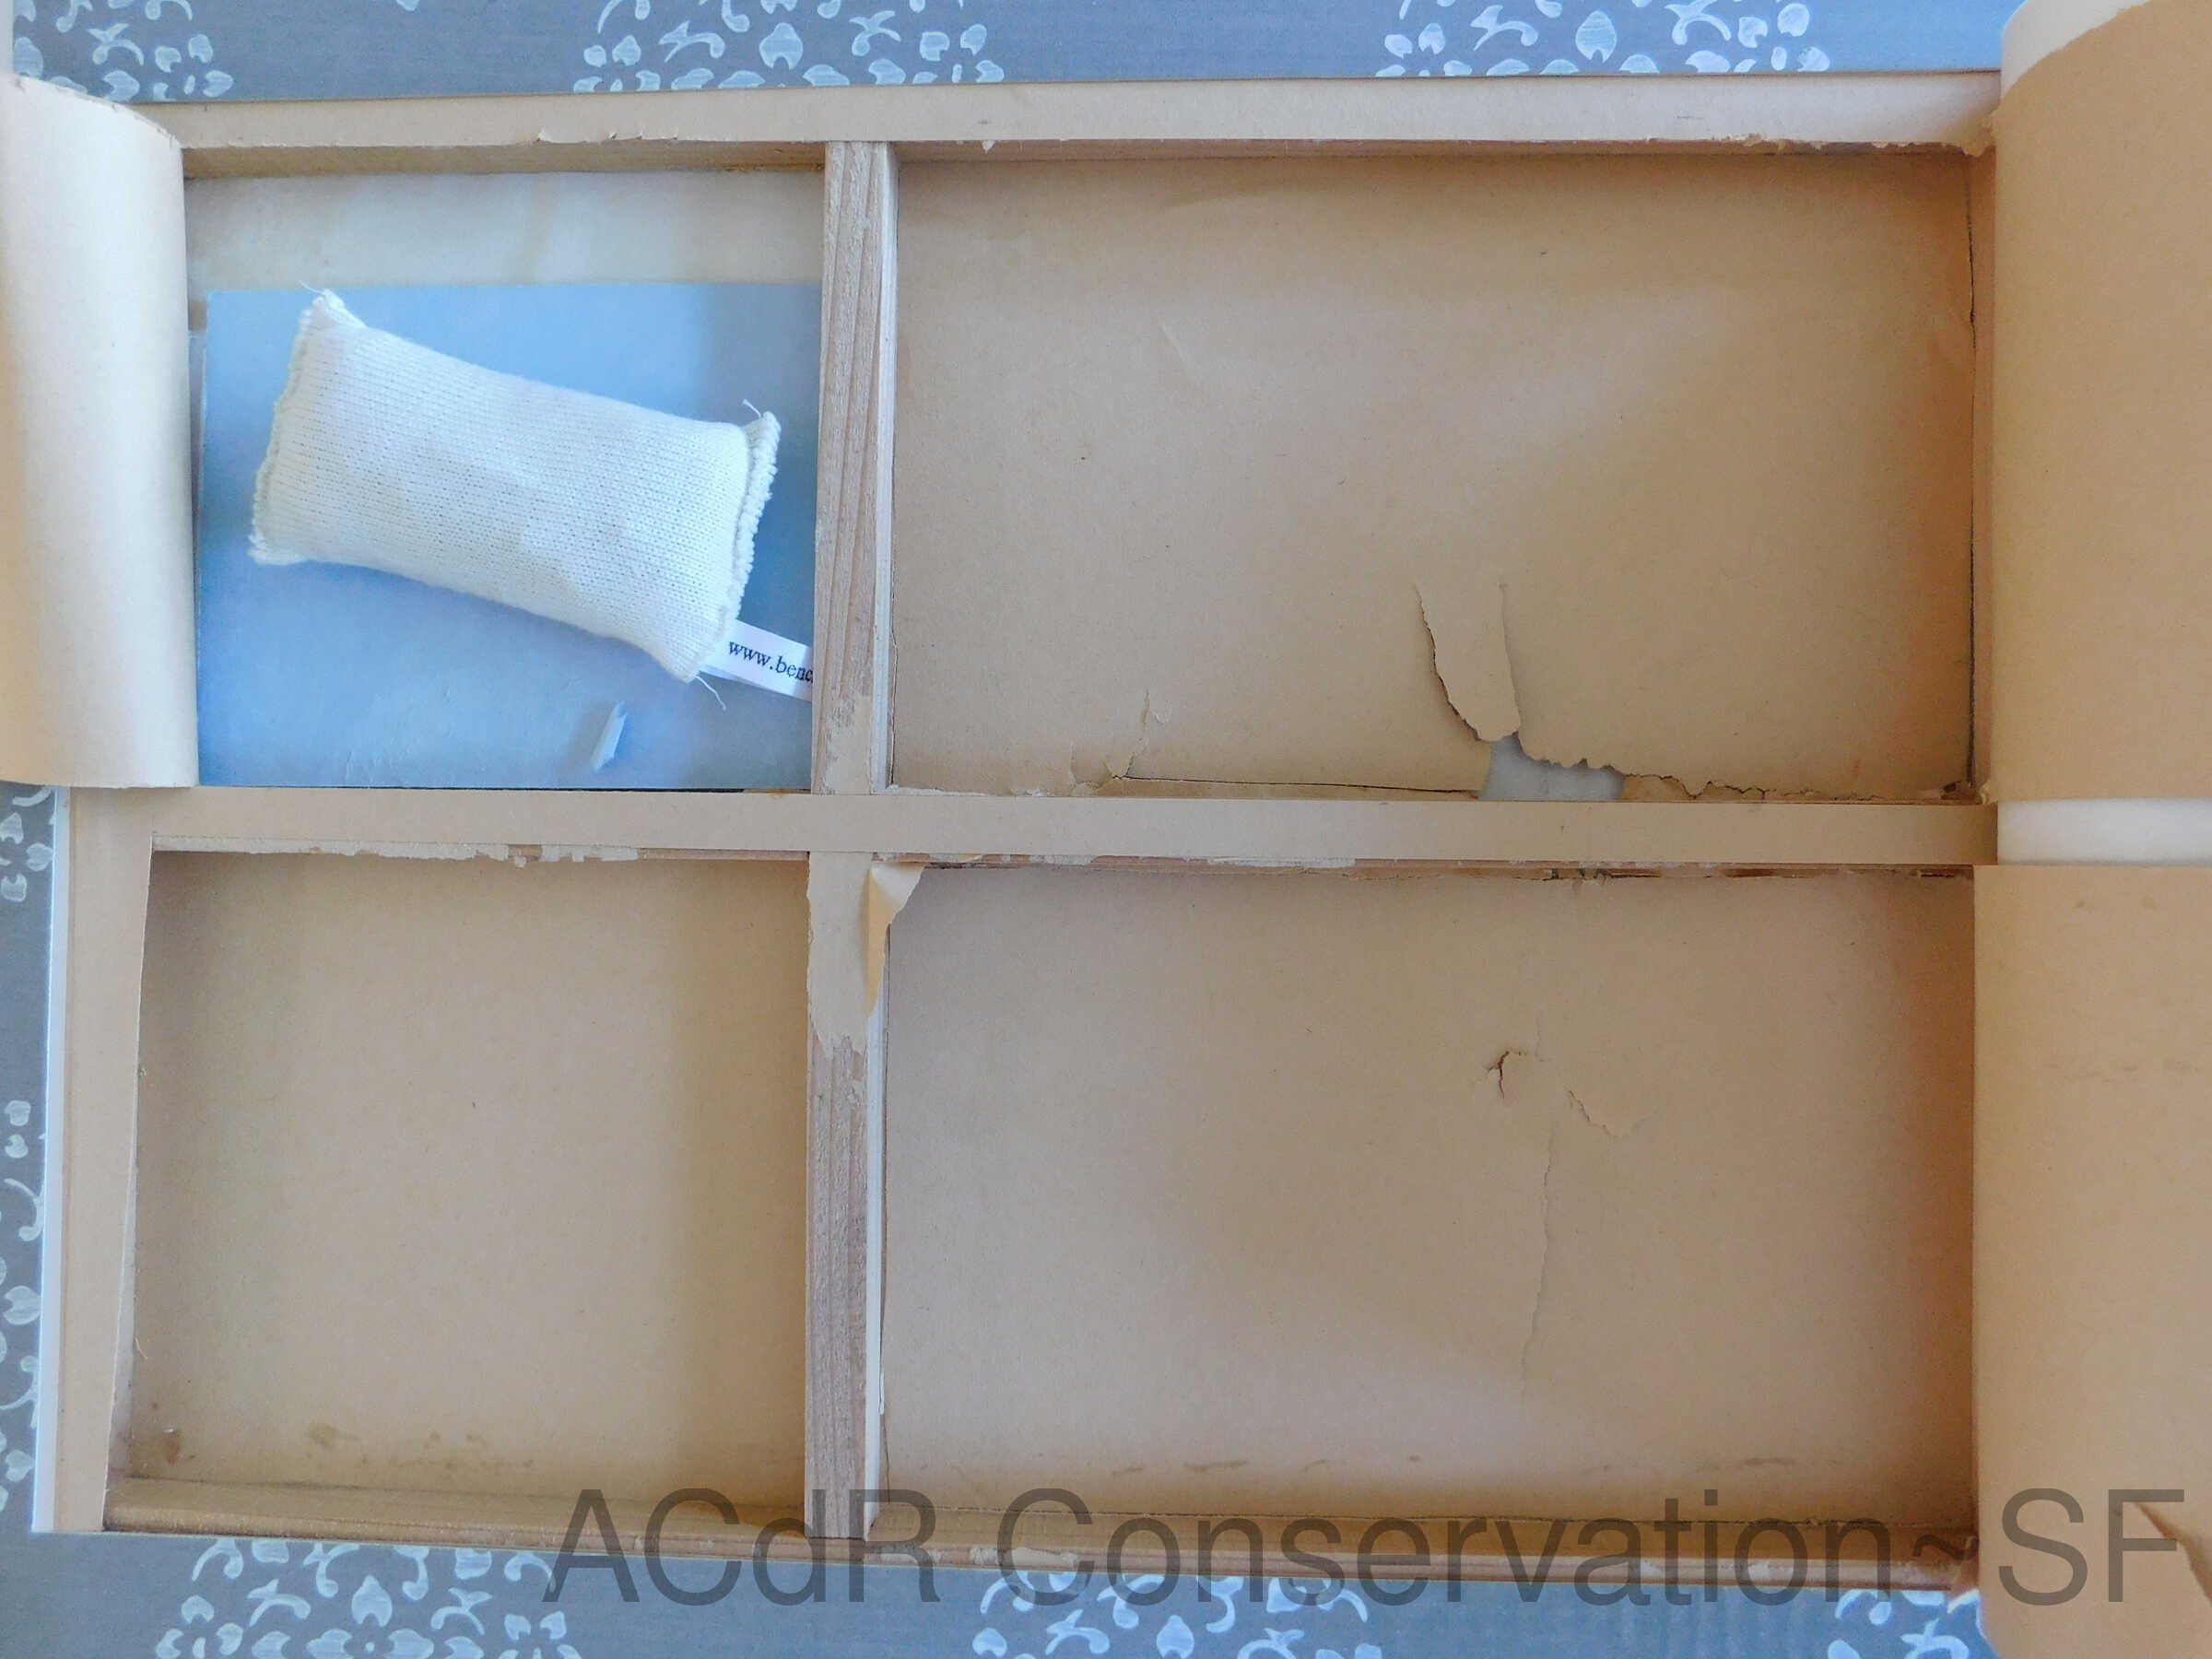
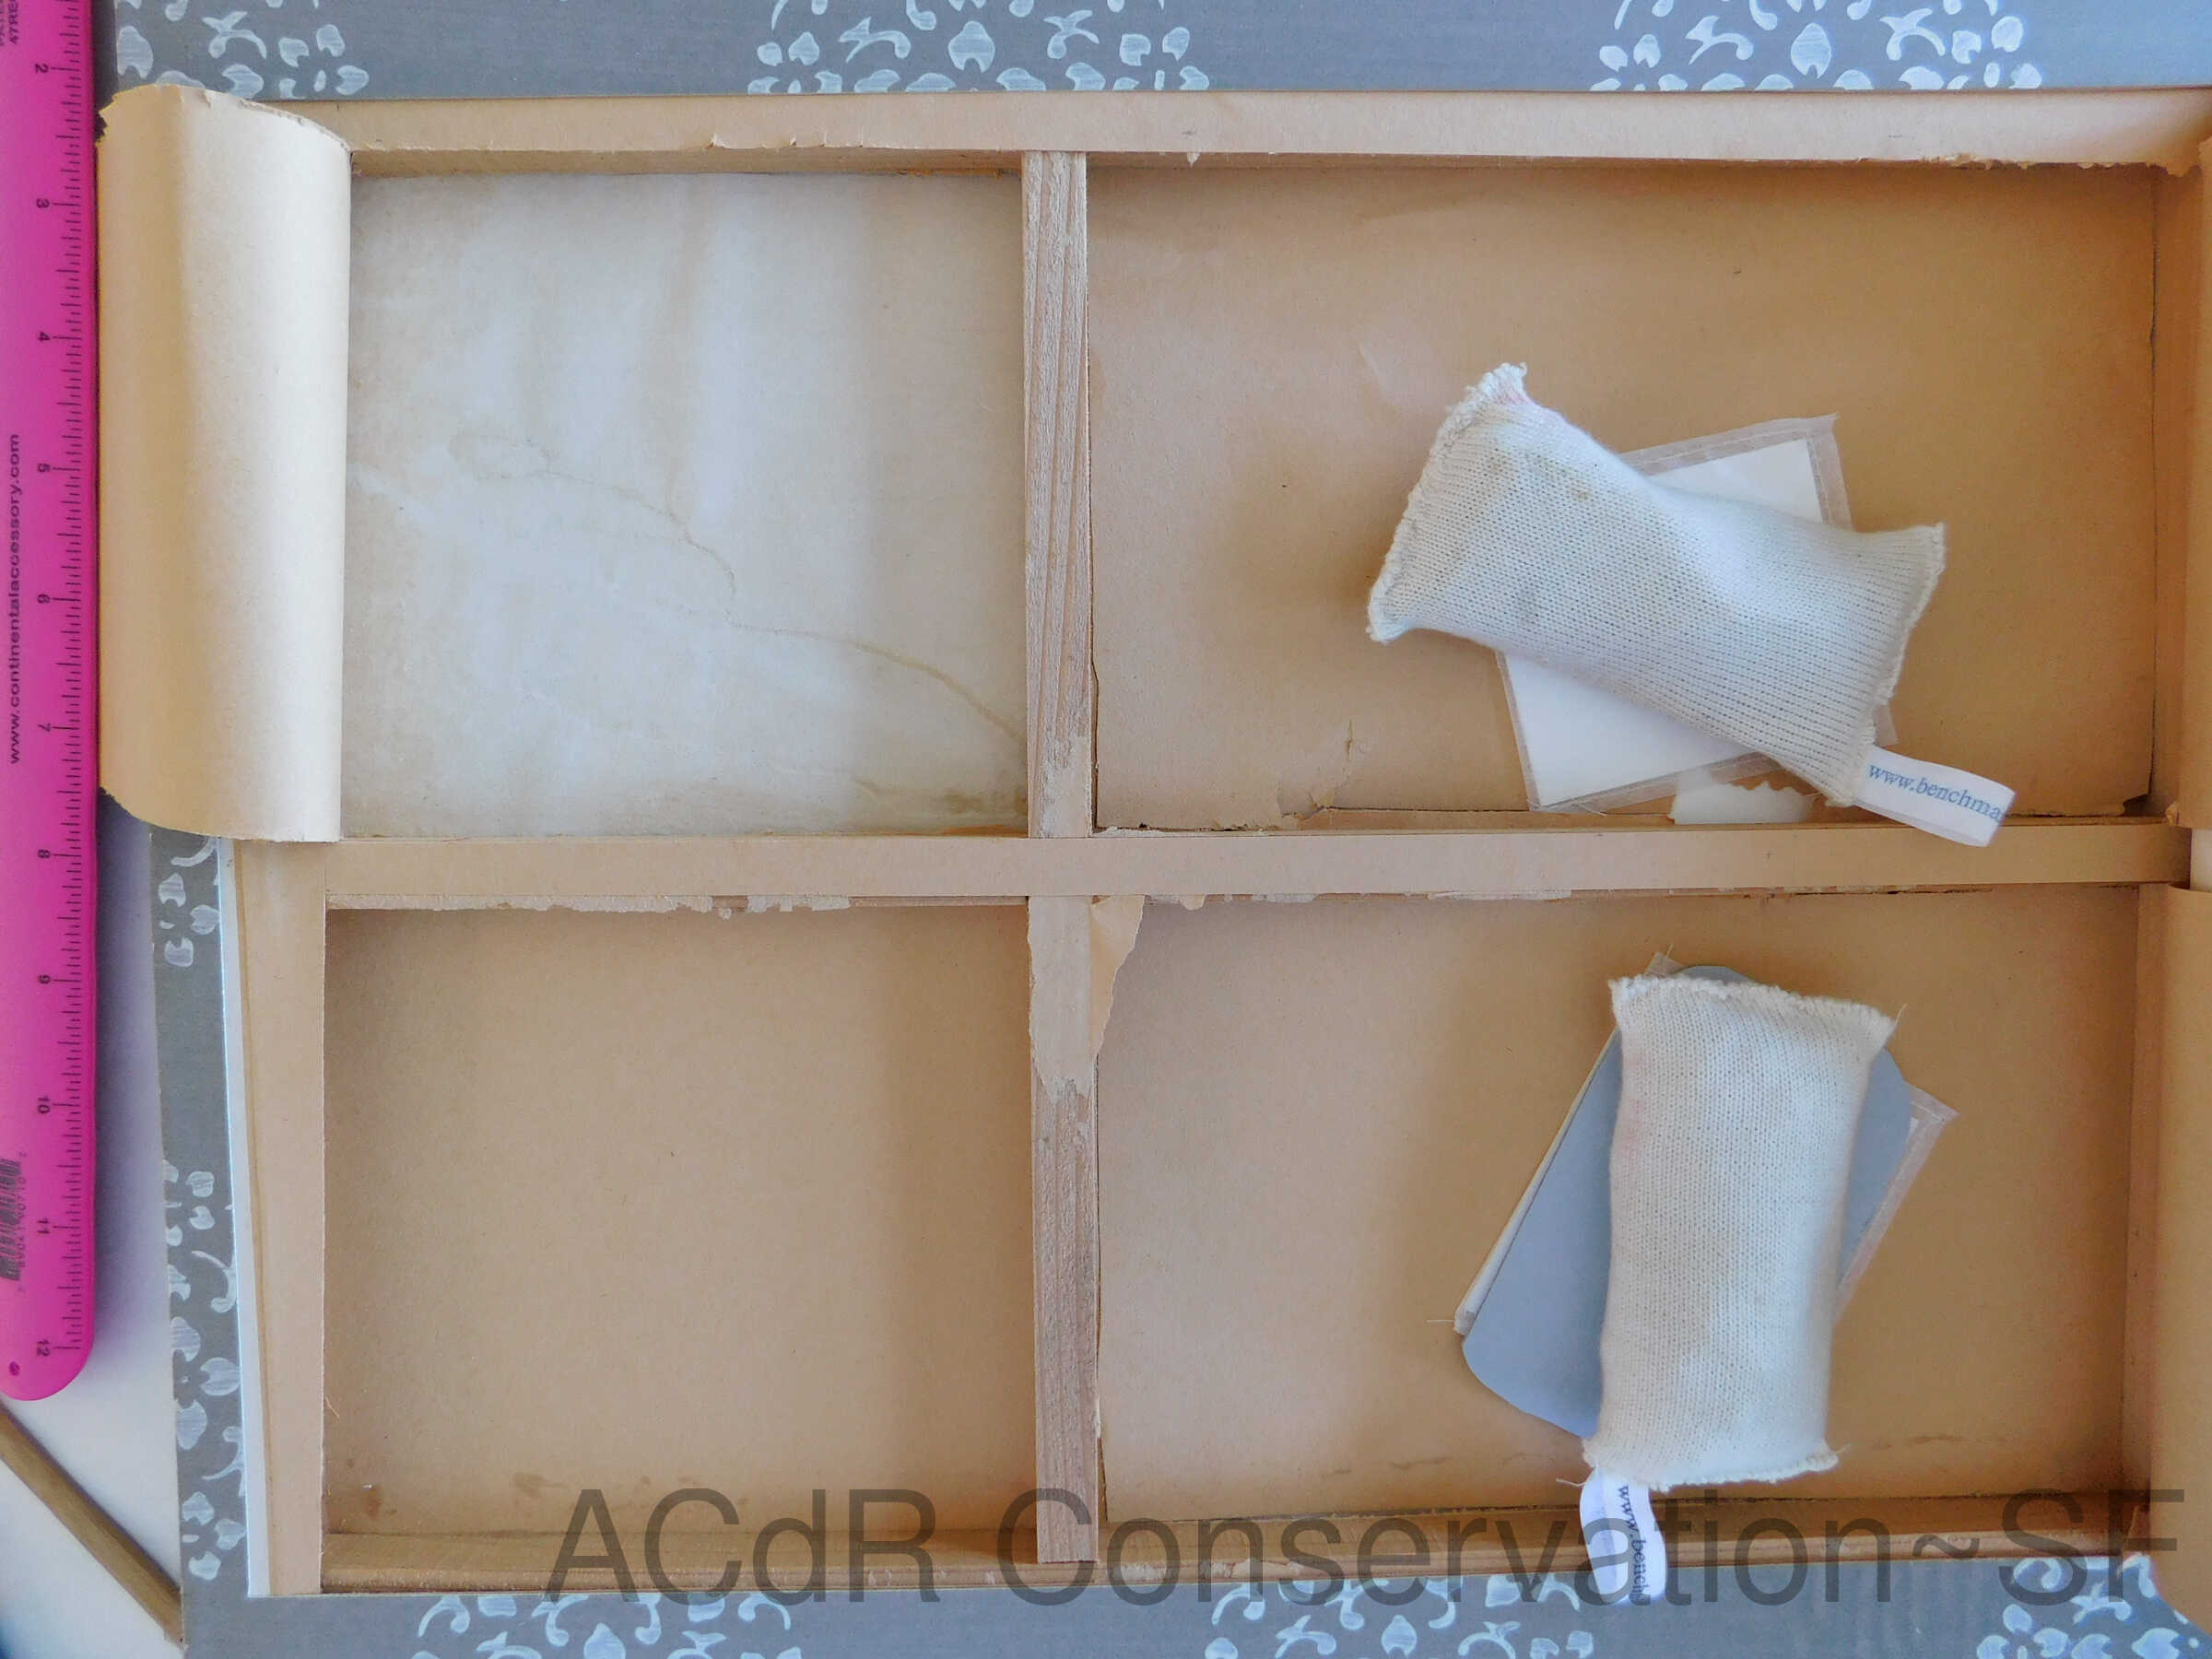
Cut three sides of rectangle from back side of big puncture
Adhesive Repair/Removal
Apr 12, 2019 - Apr 15, 2019
Mended tears of large puncture with Japanese paper and starch paste
Humidification
Apr 17, 2019
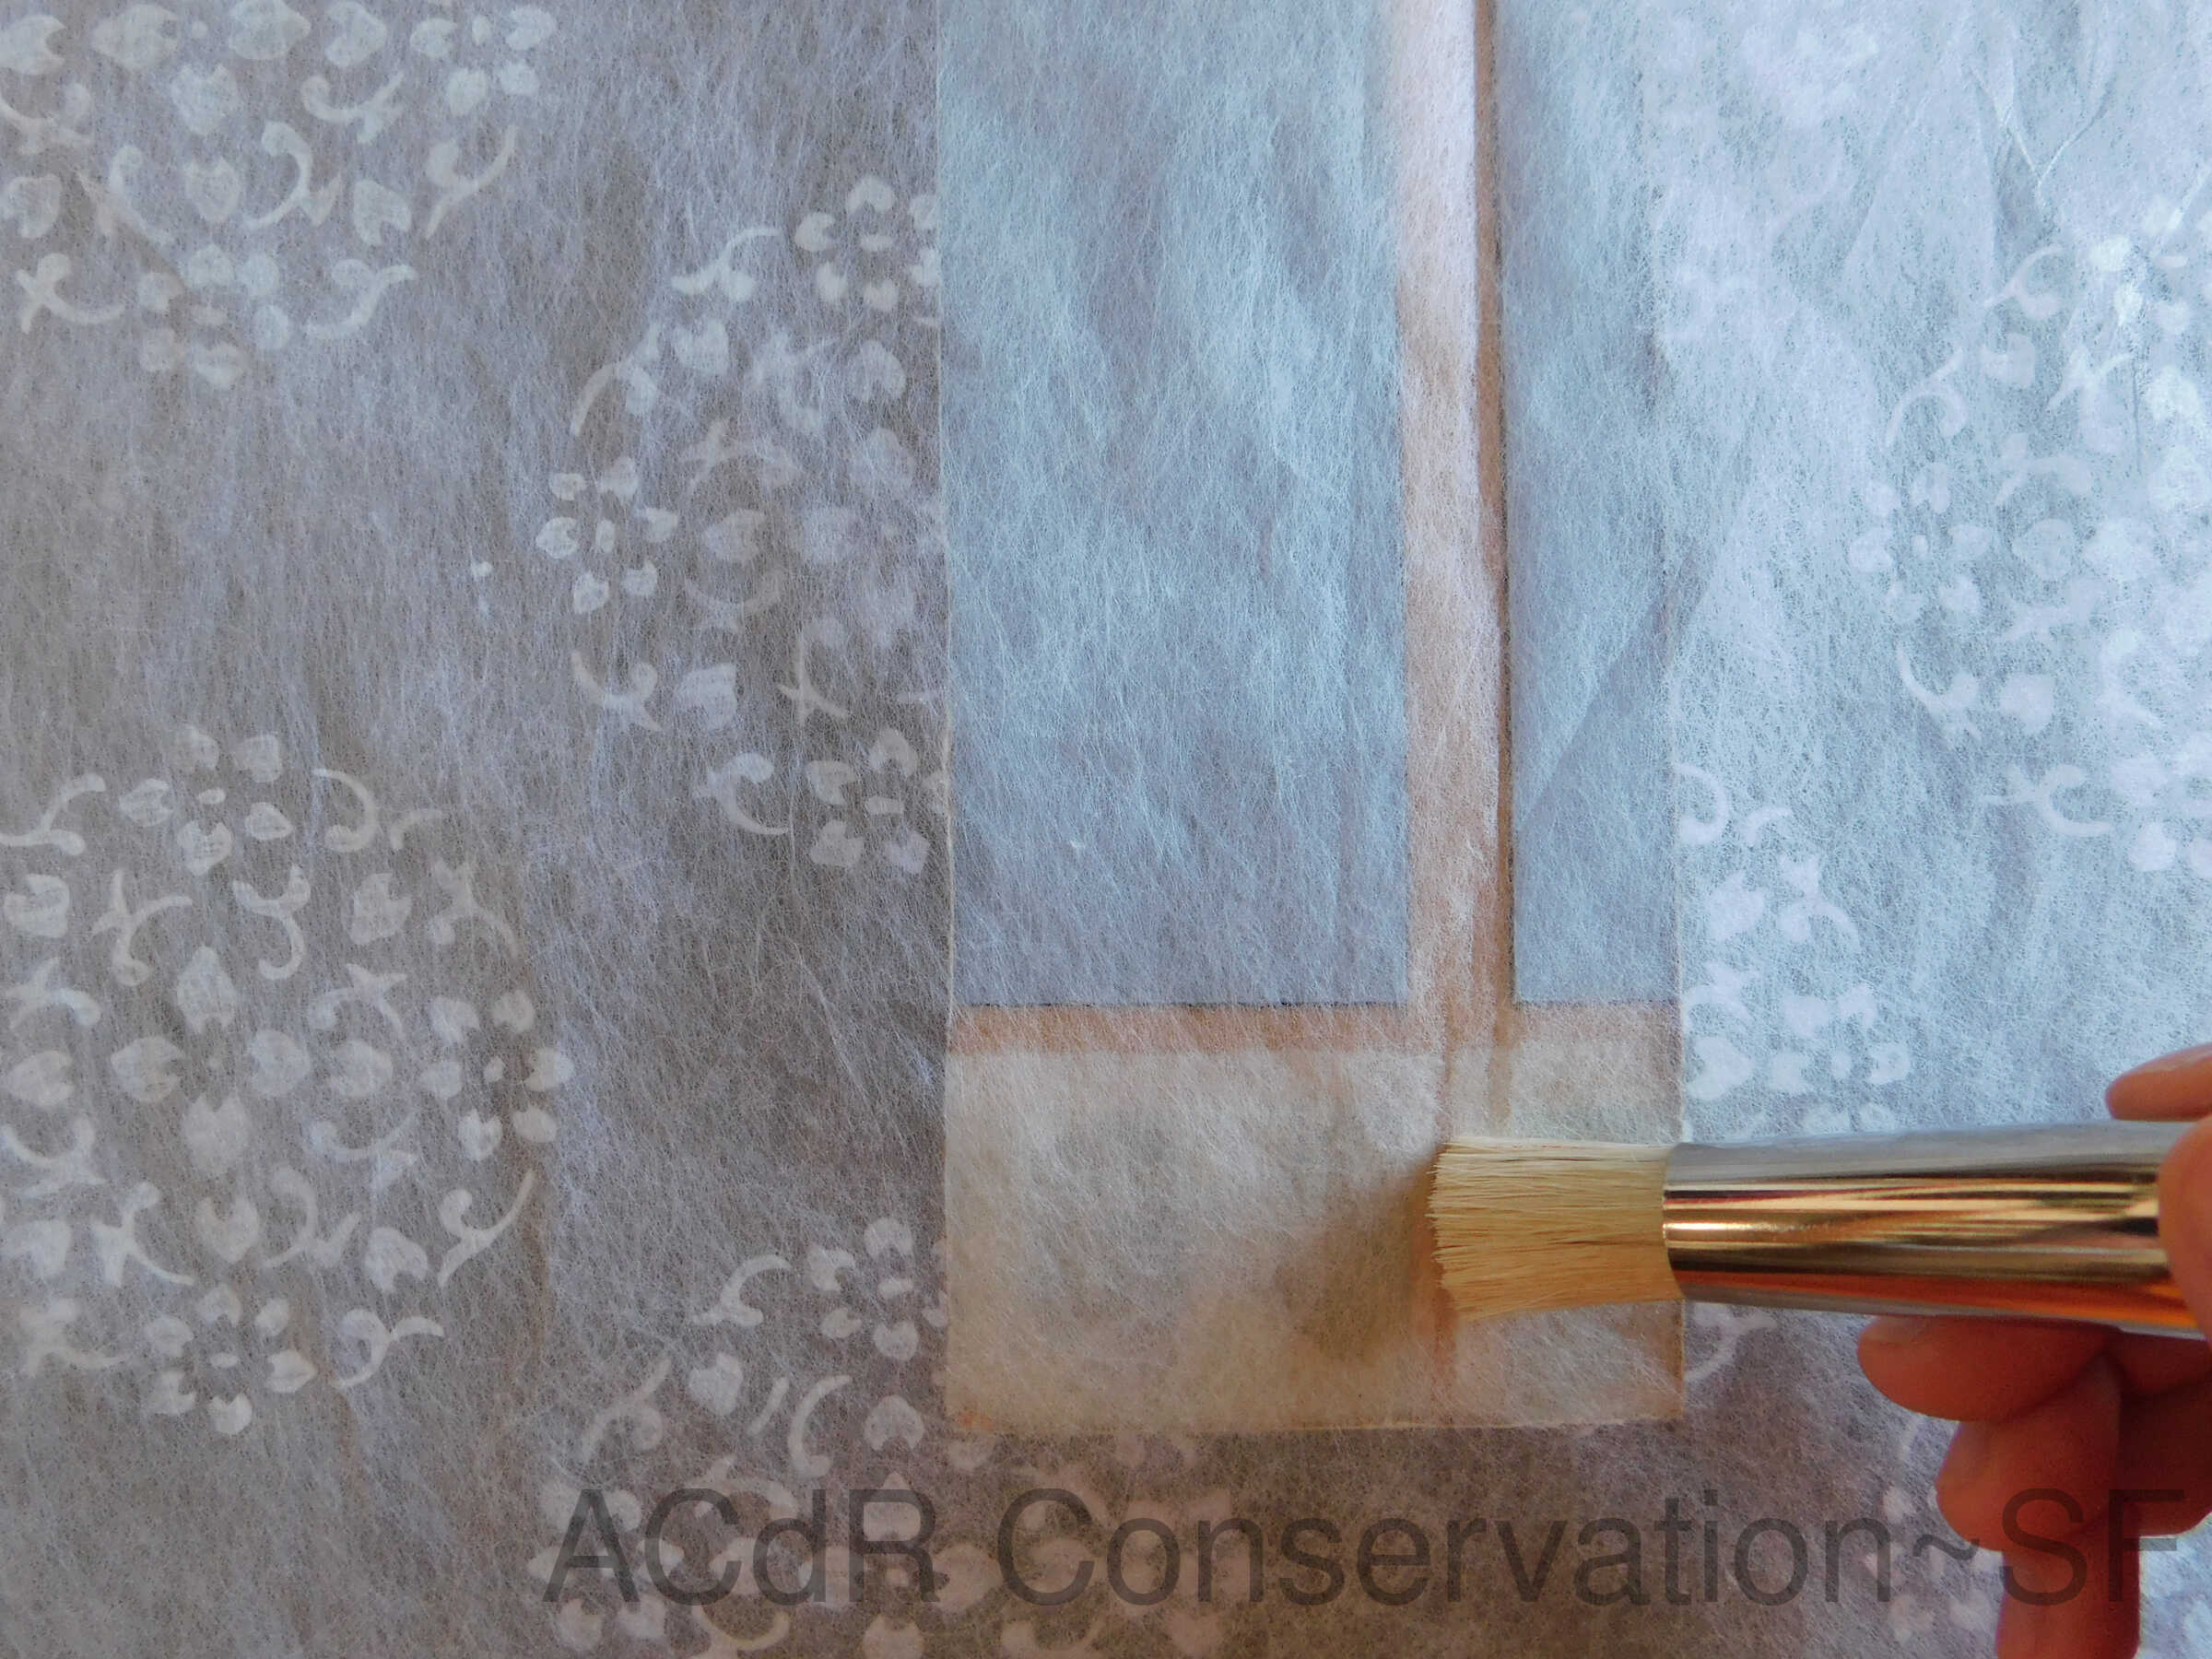
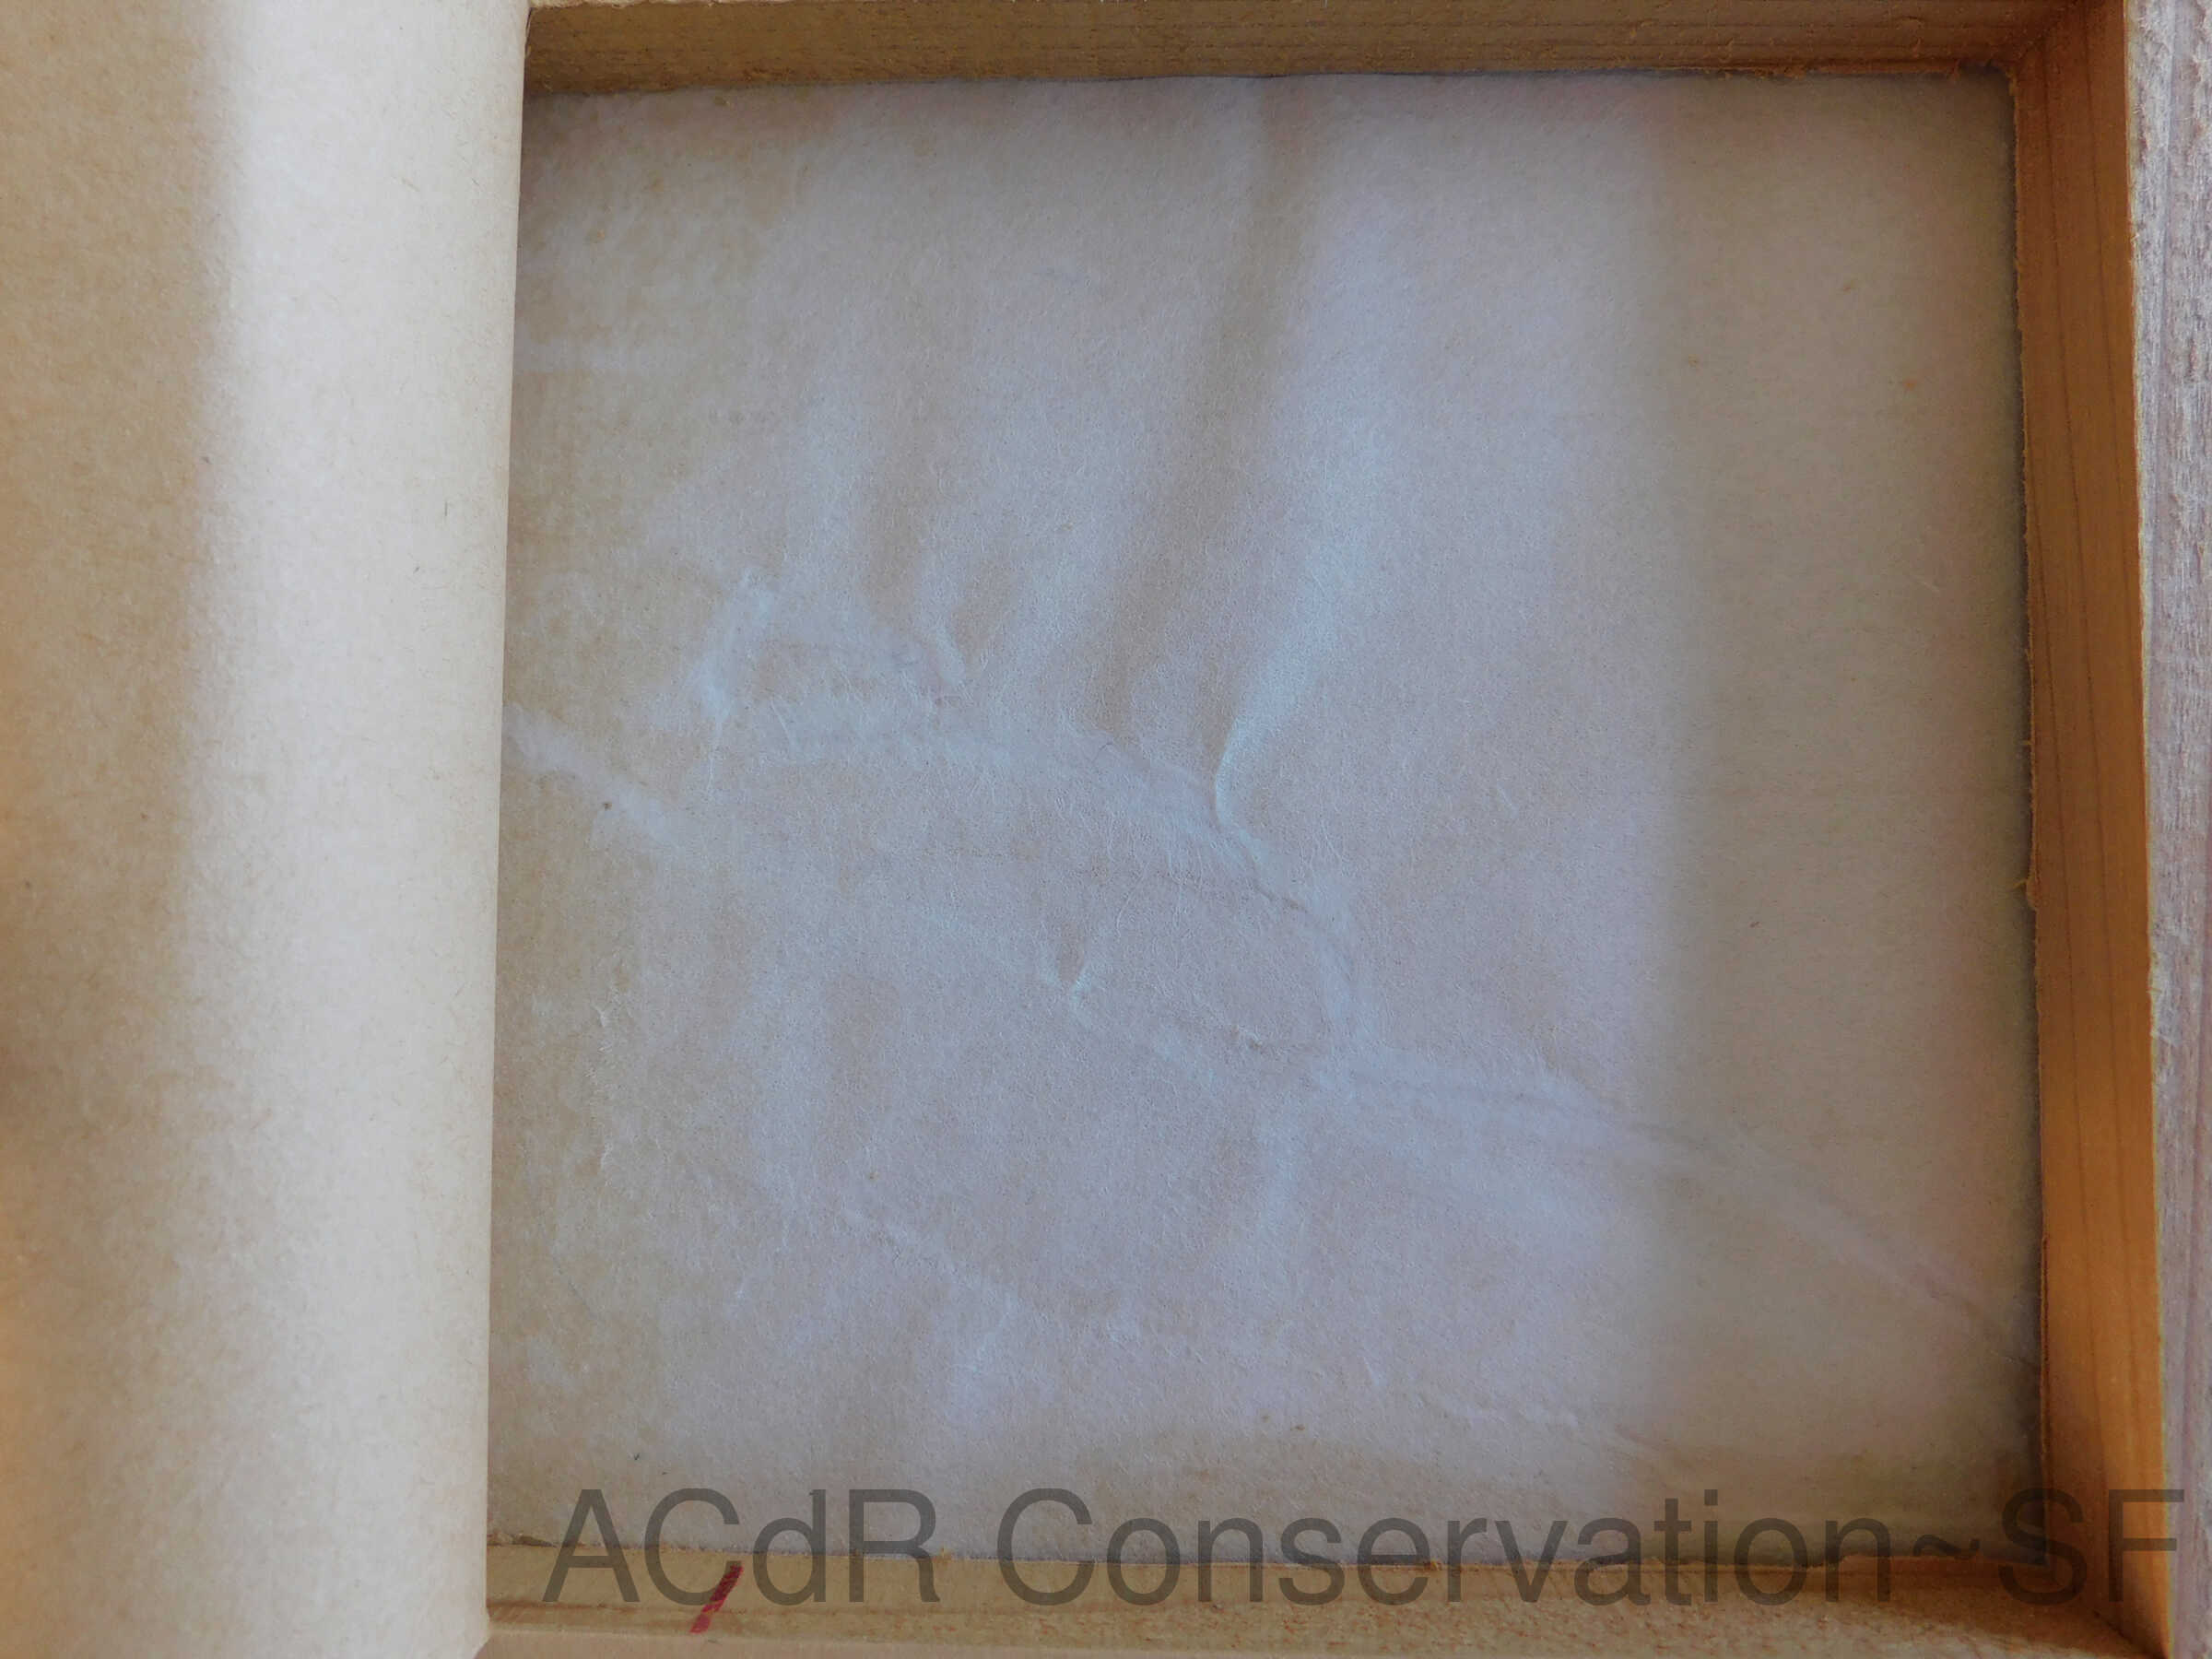
Humidified large puncture for 90 min. And flattened uneven part of blotter sandwich
Adhesive Repair/Removal
Apr 17, 2019 - Apr 19, 2019
For small puncture on back, adjusted thickness of foam and mended tears. Attached hinge with starch paste
Humidification
Apr 19, 2019
Humidified large puncture from back side, flattened uneven part and mended/retouched tears.
Adhesive Repair/Removal
Apr 22, 2019 - Apr 24, 2019
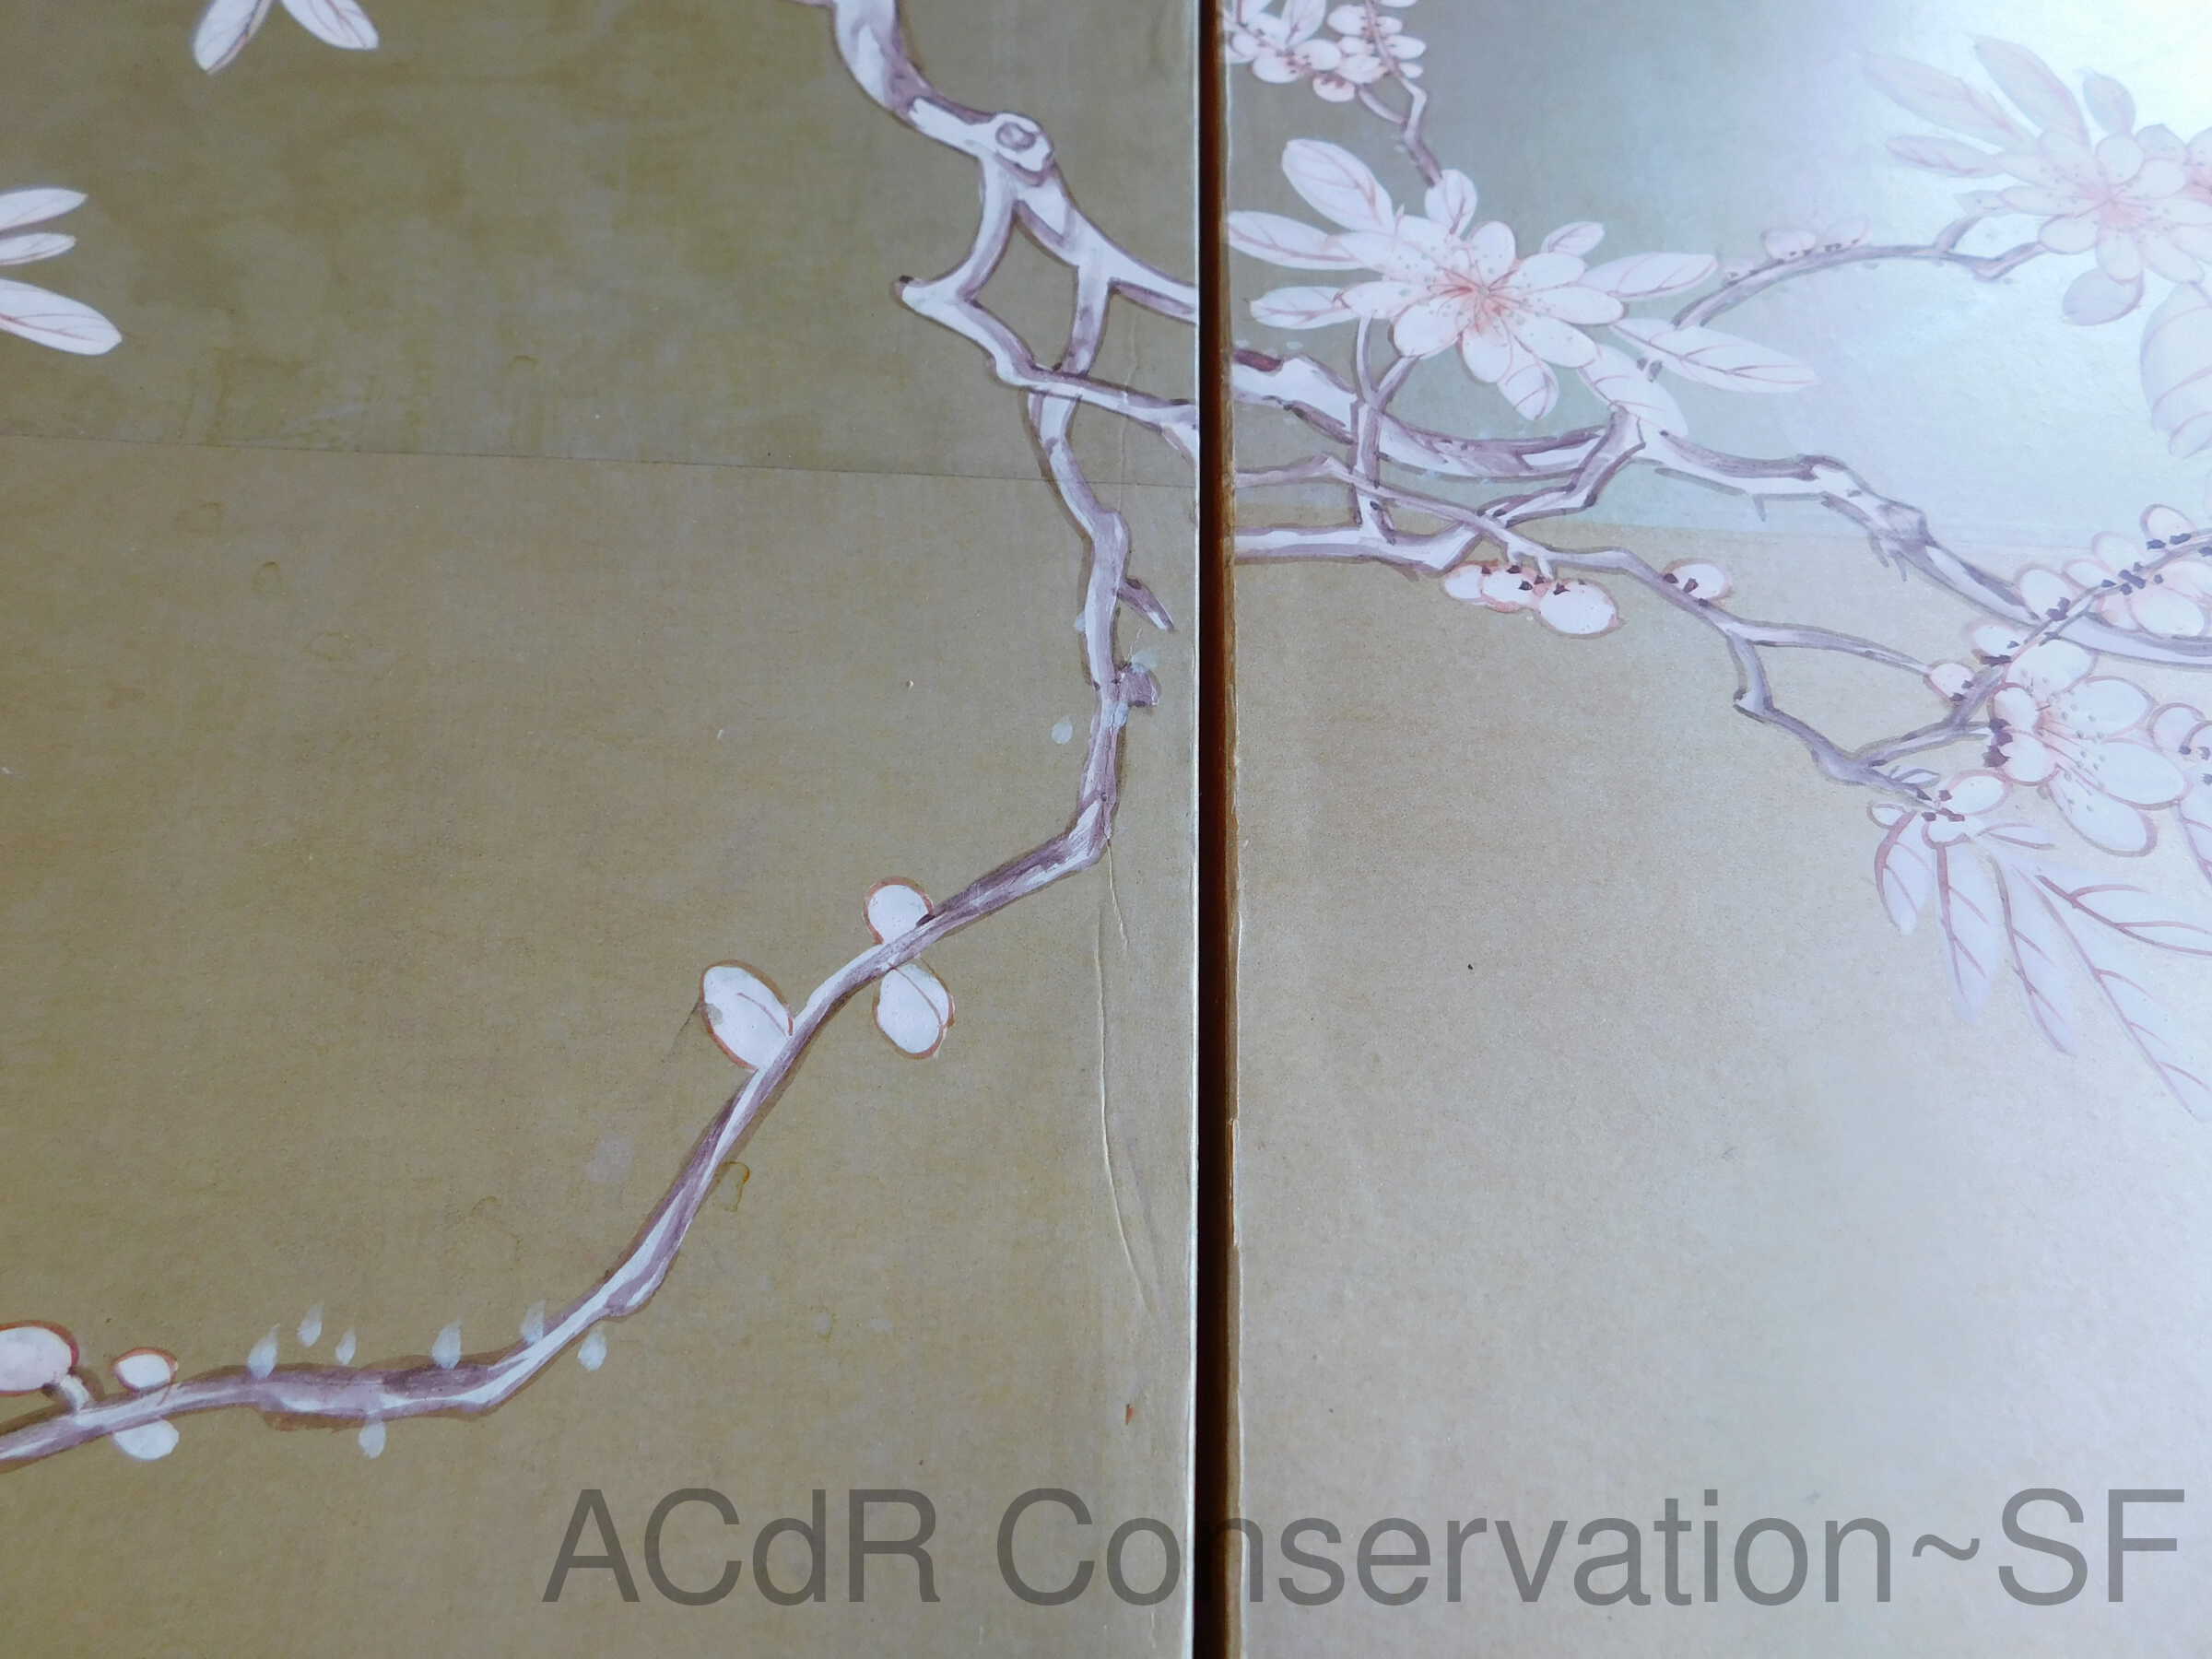
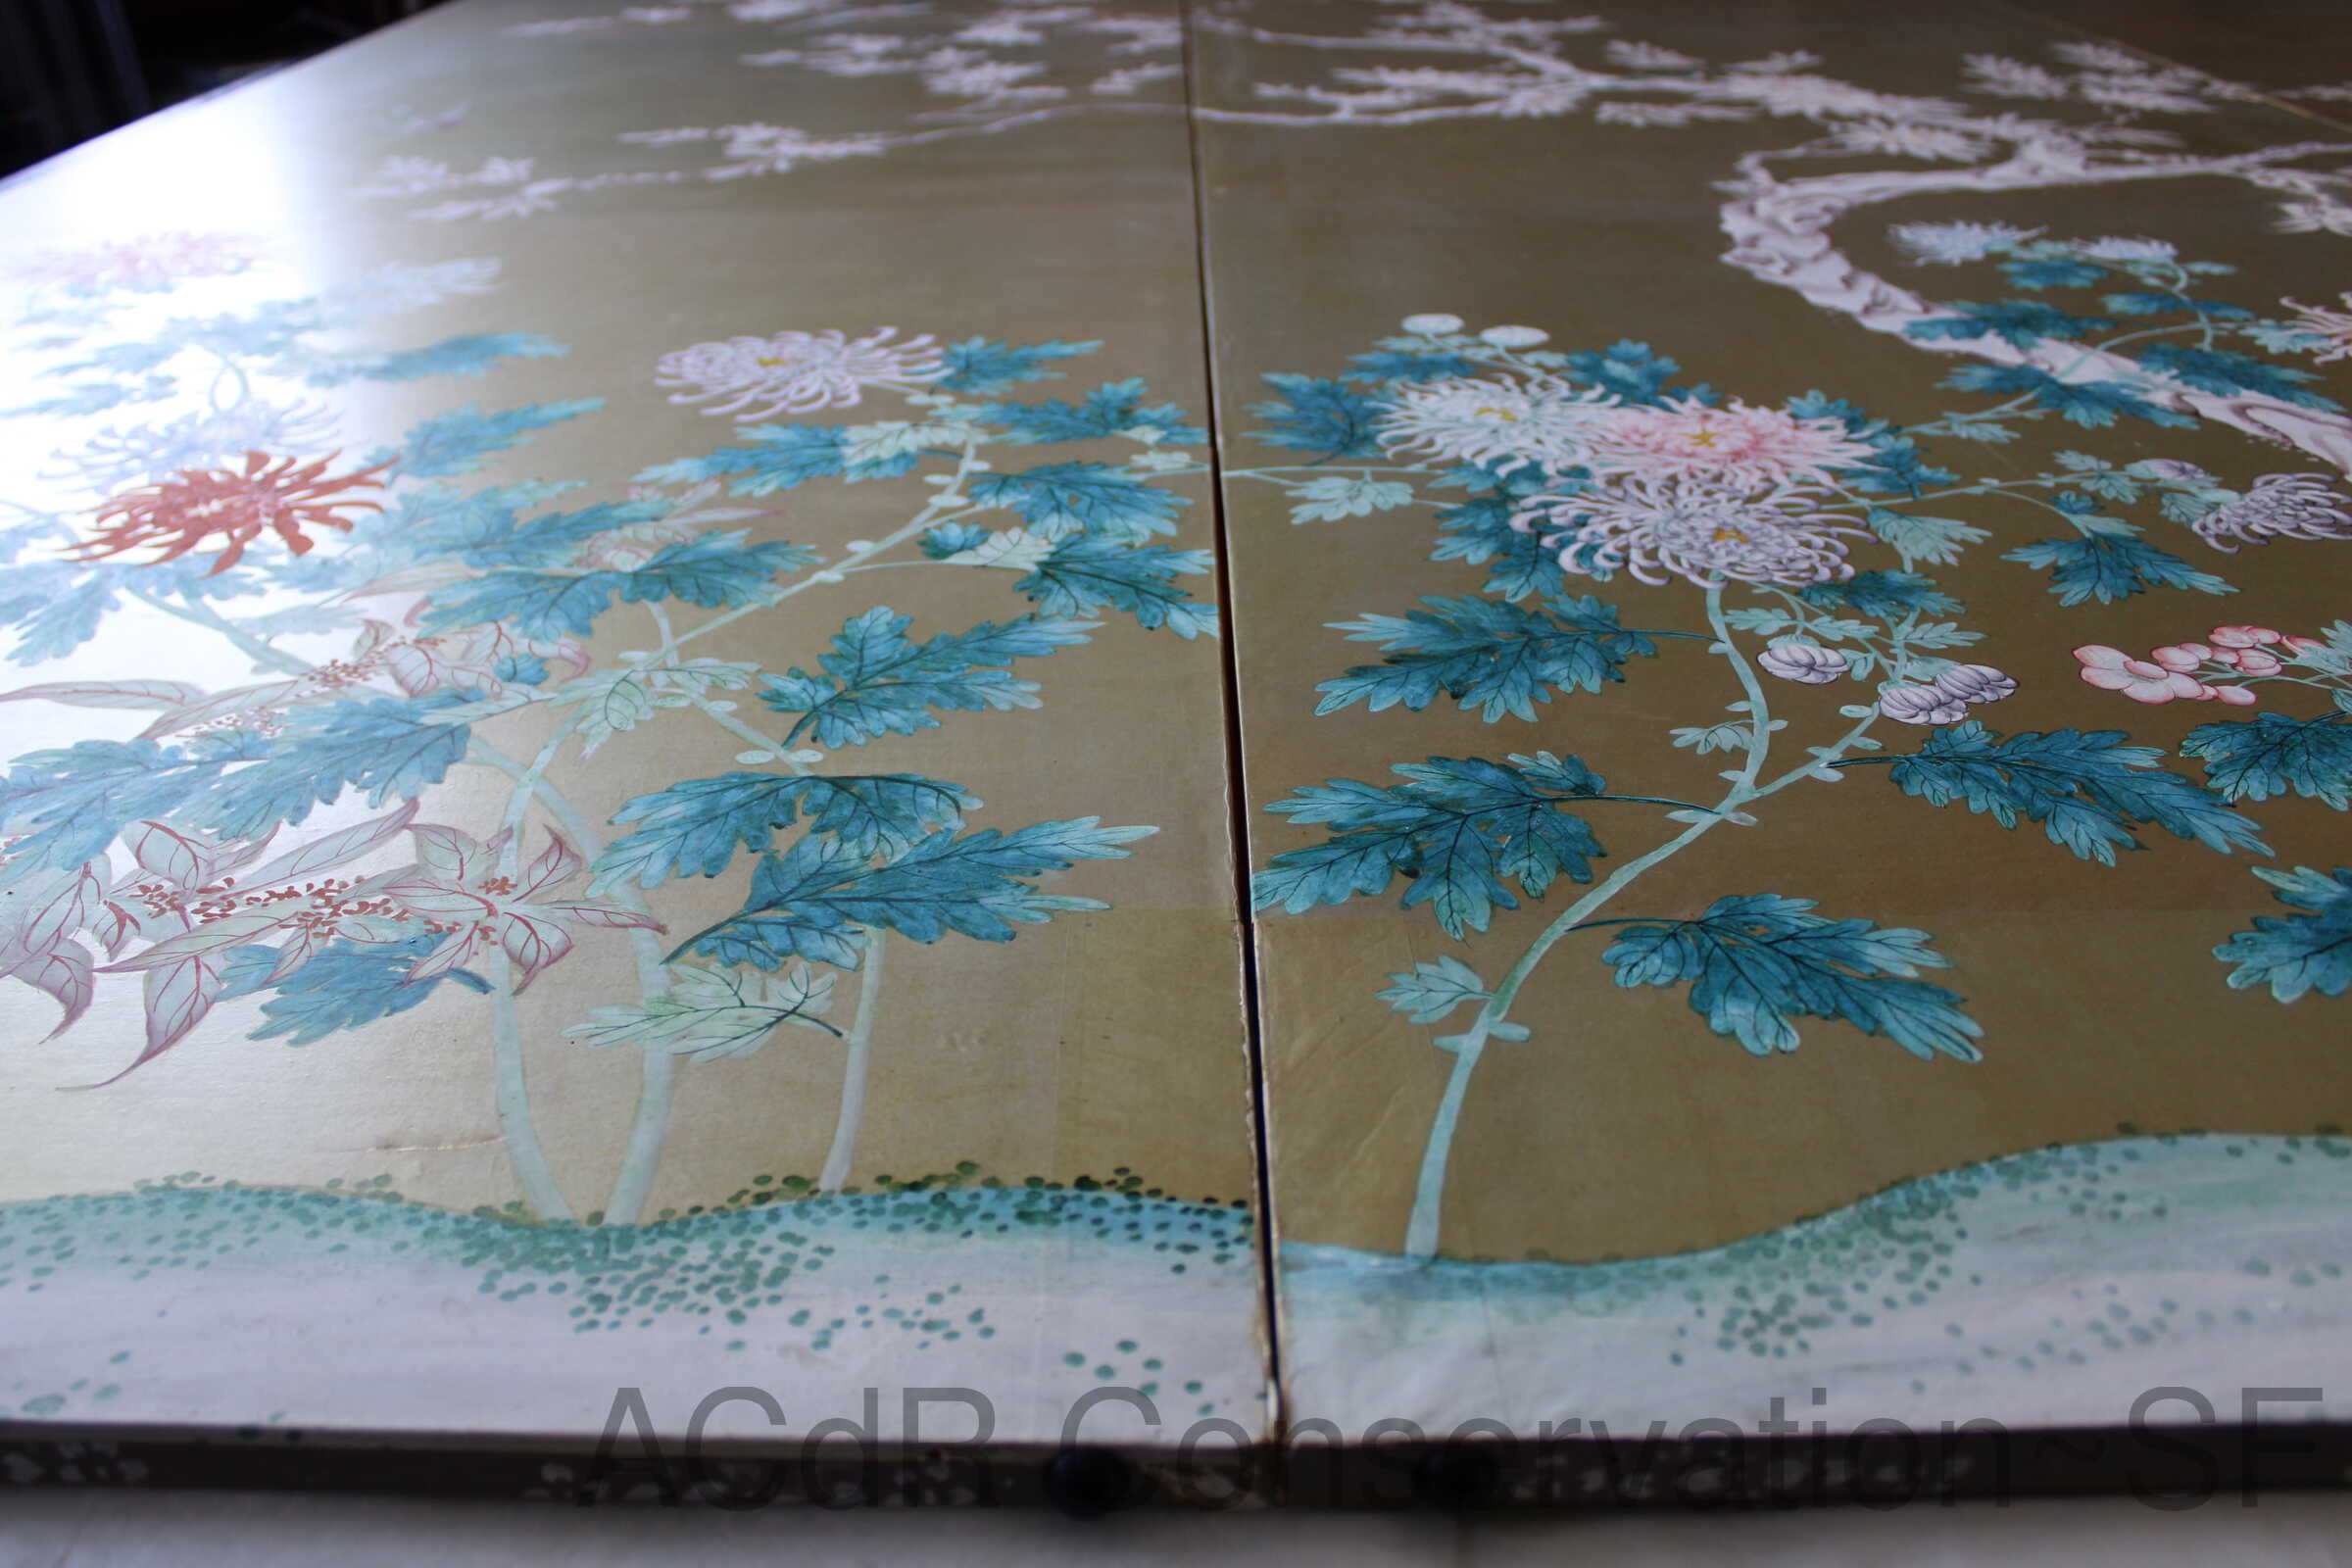
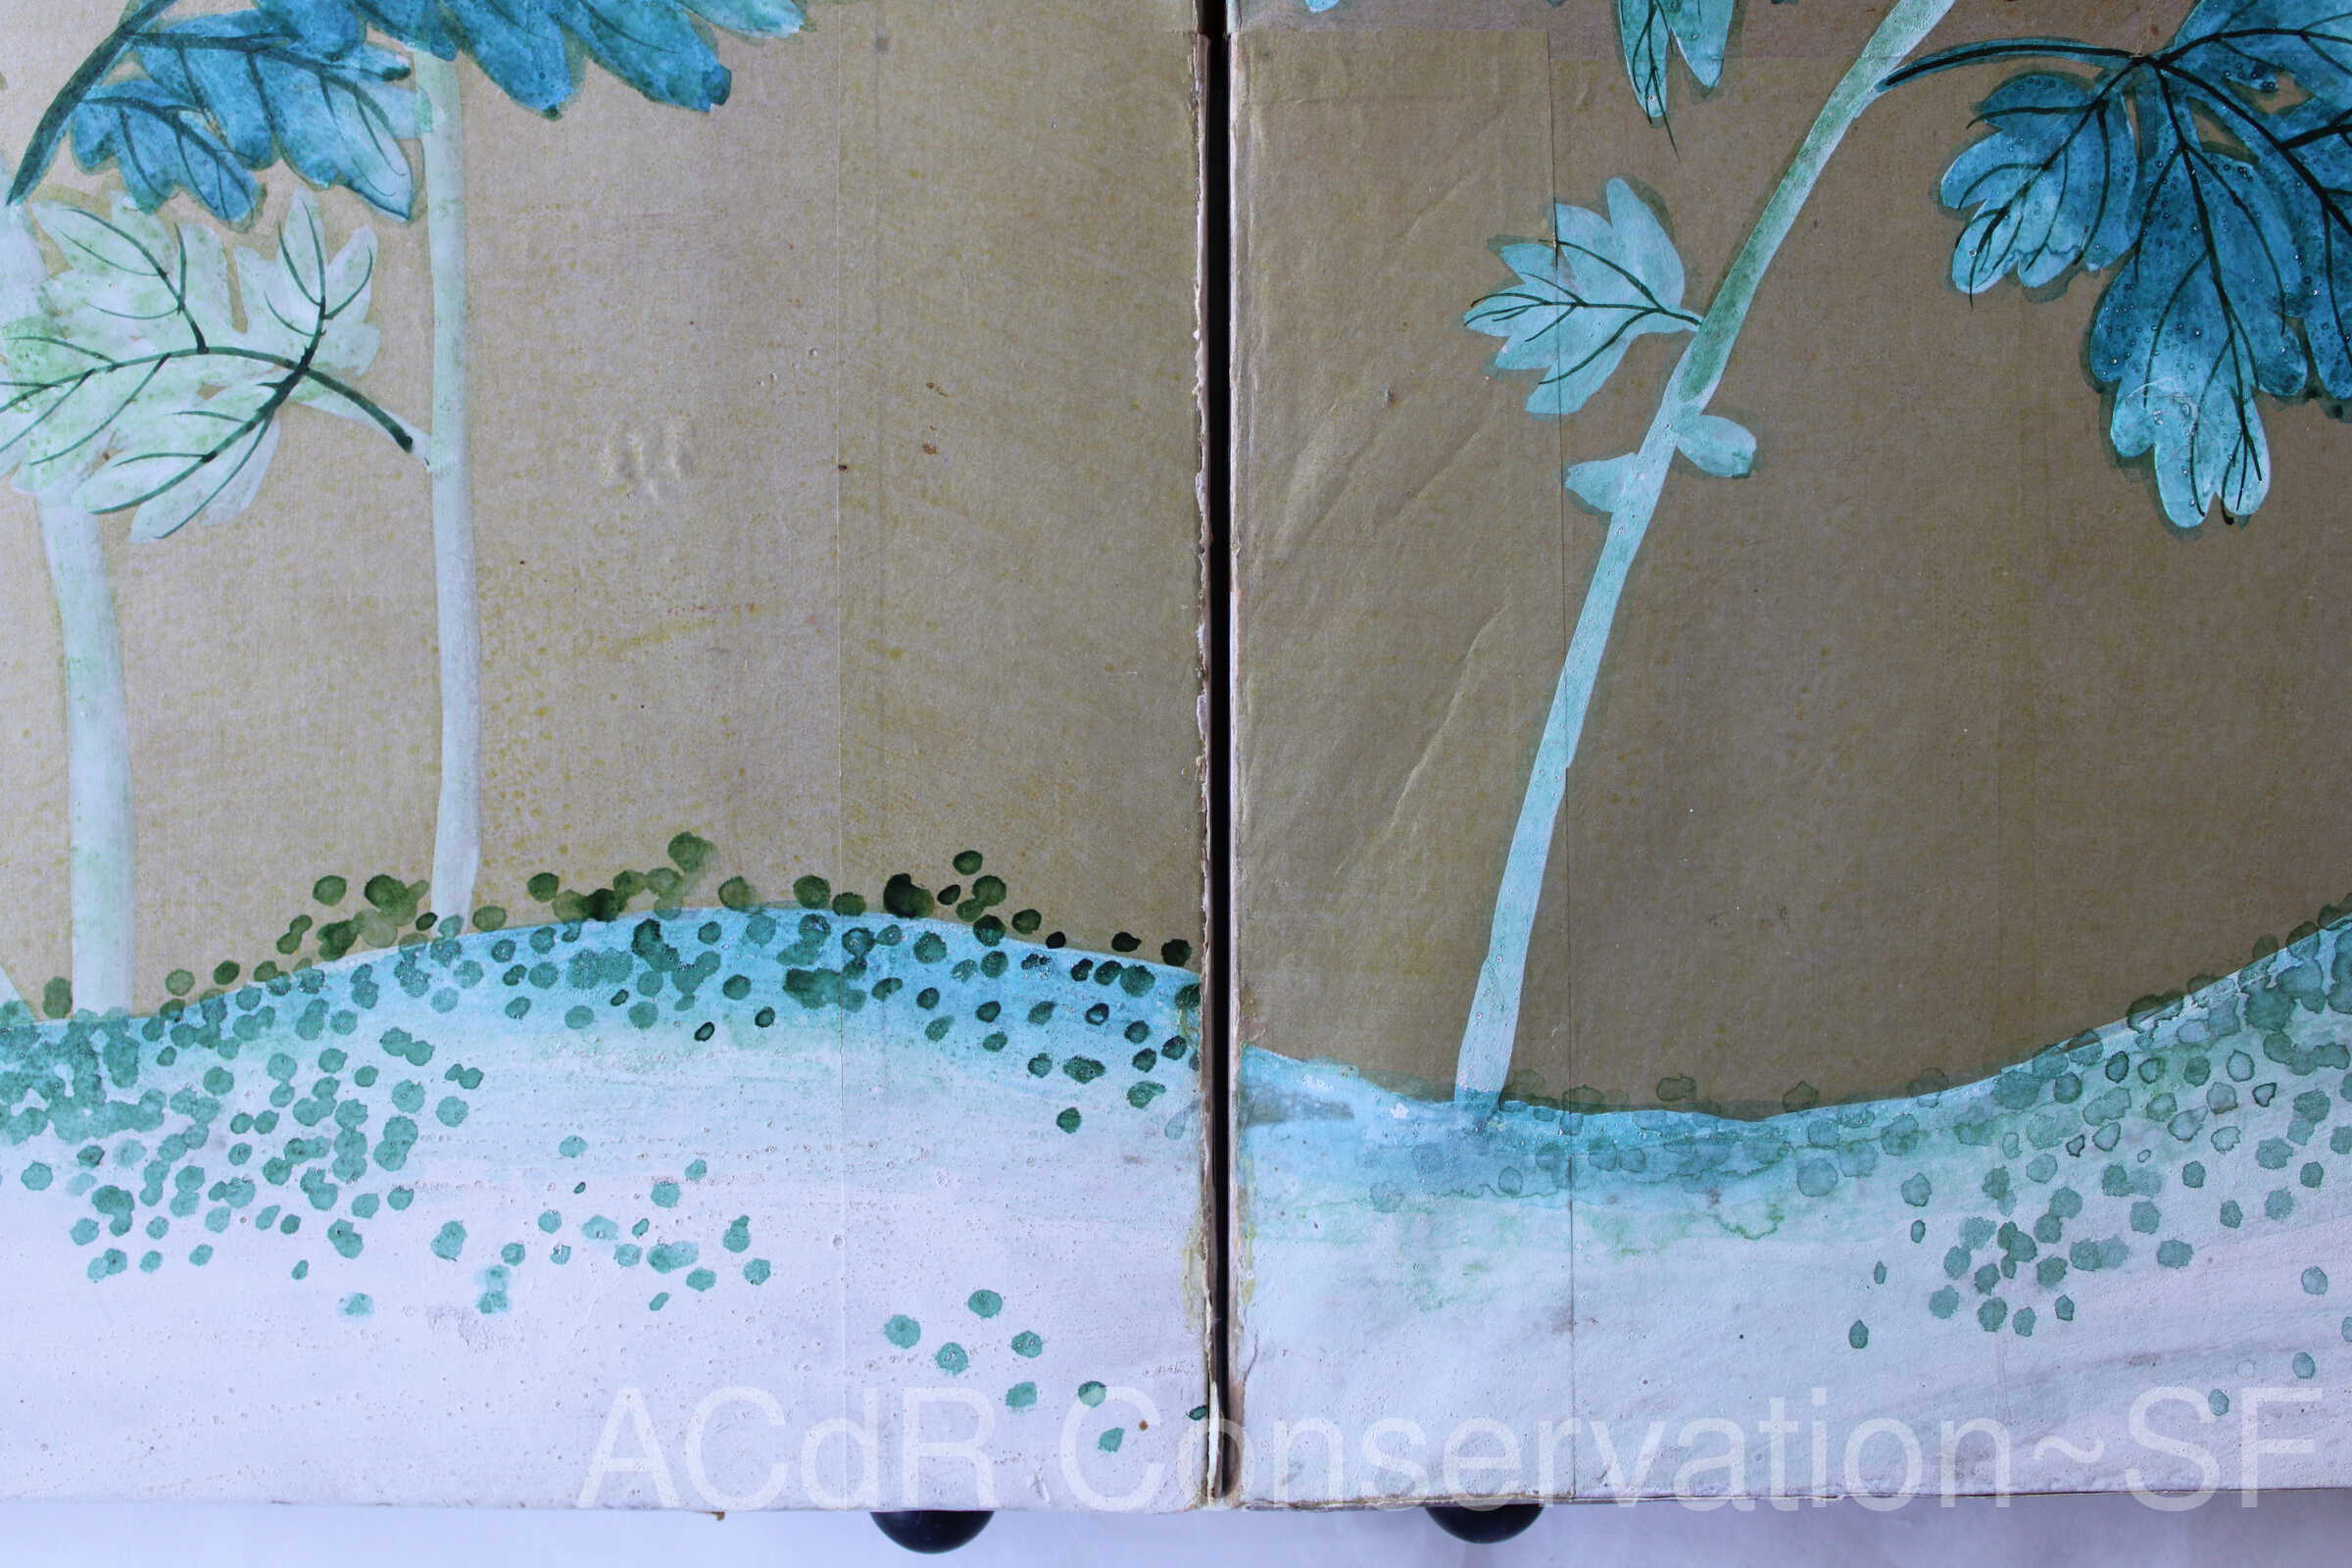
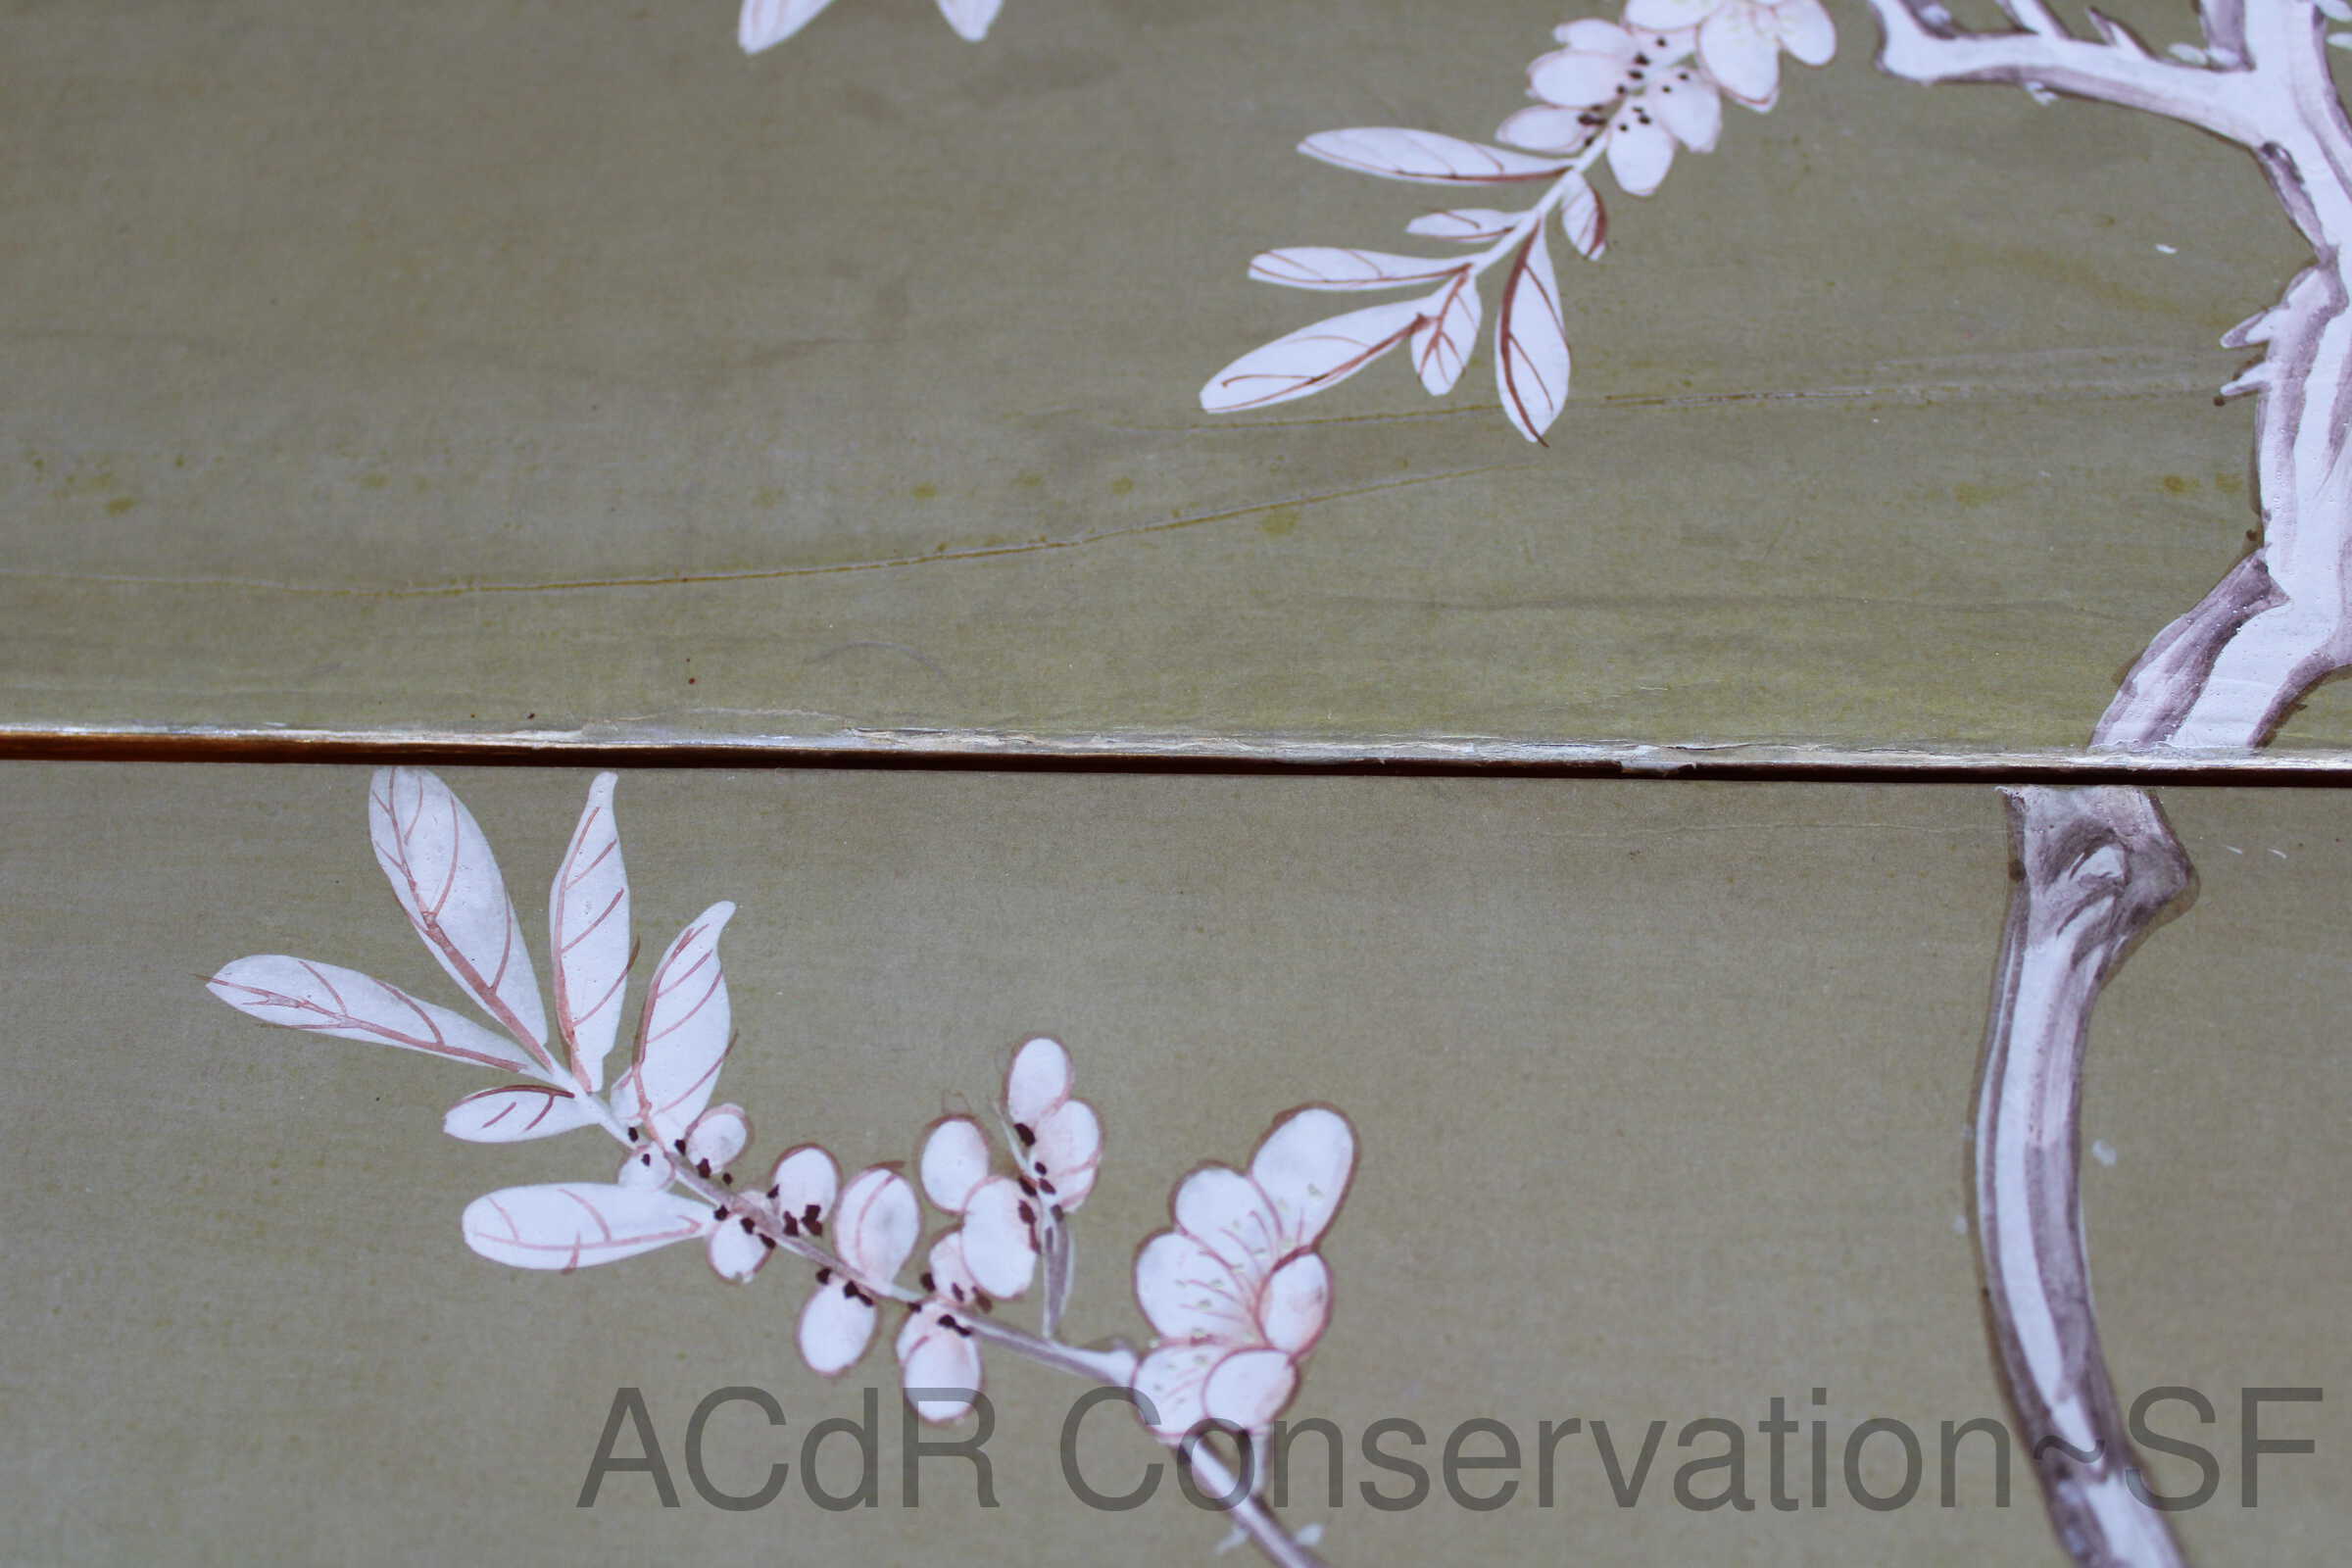
Closed the cut on back of big puncture using Japanese paper strips as hinges on the side. Mended tears with Japanese strips and starch paste. Attached yellow paper to wood frame. Mended cut edges with paper strips for stabilization. Attached gray pattern paper to Japanese paper hinge.
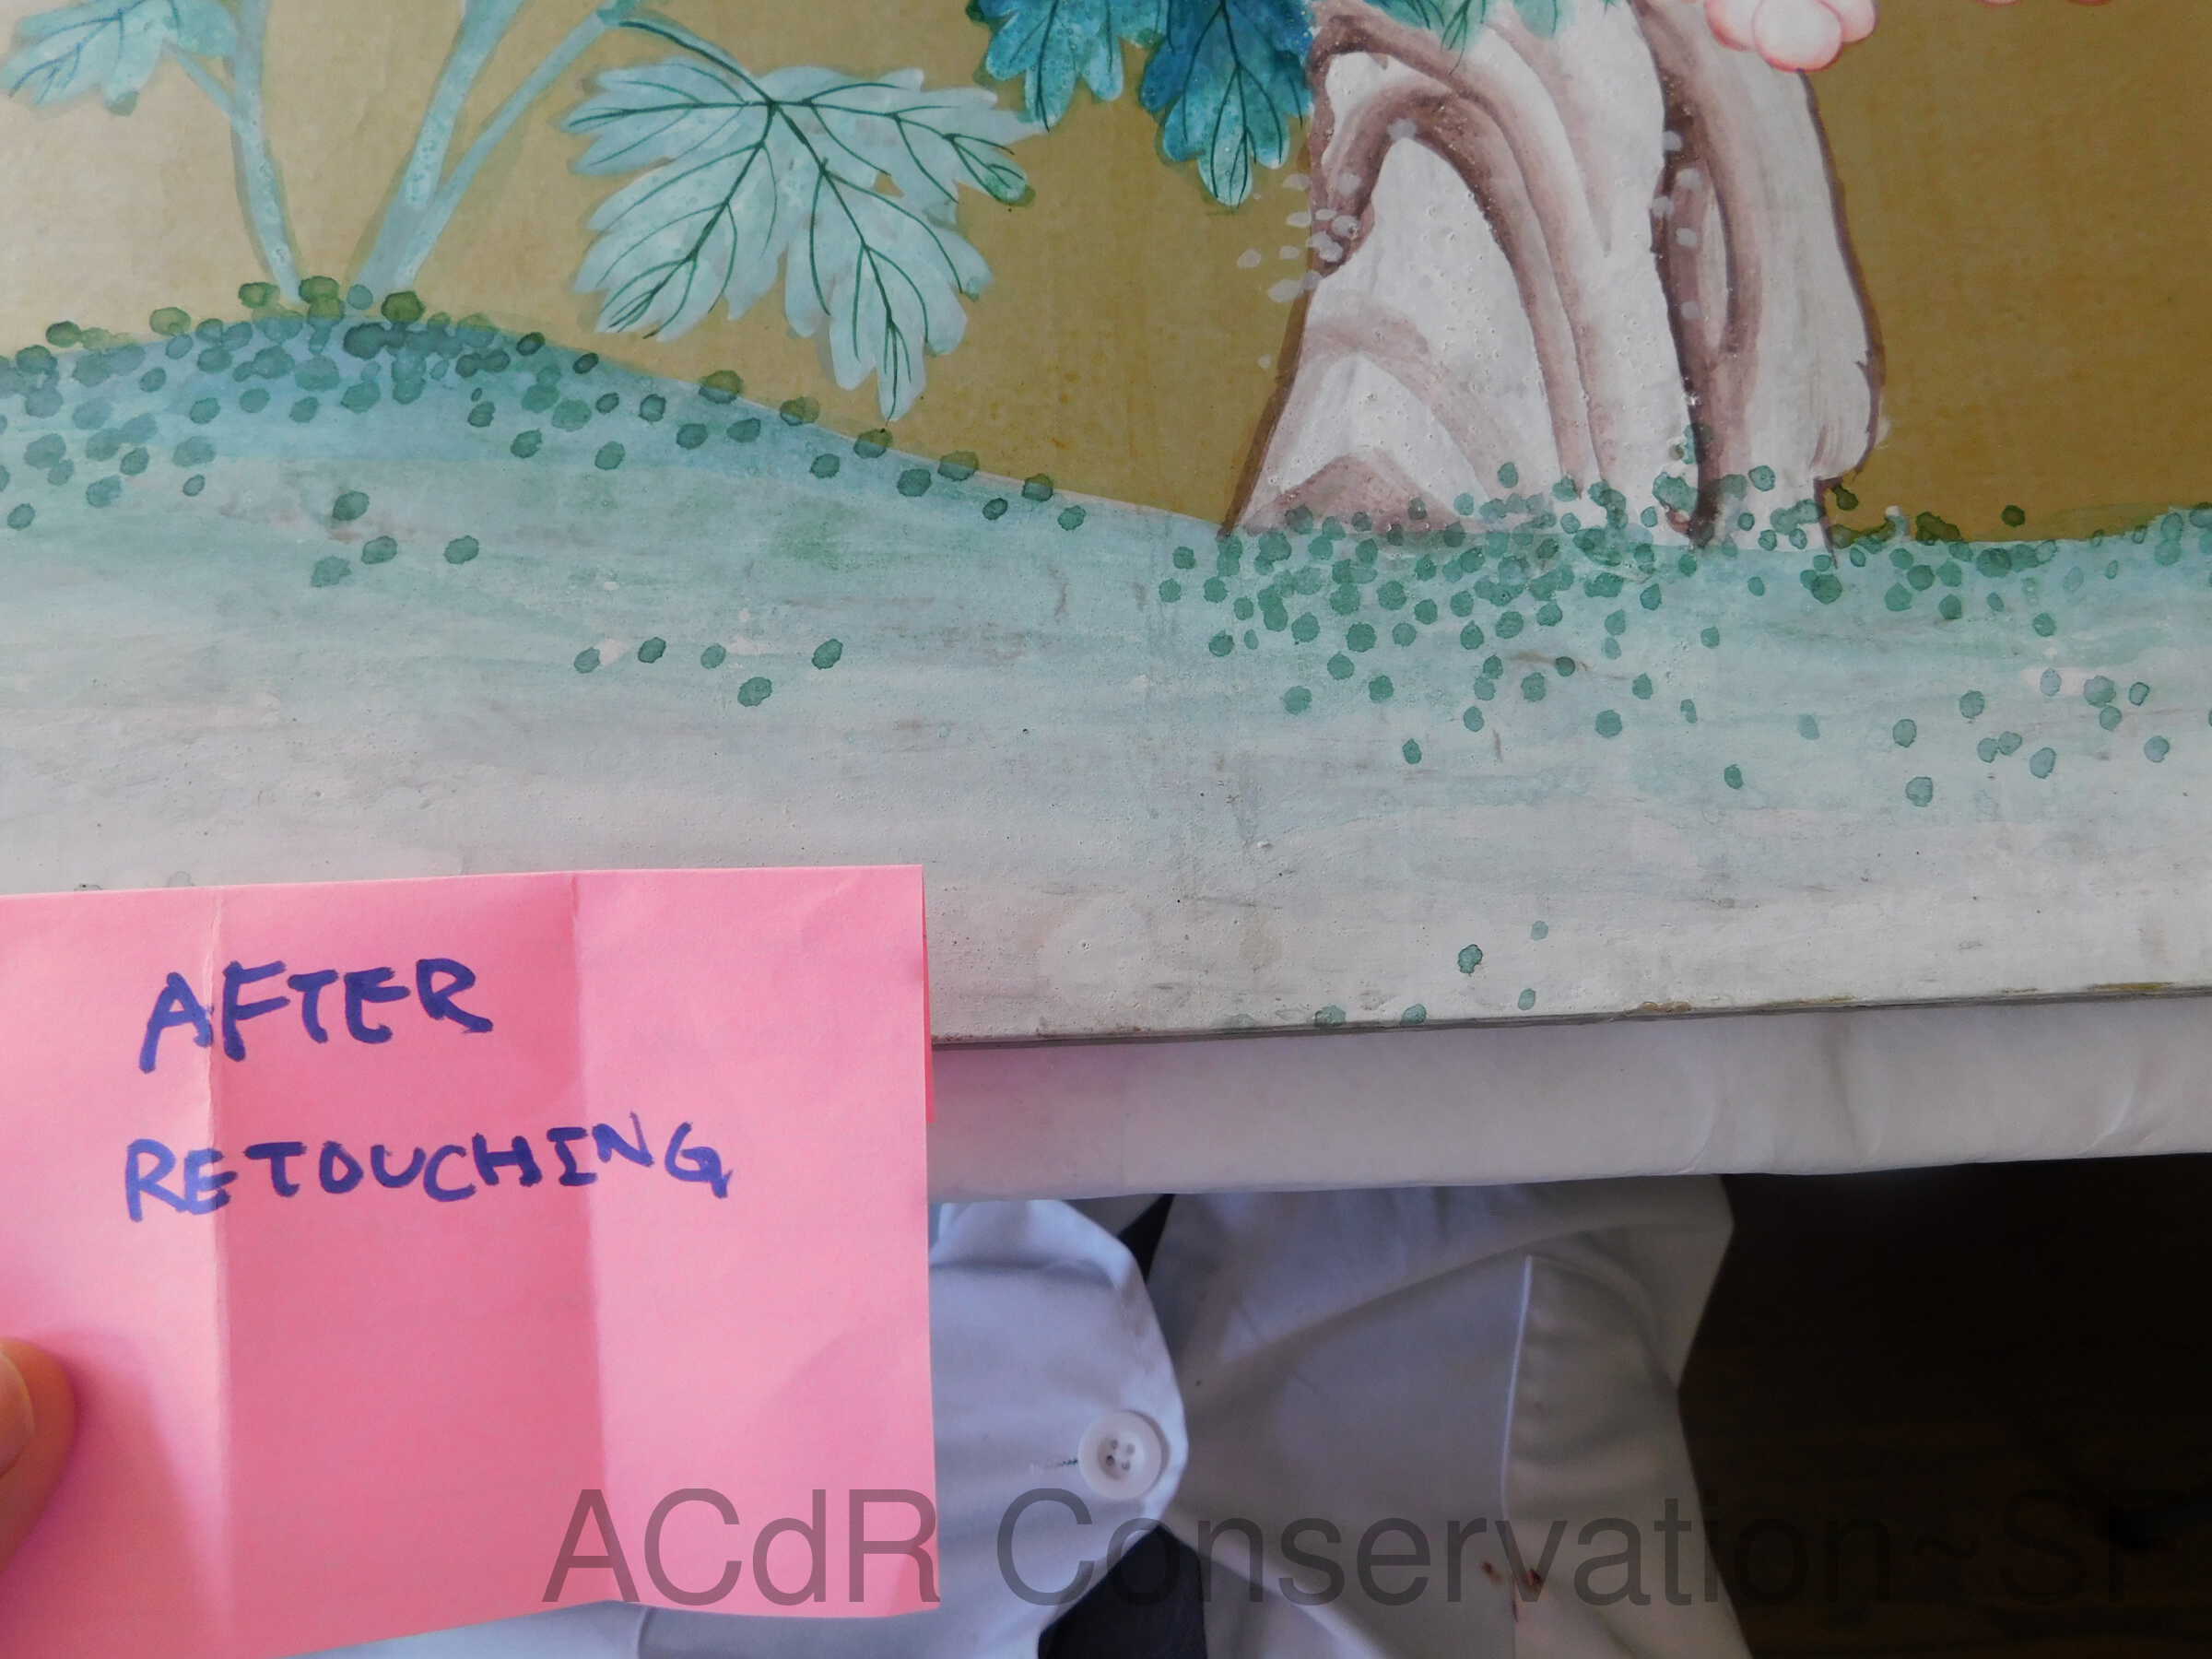
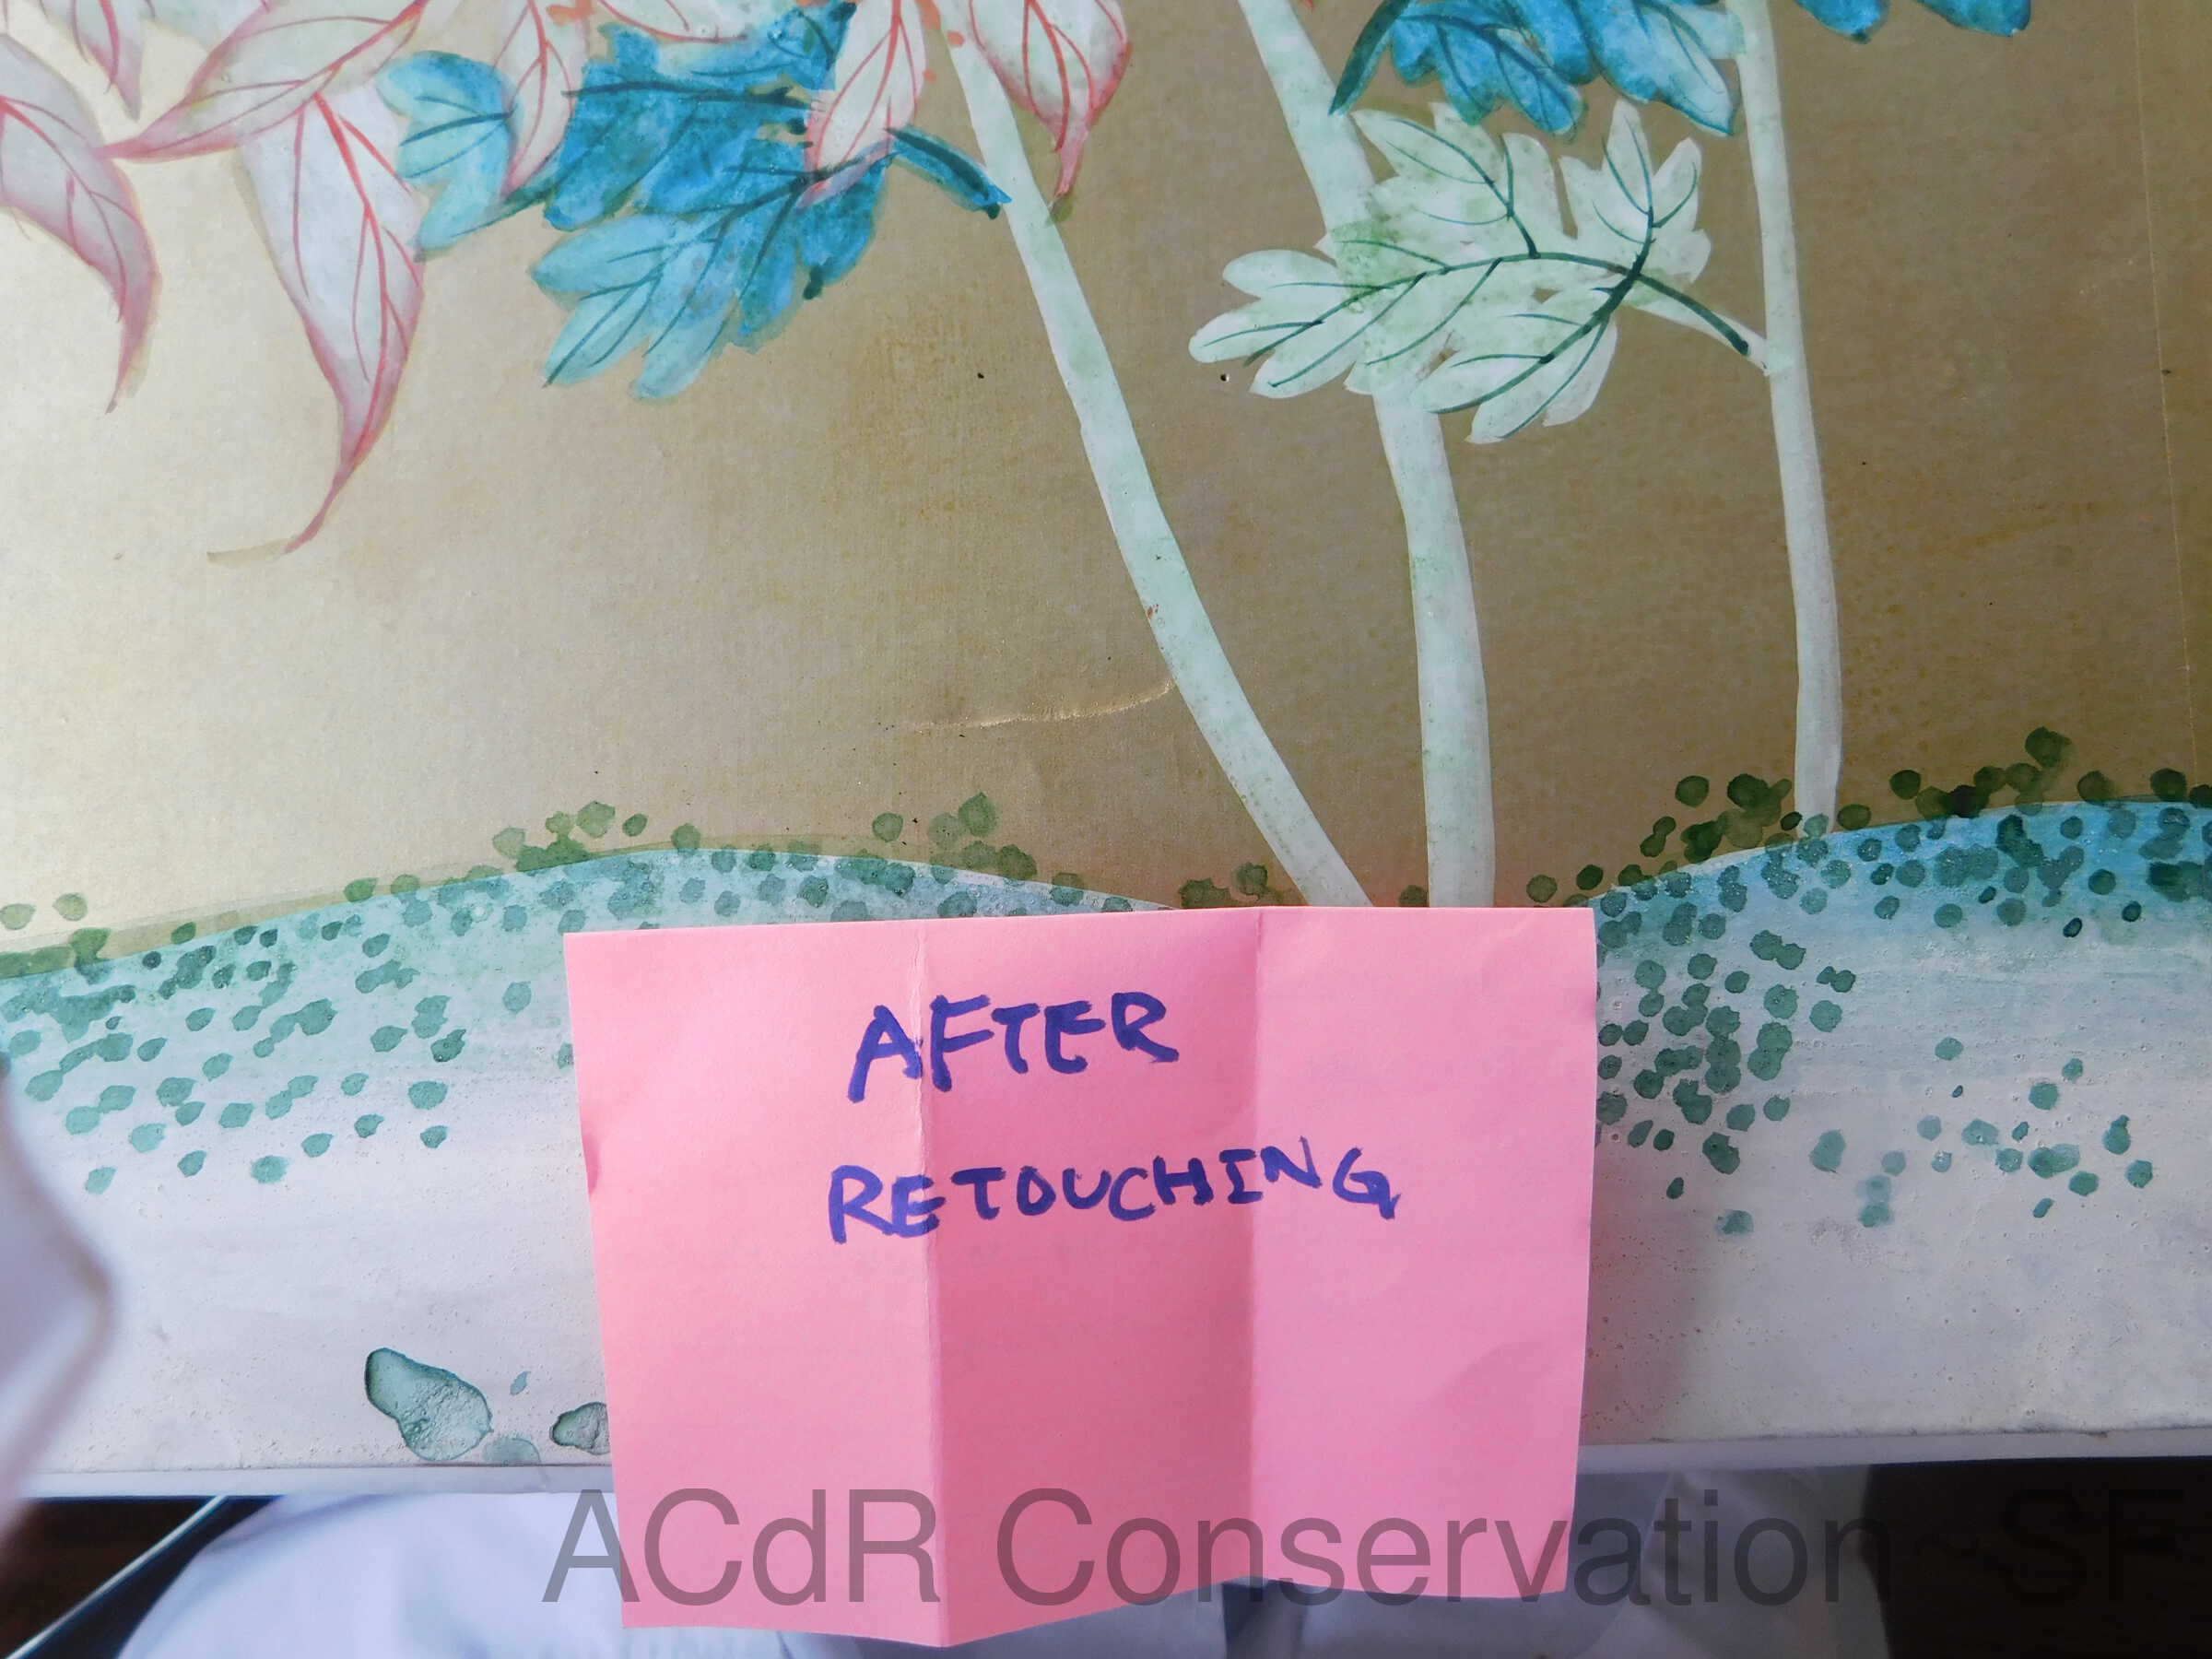
Retouching
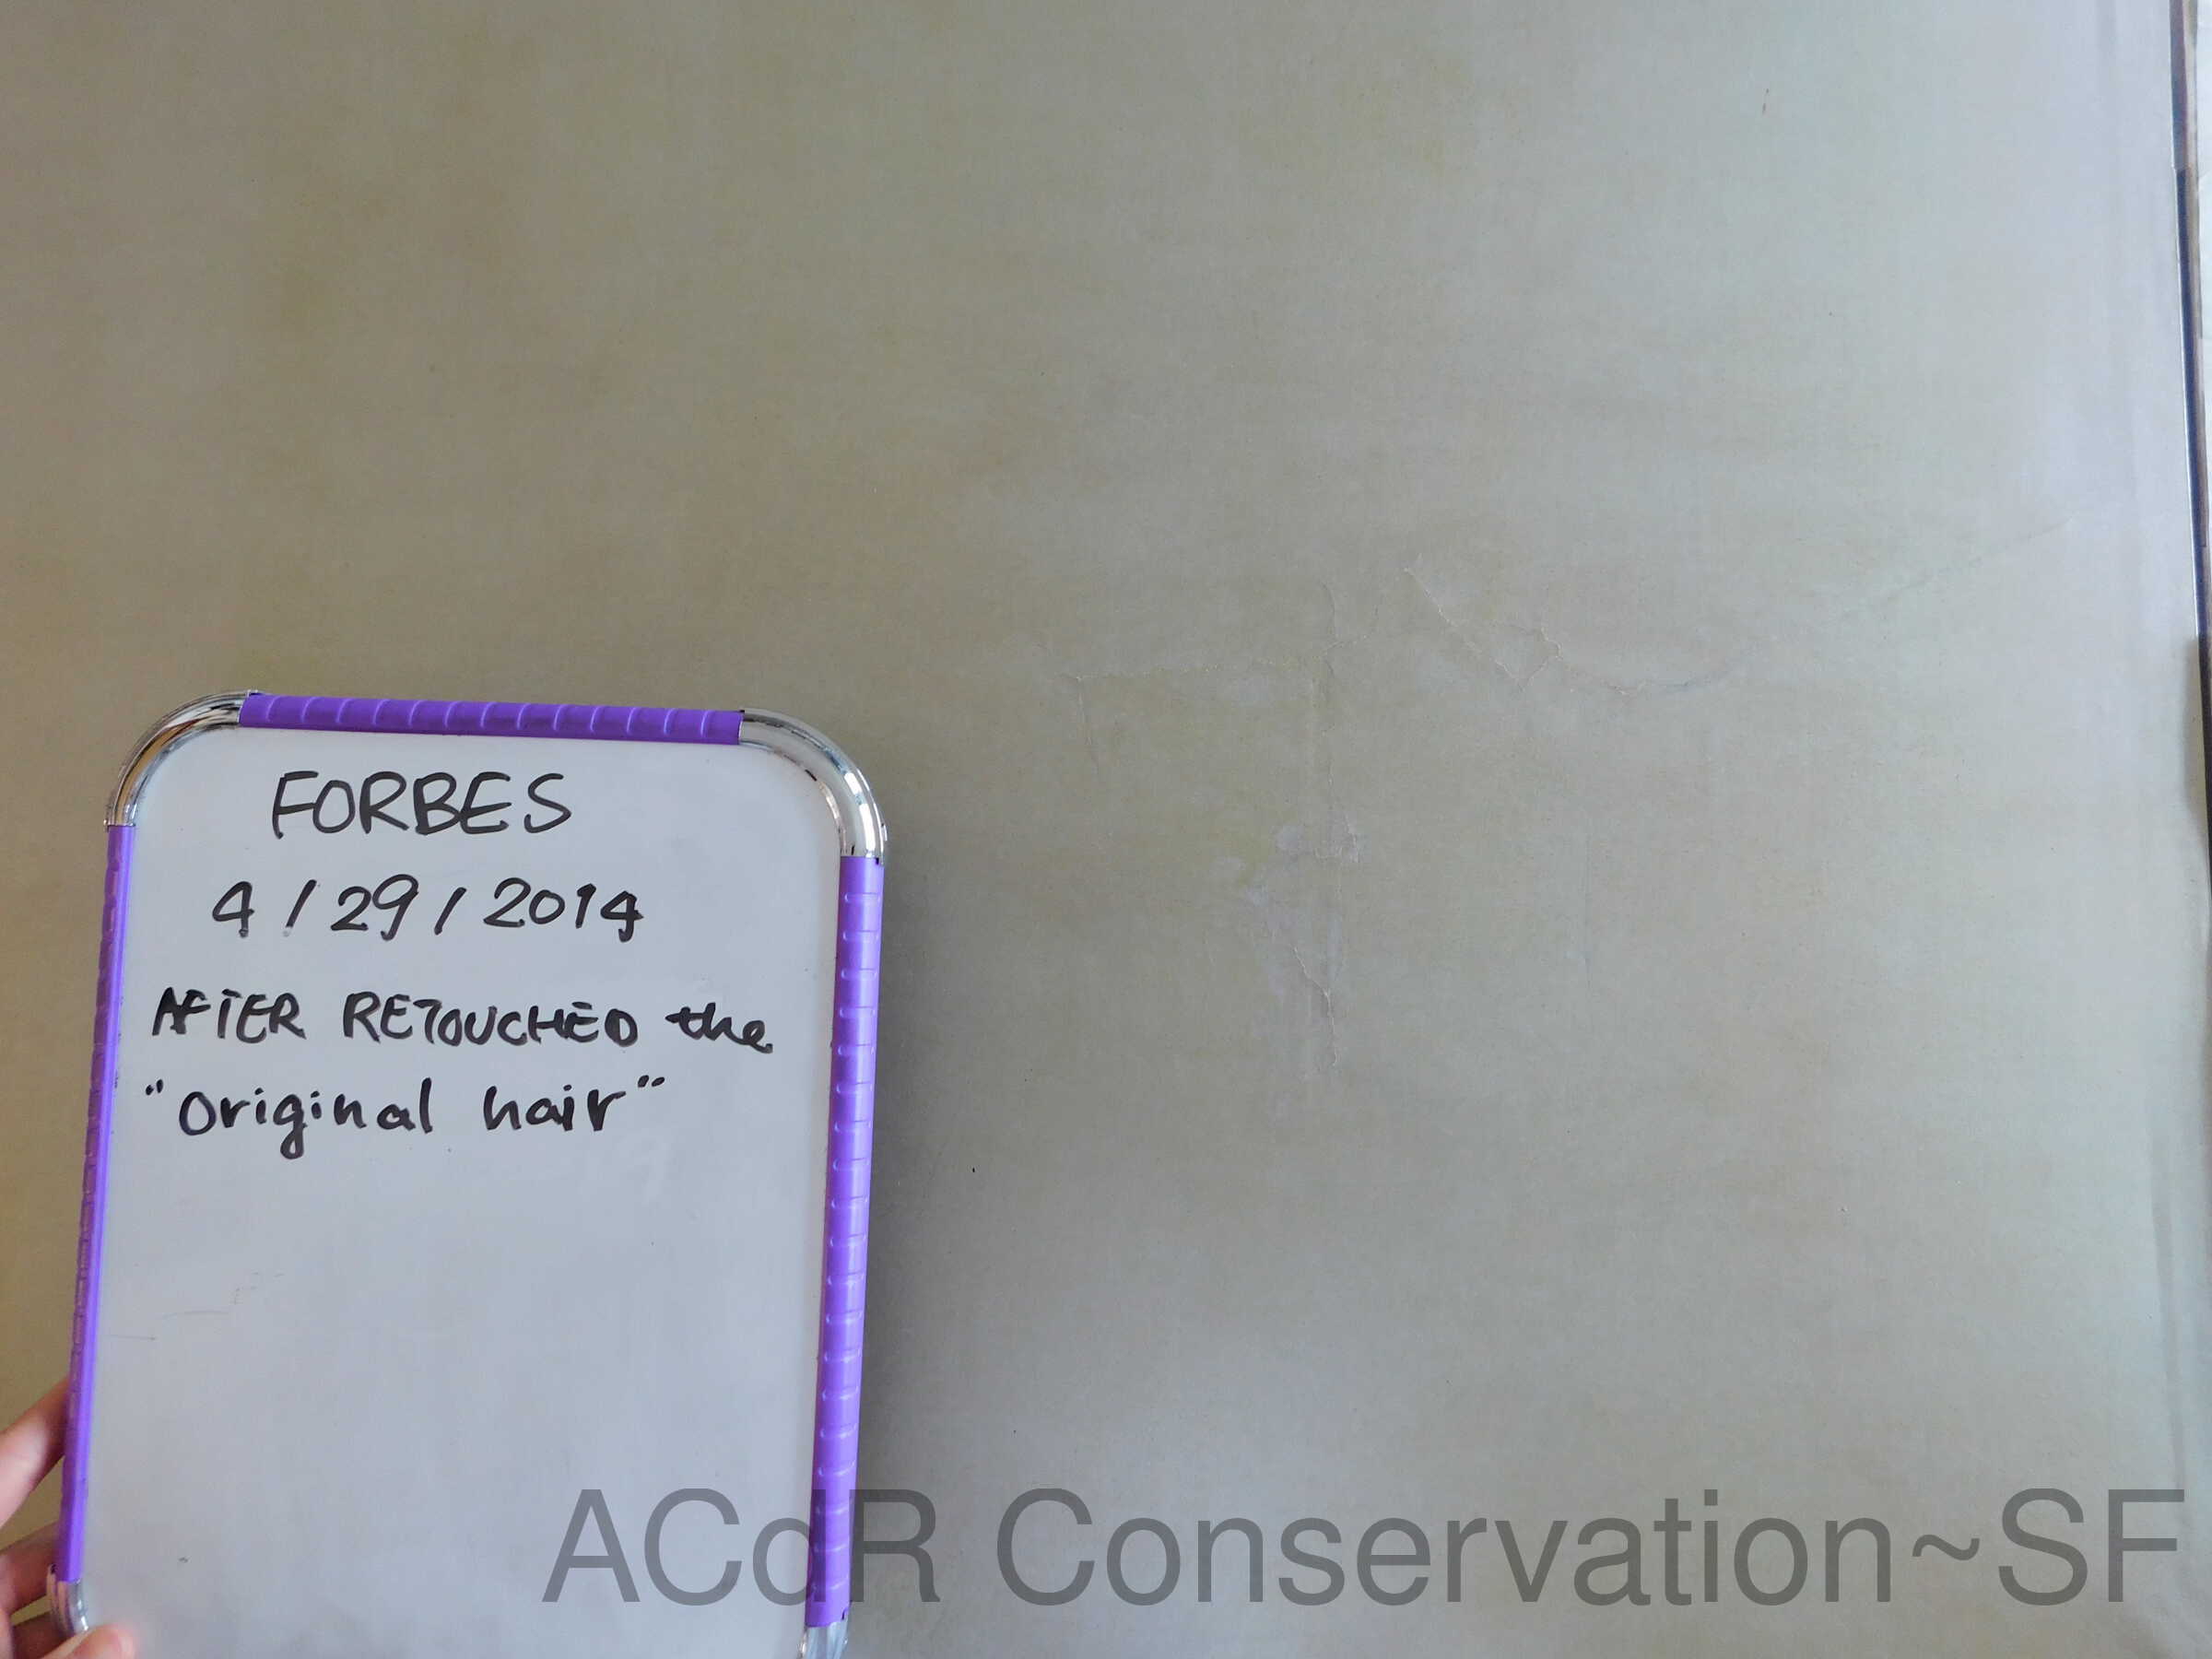
Apr 26, 2019 - Apr 29, 2019
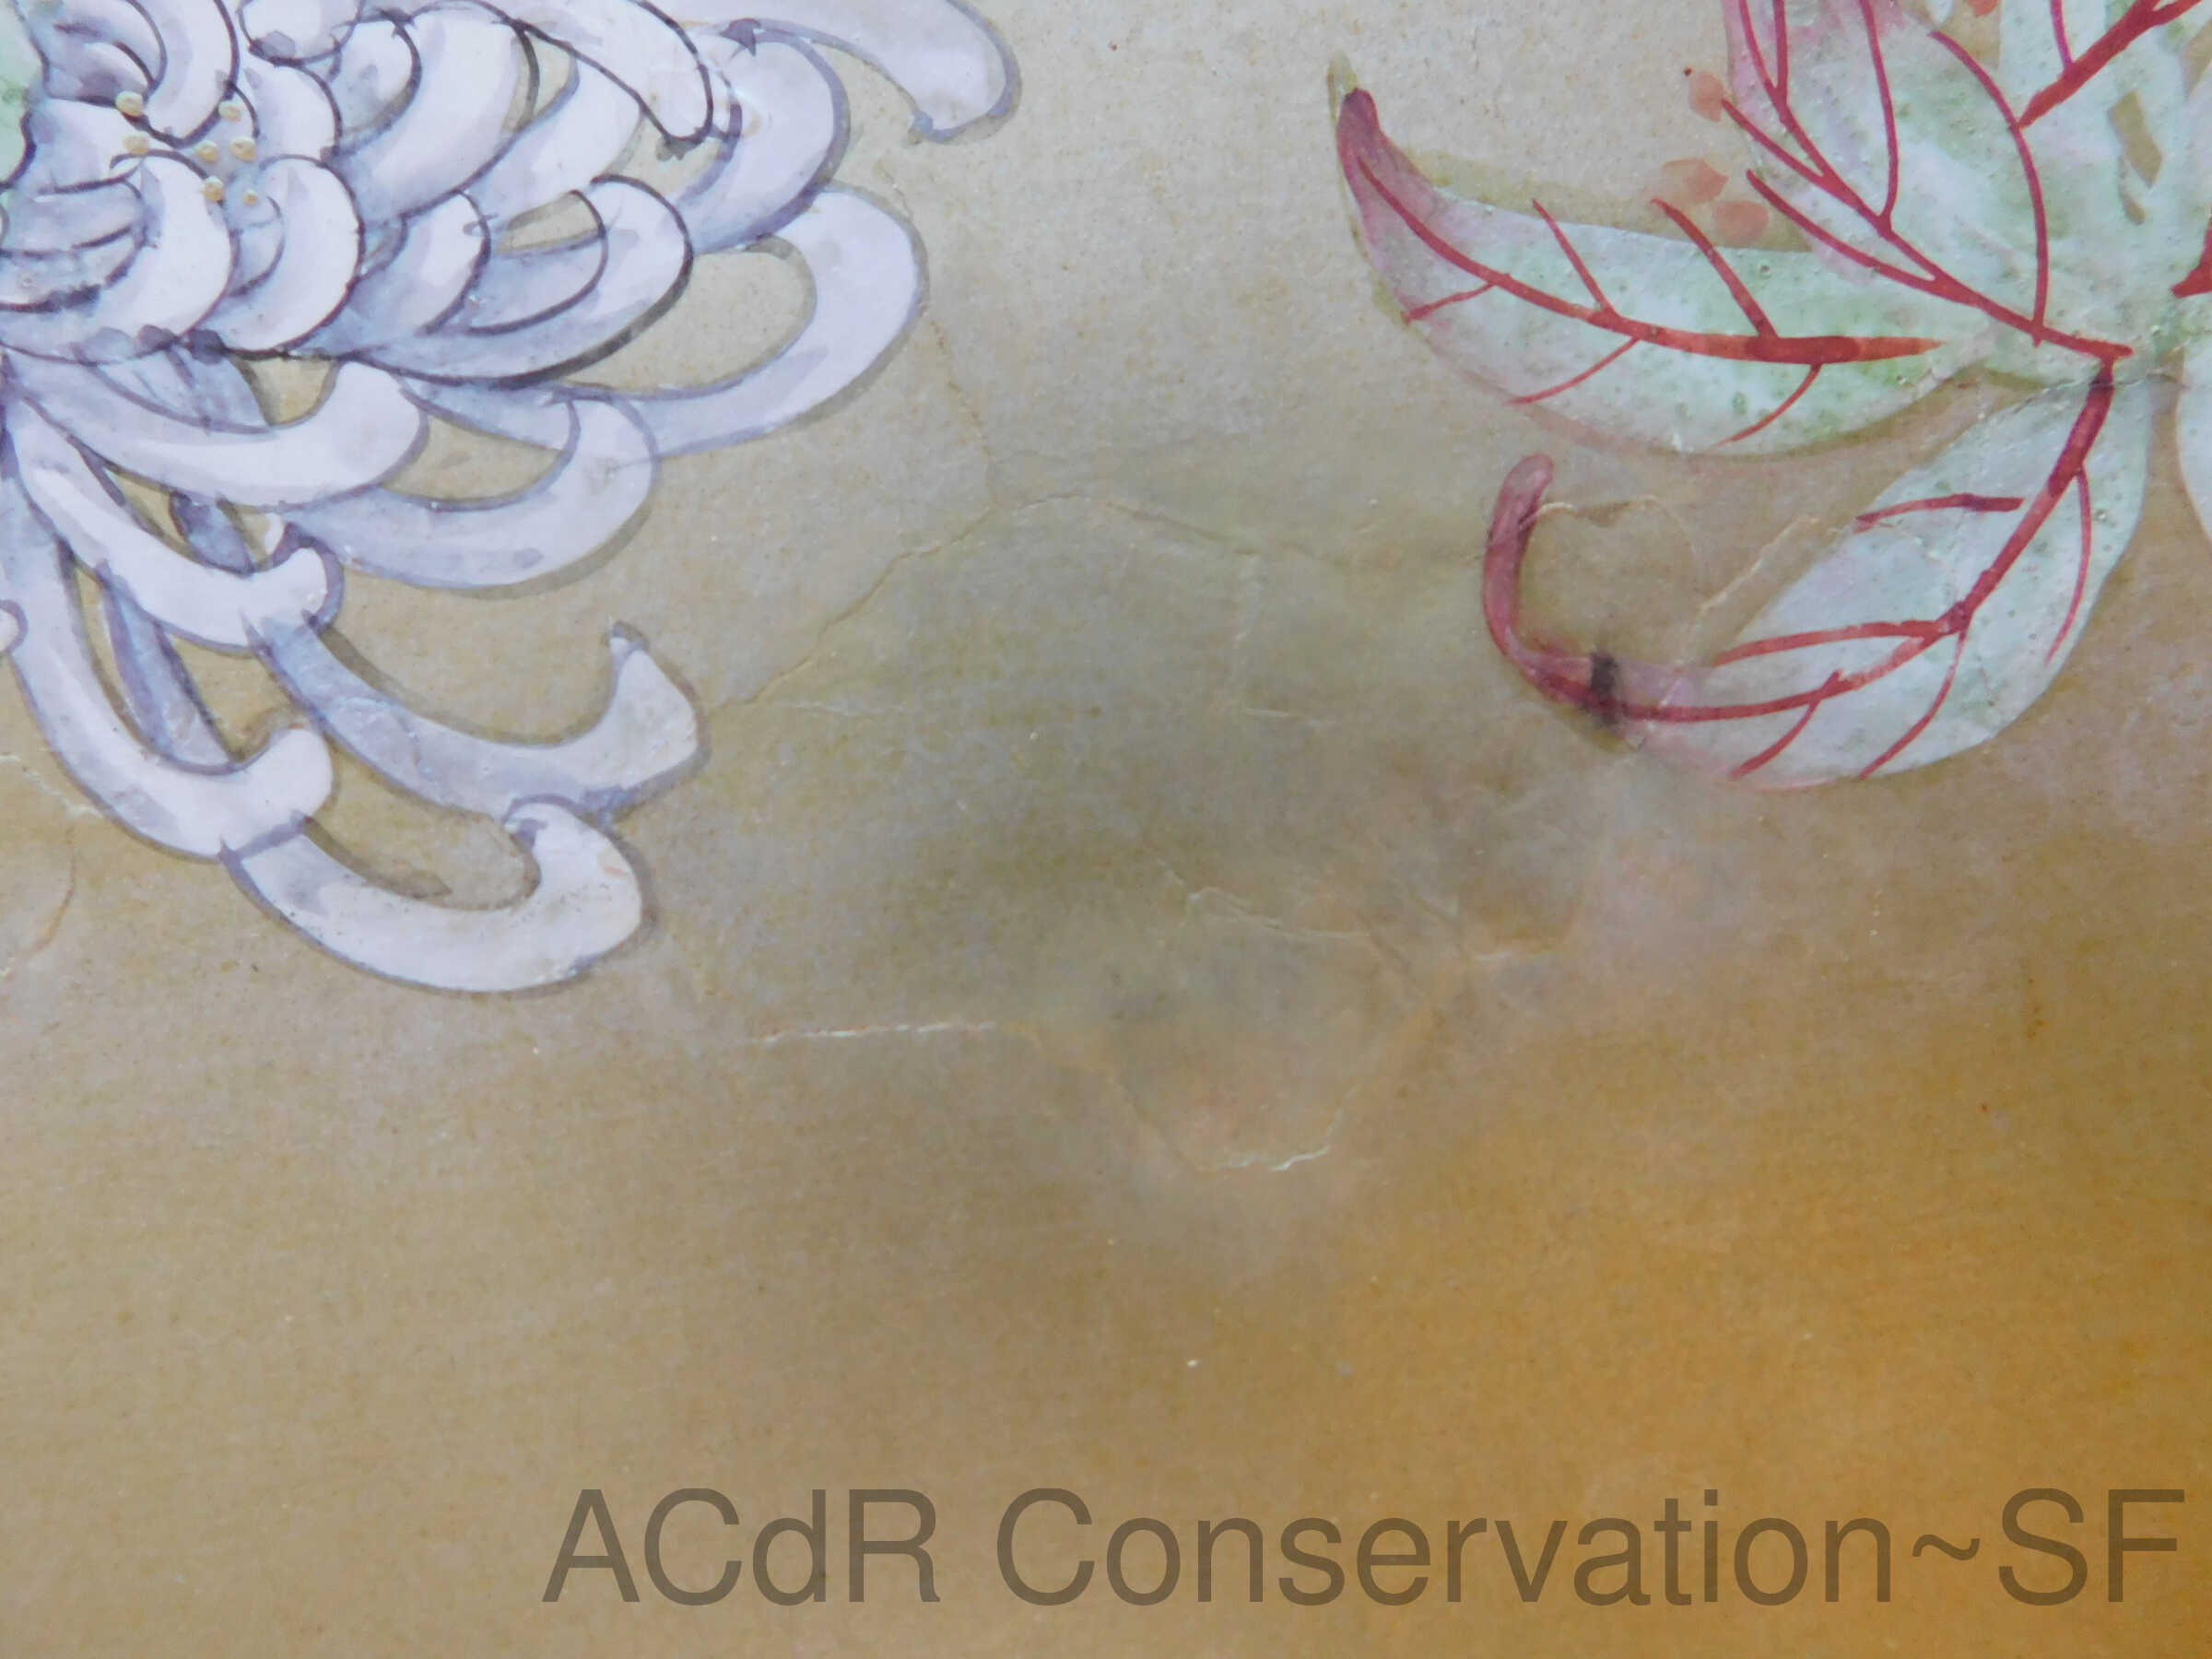
Retouched front side of large puncture, applied clear gesso in the tear gaps to make the surface level. Retouched tears with metallic watercolor. Retouched details on bottom of screen near flaking hinge.
Adhesive Repair/Removal
Apr 29, 2019 - May 1, 2019
Filled holes on the black frame with modostuc. Took treatment pictures. Attached tears on the hinge from the back side. Filled holes with modostuc to level thesurface by rubbing it slightly. Mended tears on front side hinge.
Retouching
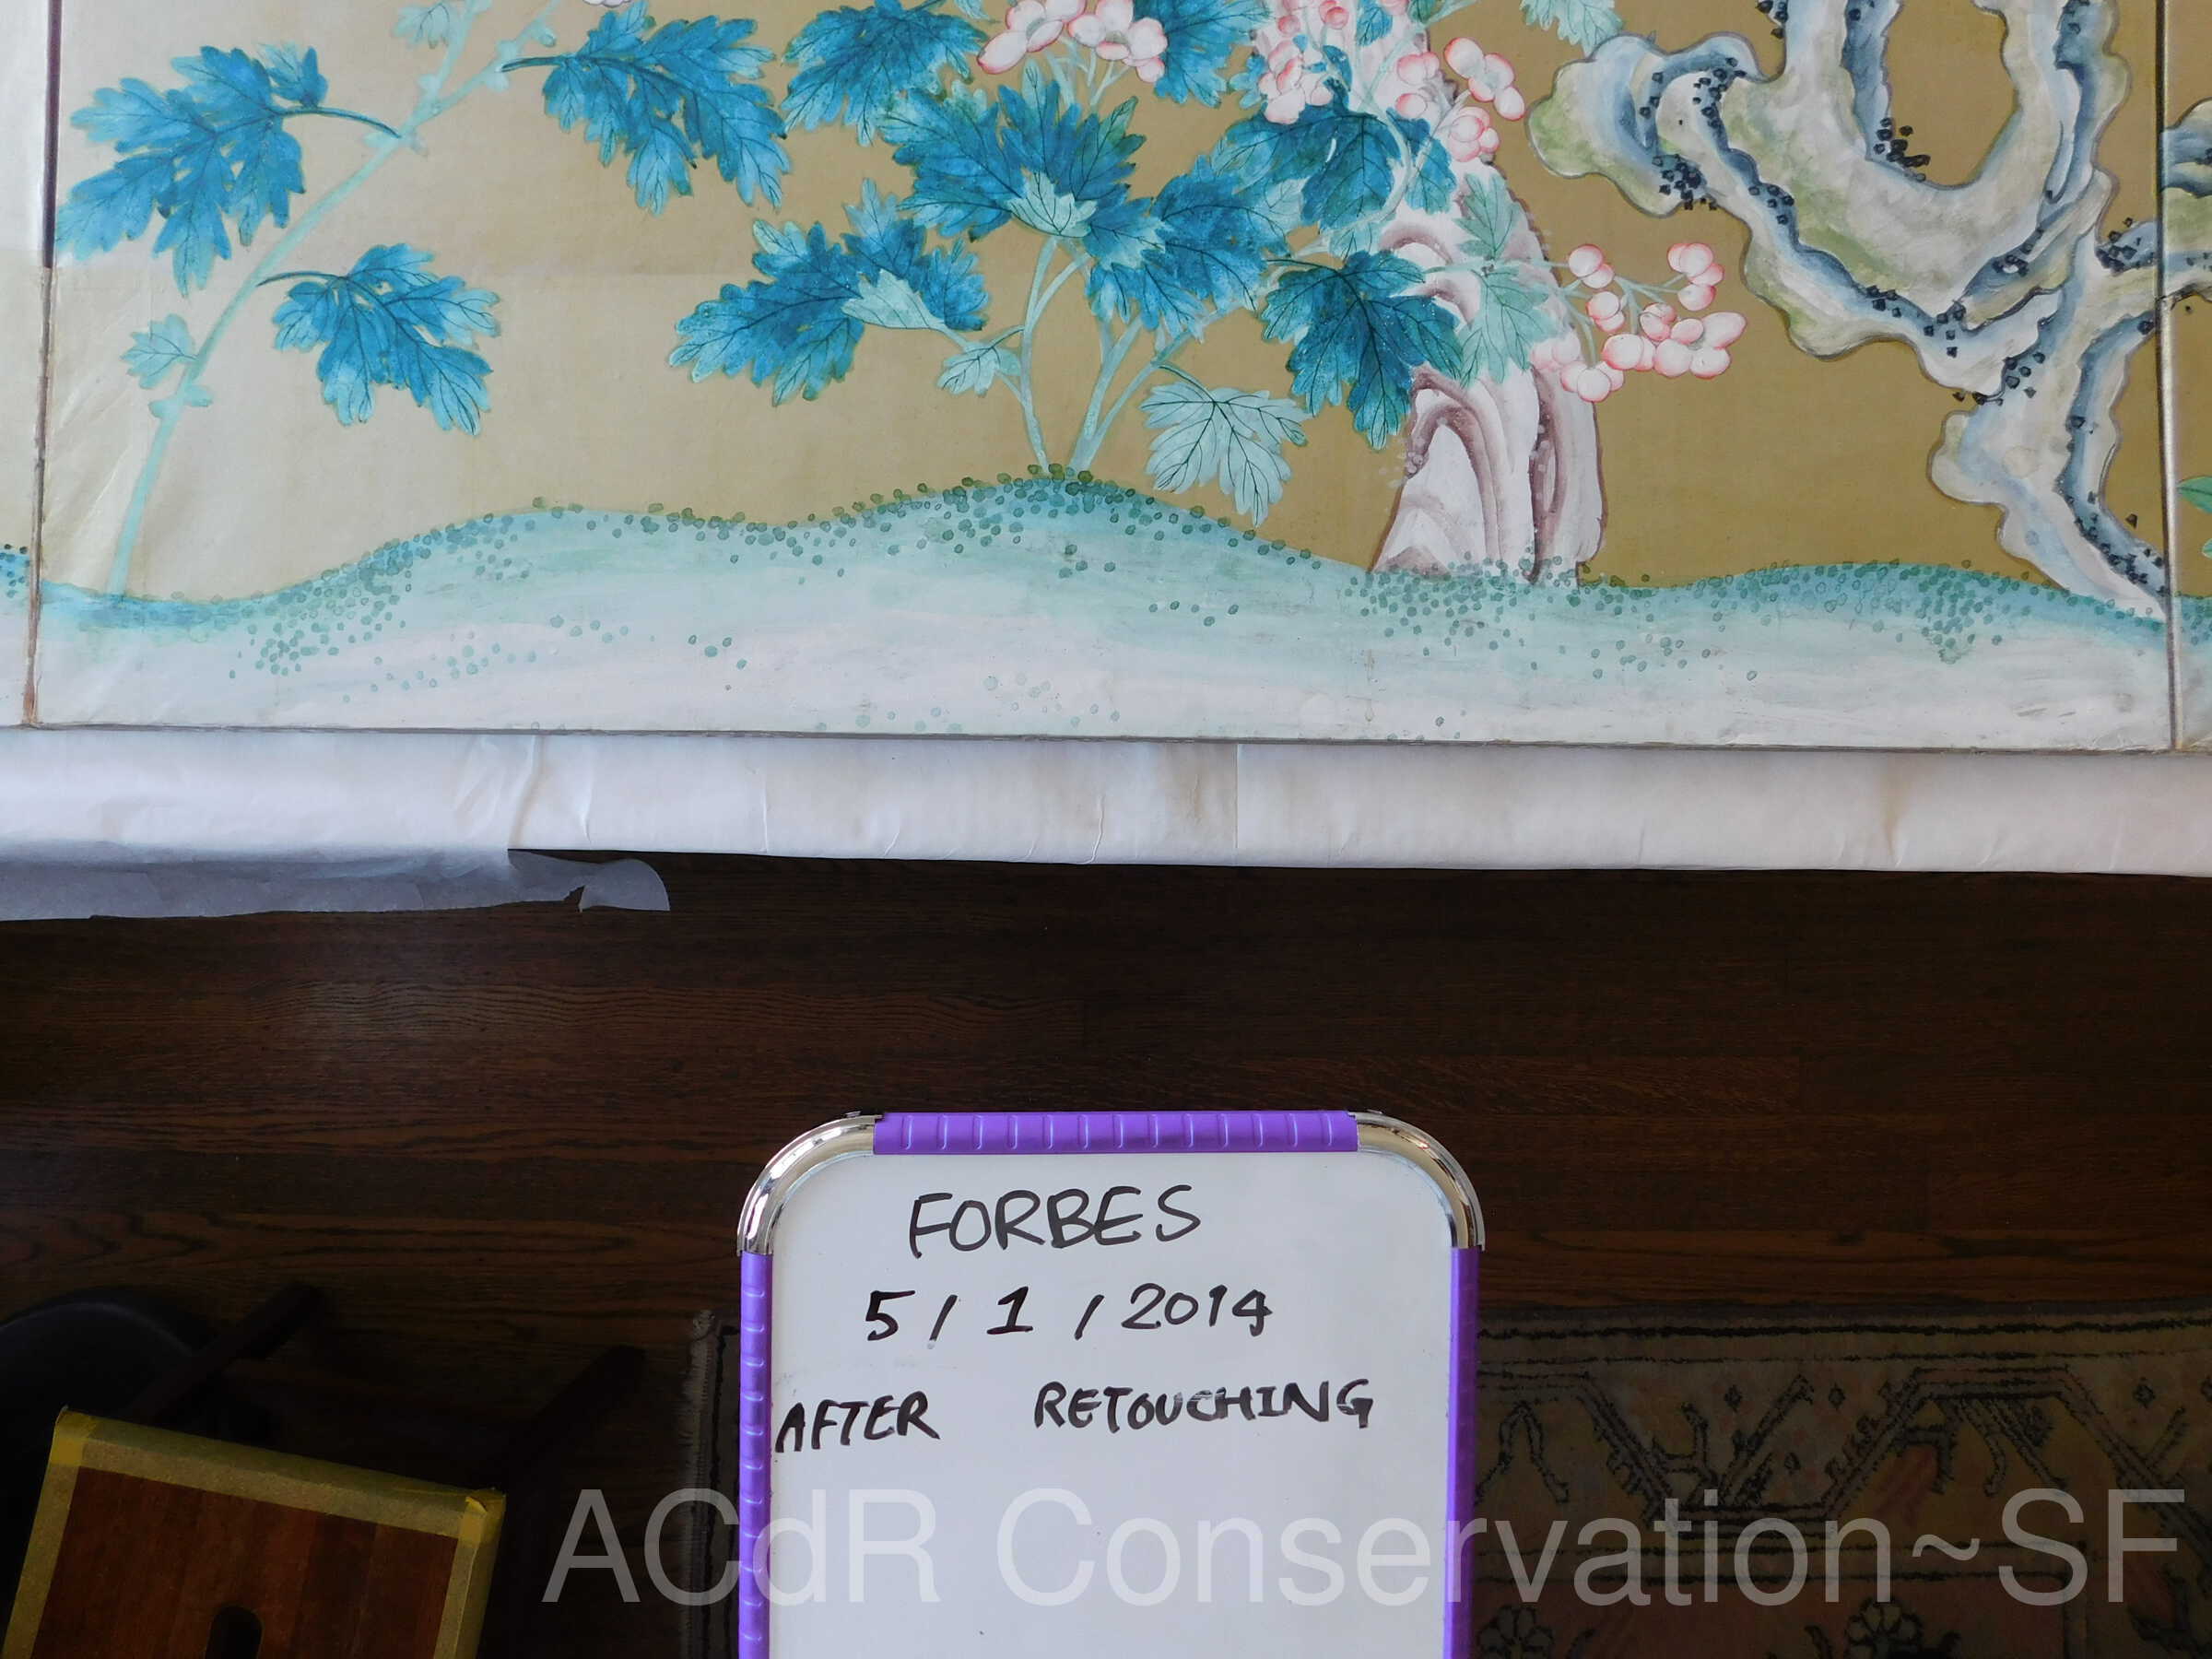
May 1, 2019 - May 7, 2019
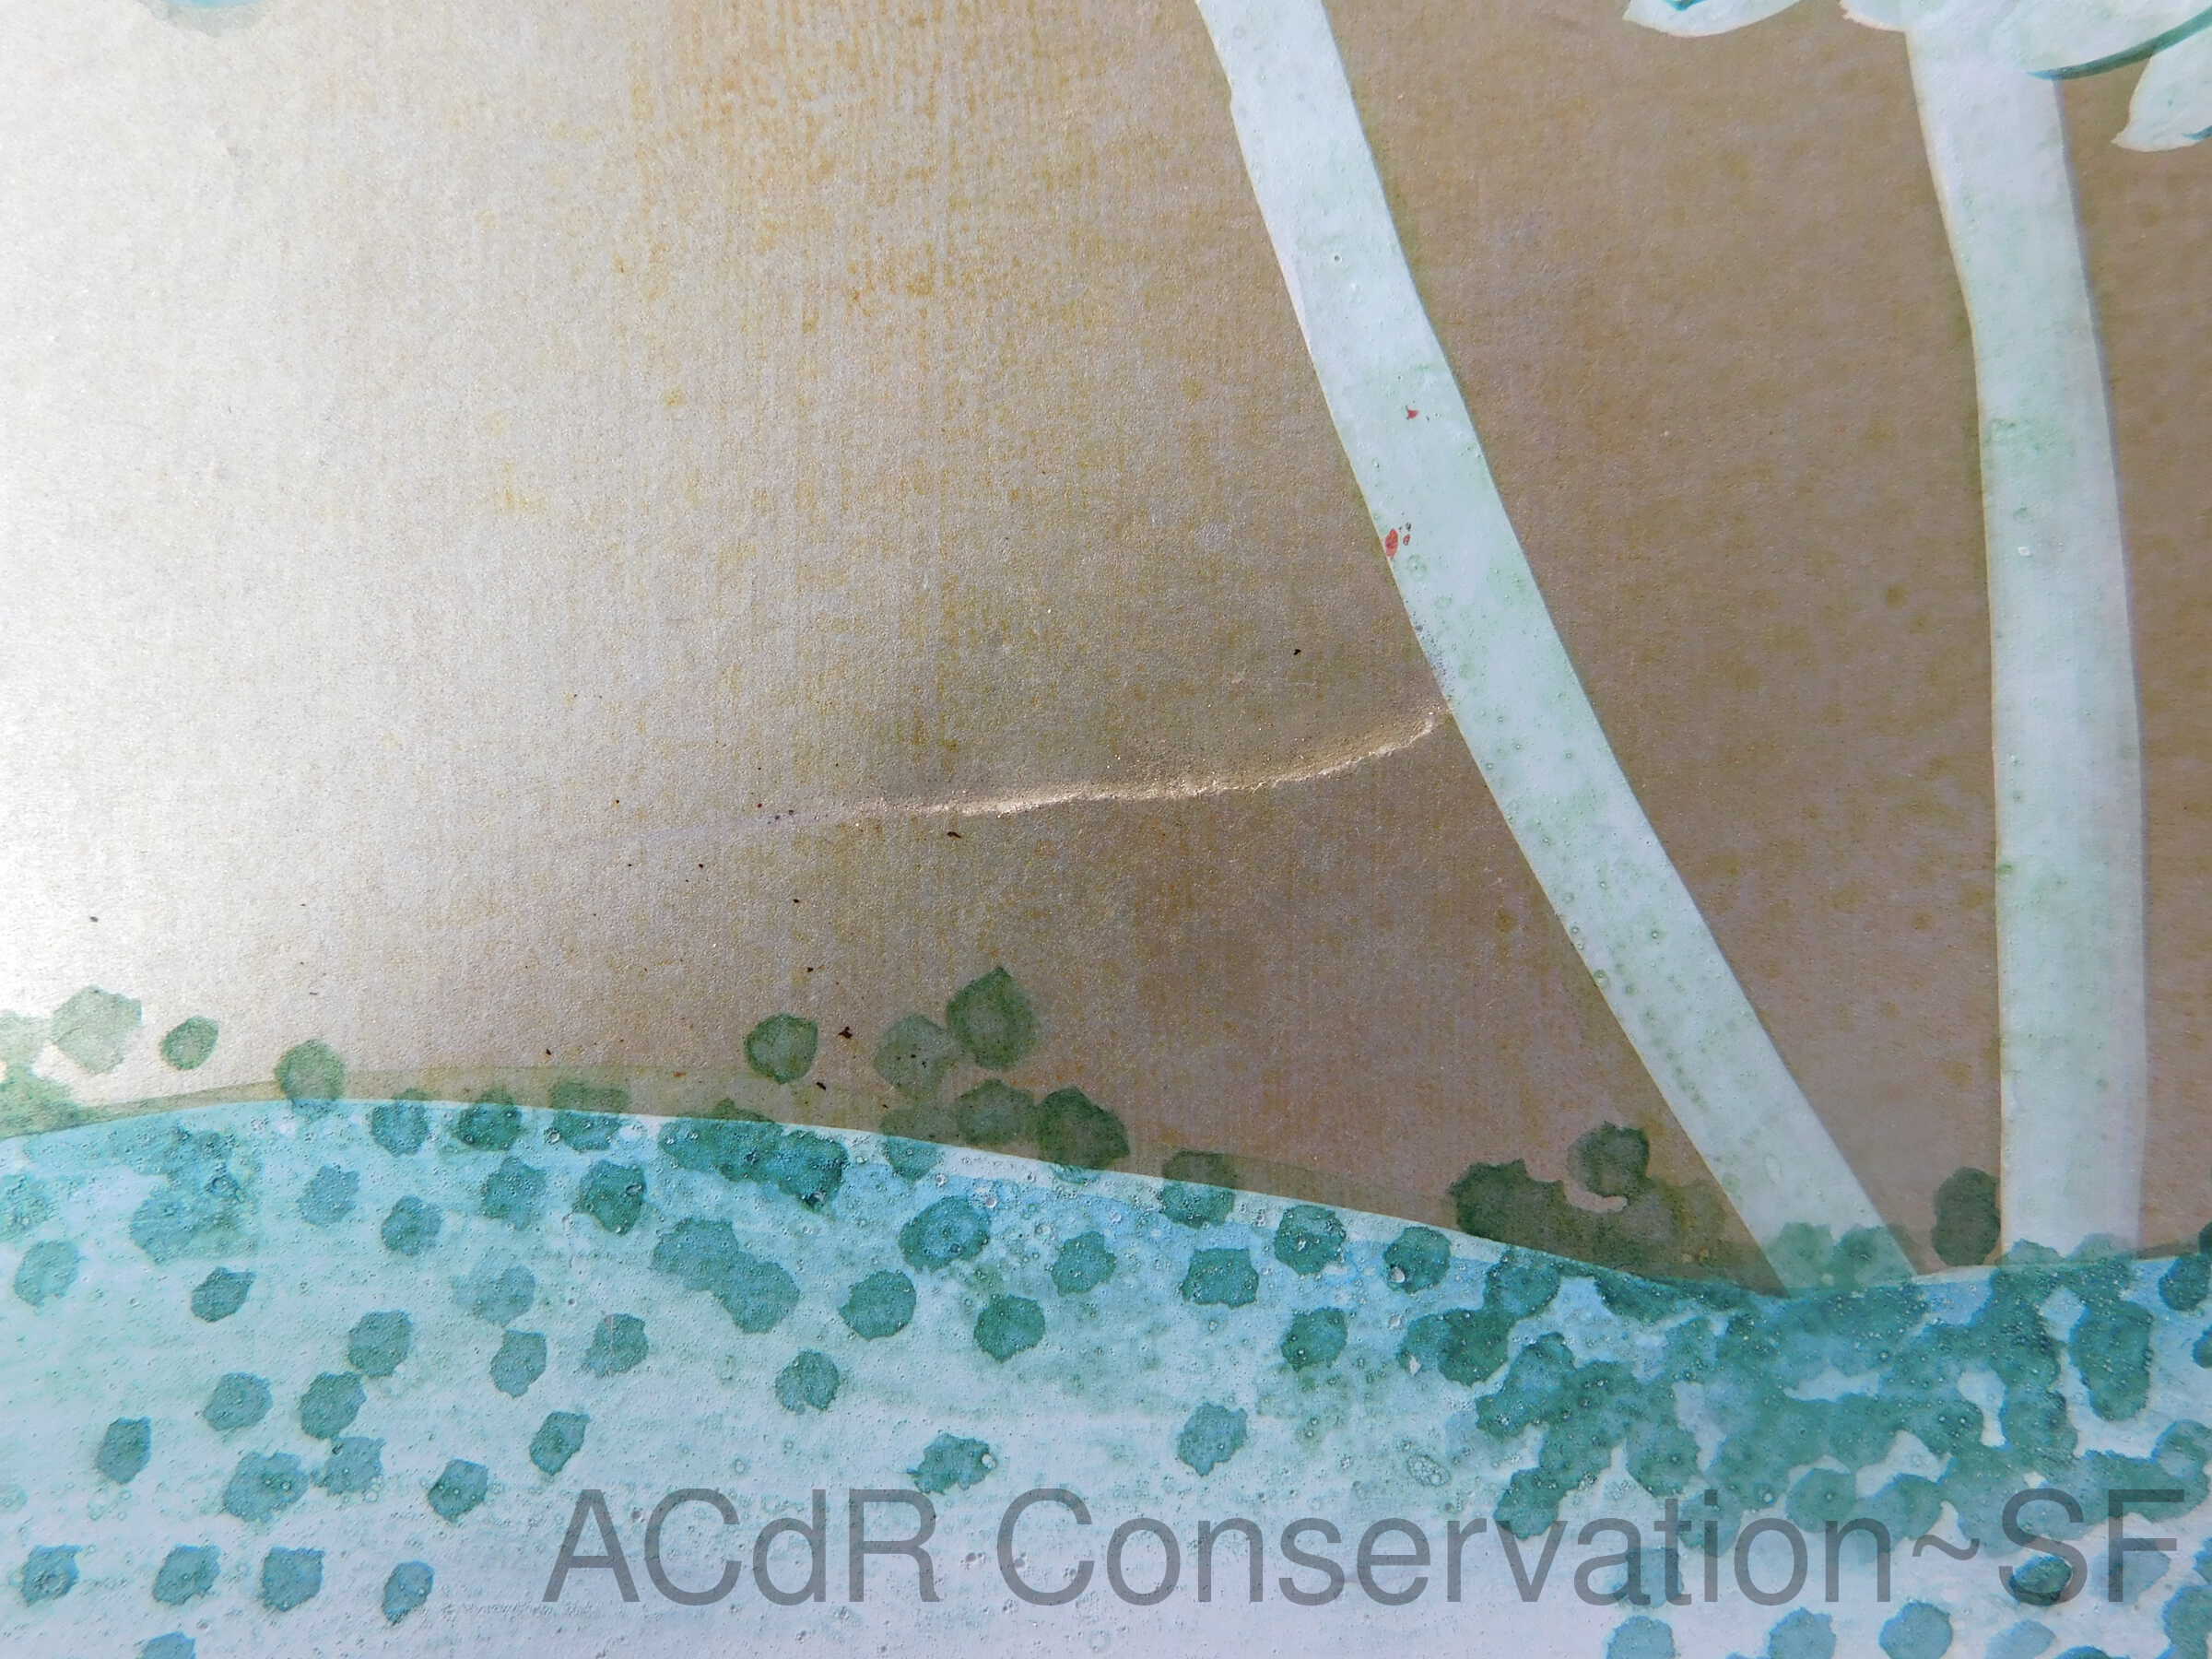
Retouched Bottom part of front side, retouch hole repairs with acrylics mixed with gloss medium (mars black and bone black). Retouched dirty tideline at the bottom of the screen. Attempted cleaning the dirty spot at the top of screen and retouched.
General Repair
May 3, 2019 - May 7, 2019
Attached hinge on back side and re-attached hinge on front side (broke again).